Cleaning Up Wax Spills and Candle Making Tools
Published How we research
Cleanup is the part of candle making nobody photographs, and doing it badly costs money in ruined tools and plumbing. The good news is that wax behaves predictably: it is solid at room temperature, it does not mix with water, and it releases from most hard surfaces with gentle heat or by simply cracking off once cold. The bad news is that it will destroy a drain if you let it.
The single most important rule is that wax never goes down the sink. Hot wax poured into a drain cools in the pipe and builds up until it blocks completely, and that blockage is expensive to clear. Wipe pitchers, pots and utensils with paper towel while the wax is still warm and liquid, and bin the paper. Only after the tools are wiped essentially clean should they meet hot soapy water. Keep a dedicated bin bag near the bench for waxy paper towel.
For a fresh spill on a hard surface, let it cool and harden completely, then lift it with a plastic scraper or an old credit card. Hardened wax pops off sealed surfaces surprisingly cleanly. Any residual film comes off with a cloth and a little hot soapy water, or with a small amount of isopropyl alcohol on stubborn film. Do not chase liquid wax with a cloth, since you will spread a thin sticky layer over a much larger area than the original spill.
Fabric and carpet need the iron and paper method. Scrape off as much hardened wax as possible, lay a few sheets of plain paper towel or brown paper over the spot, and press with a warm iron on a low setting. The wax melts and migrates into the paper. Move to a clean section of paper and repeat until no more wax transfers. Treat any remaining greasy mark and dye stain with an appropriate fabric stain remover, and always test the heat on an inconspicuous area first because synthetic fibres and some carpets will melt.
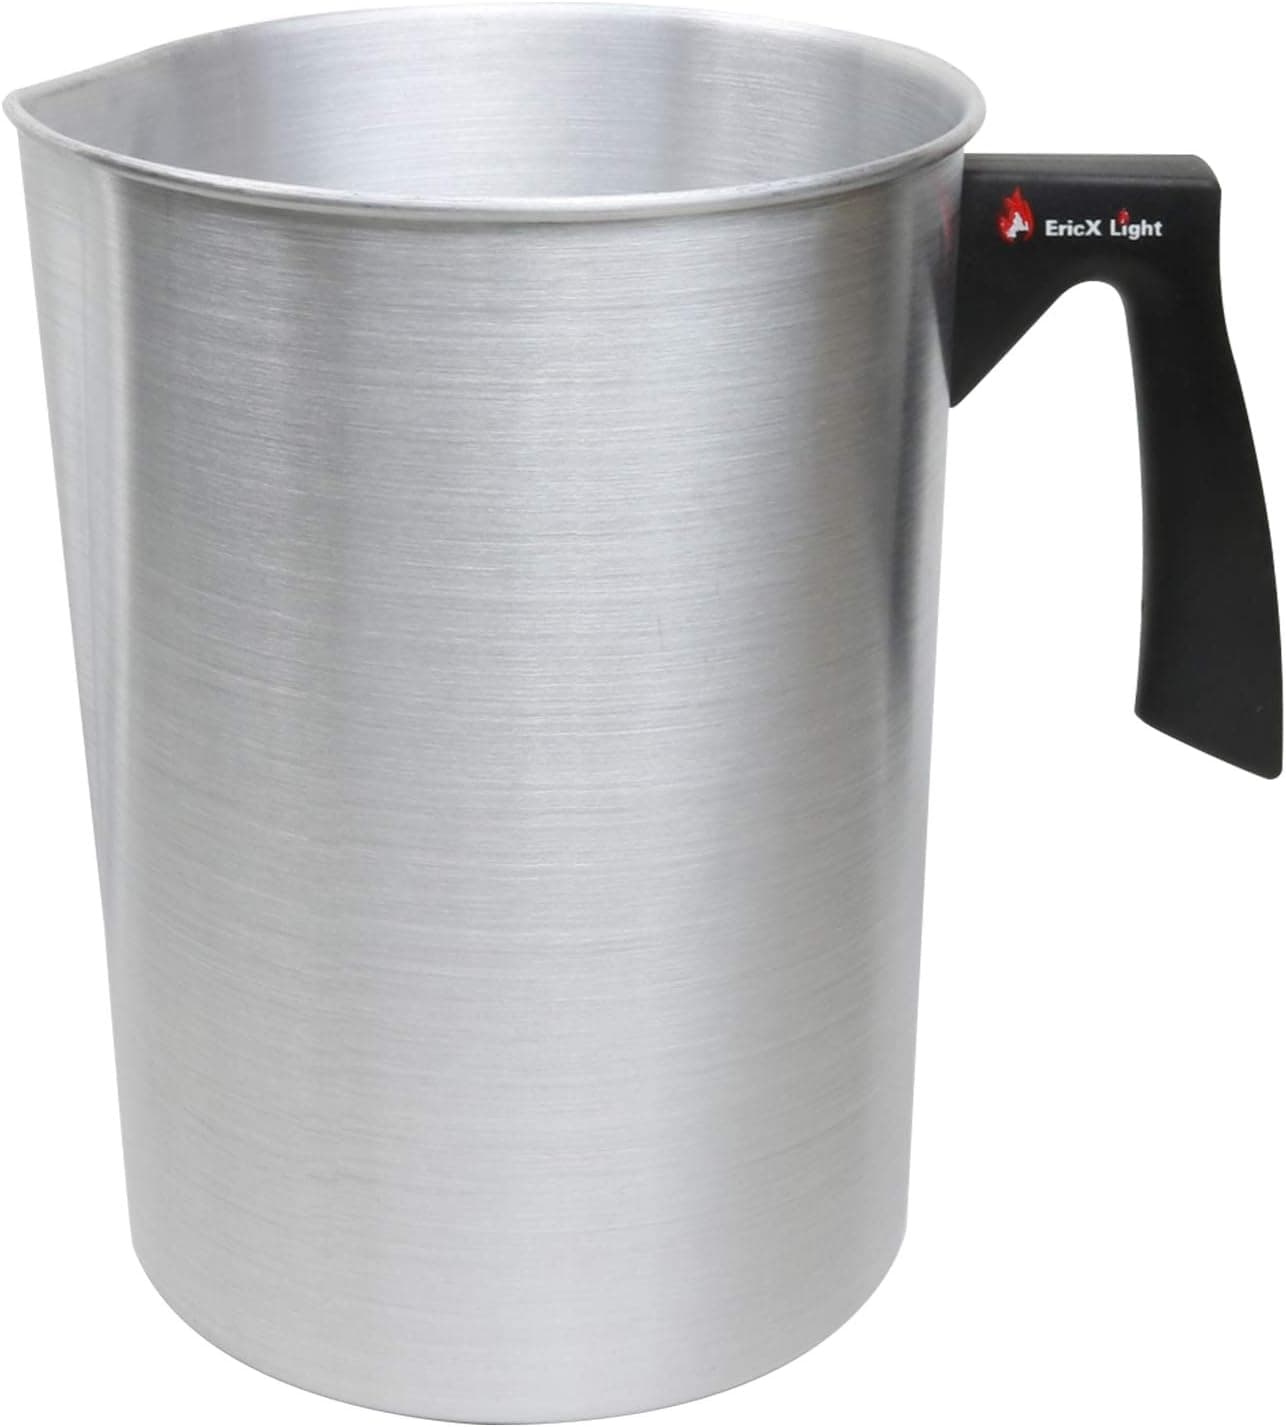
For tools, the easiest routine is to keep dedicated equipment and not fight for perfection. A pouring pitcher used for candles does not need to be surgically clean between batches of the same wax. It does need to be clean when you change fragrance, because residual oil will contaminate the next scent. Wiping while warm handles most of this. For a deeper clean, warming the pitcher gently and wiping again is far more effective than scrubbing cold wax. Some makers keep separate pitchers for light and heavy fragrance families.
Moulds need care rather than force. Metal moulds can be warmed in a low oven with paper underneath to let residual wax run out, then wiped. Silicone moulds usually release wax once flexed and can be washed in warm soapy water. Never scrape a mould with metal tools, since the marks will transfer to every candle you make afterwards. Wooden wick clips, thermometers and stirrers all clean the same way: warm, wipe, then wash.
Work so that spills are small and contained. Cover the bench with parchment or cardboard before you start, keep the pouring area clear, and use a pitcher with a good spout rather than tipping from a saucepan. Pour over a tray so drips land somewhere you can throw away. Keep the melting area away from foot traffic so nobody knocks it. Two safety points bear repeating in a cleanup context. Never use water to cool or clean hot wax, because water hitting hot wax spits violently and a wax fire must be smothered rather than doused. And never leave wax on the heat while you are busy cleaning up something else, which is one of the most common ways an unattended pot gets forgotten. Finish the pour, take the pot off the heat, then clean.
Products from this article
The highest-scoring picks from the buying guides mentioned above. Scores are our editorial assessment, not customer ratings.
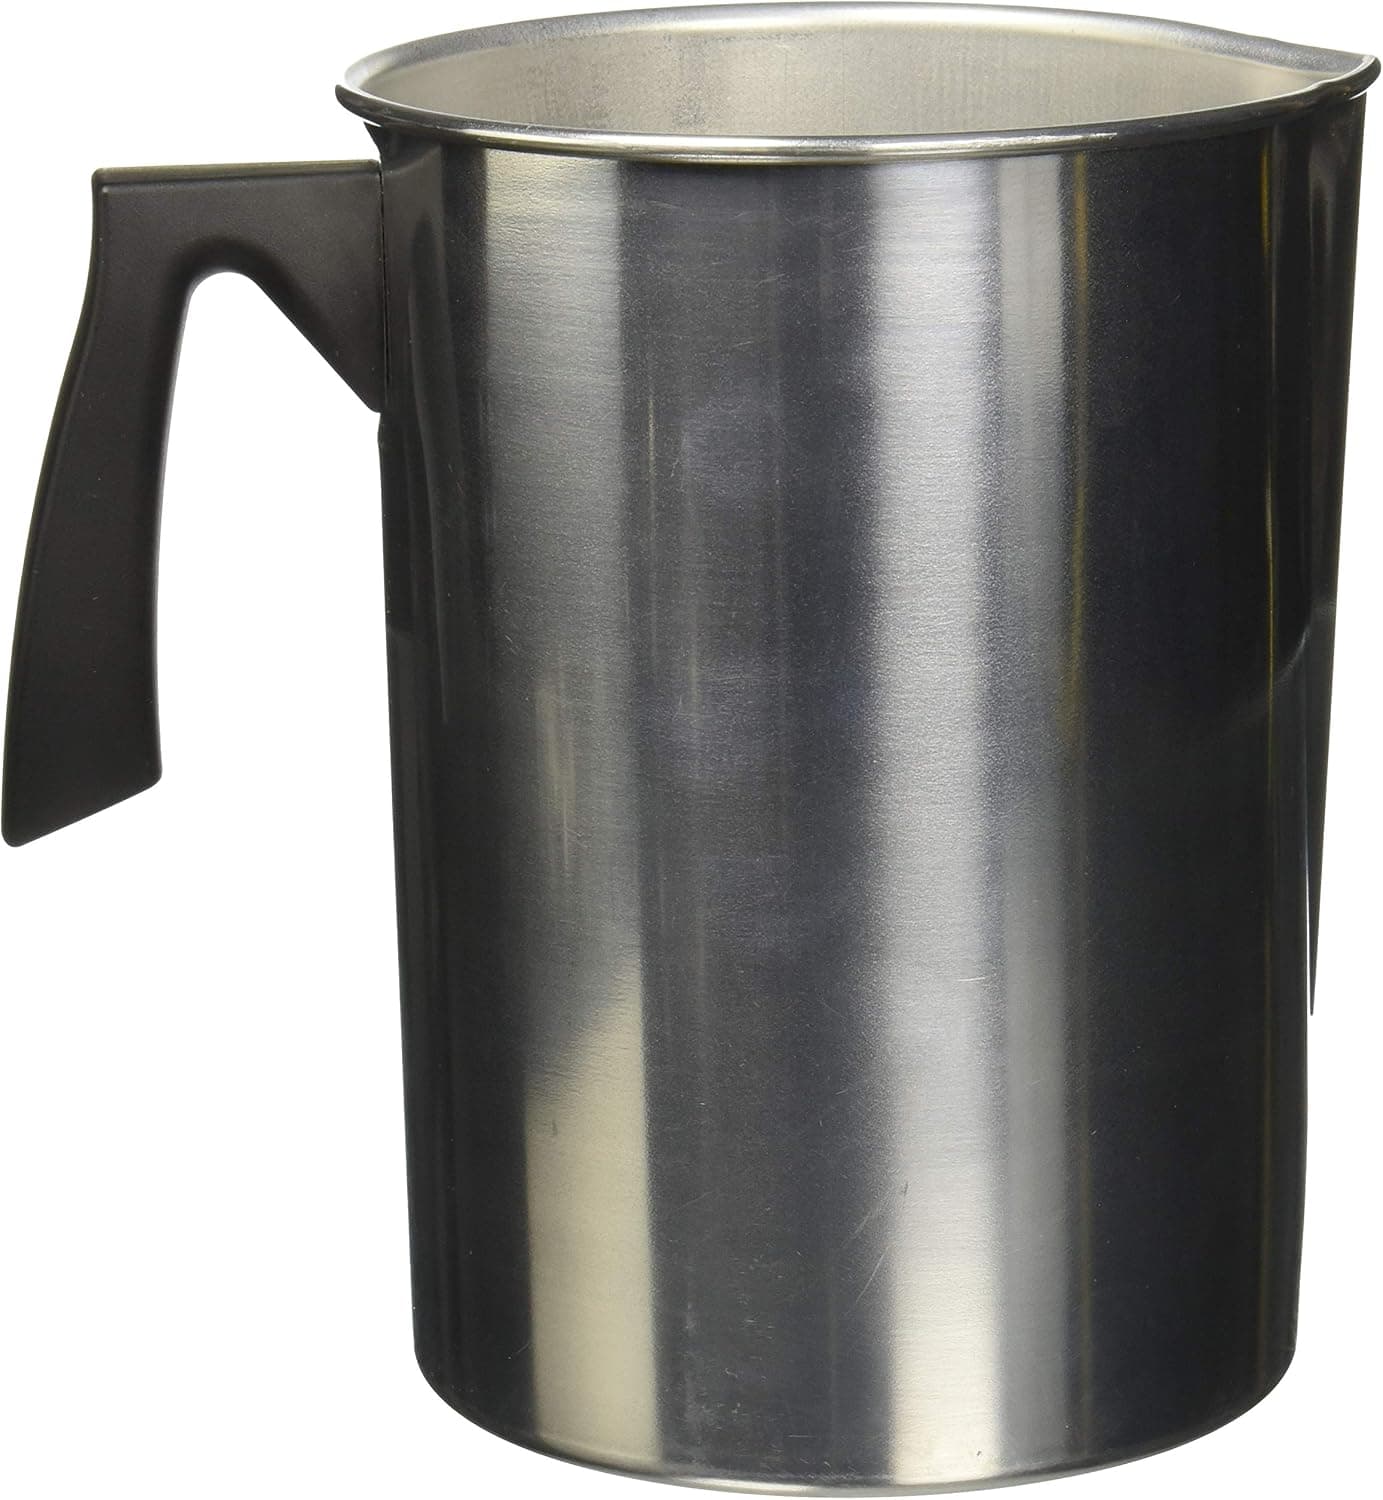
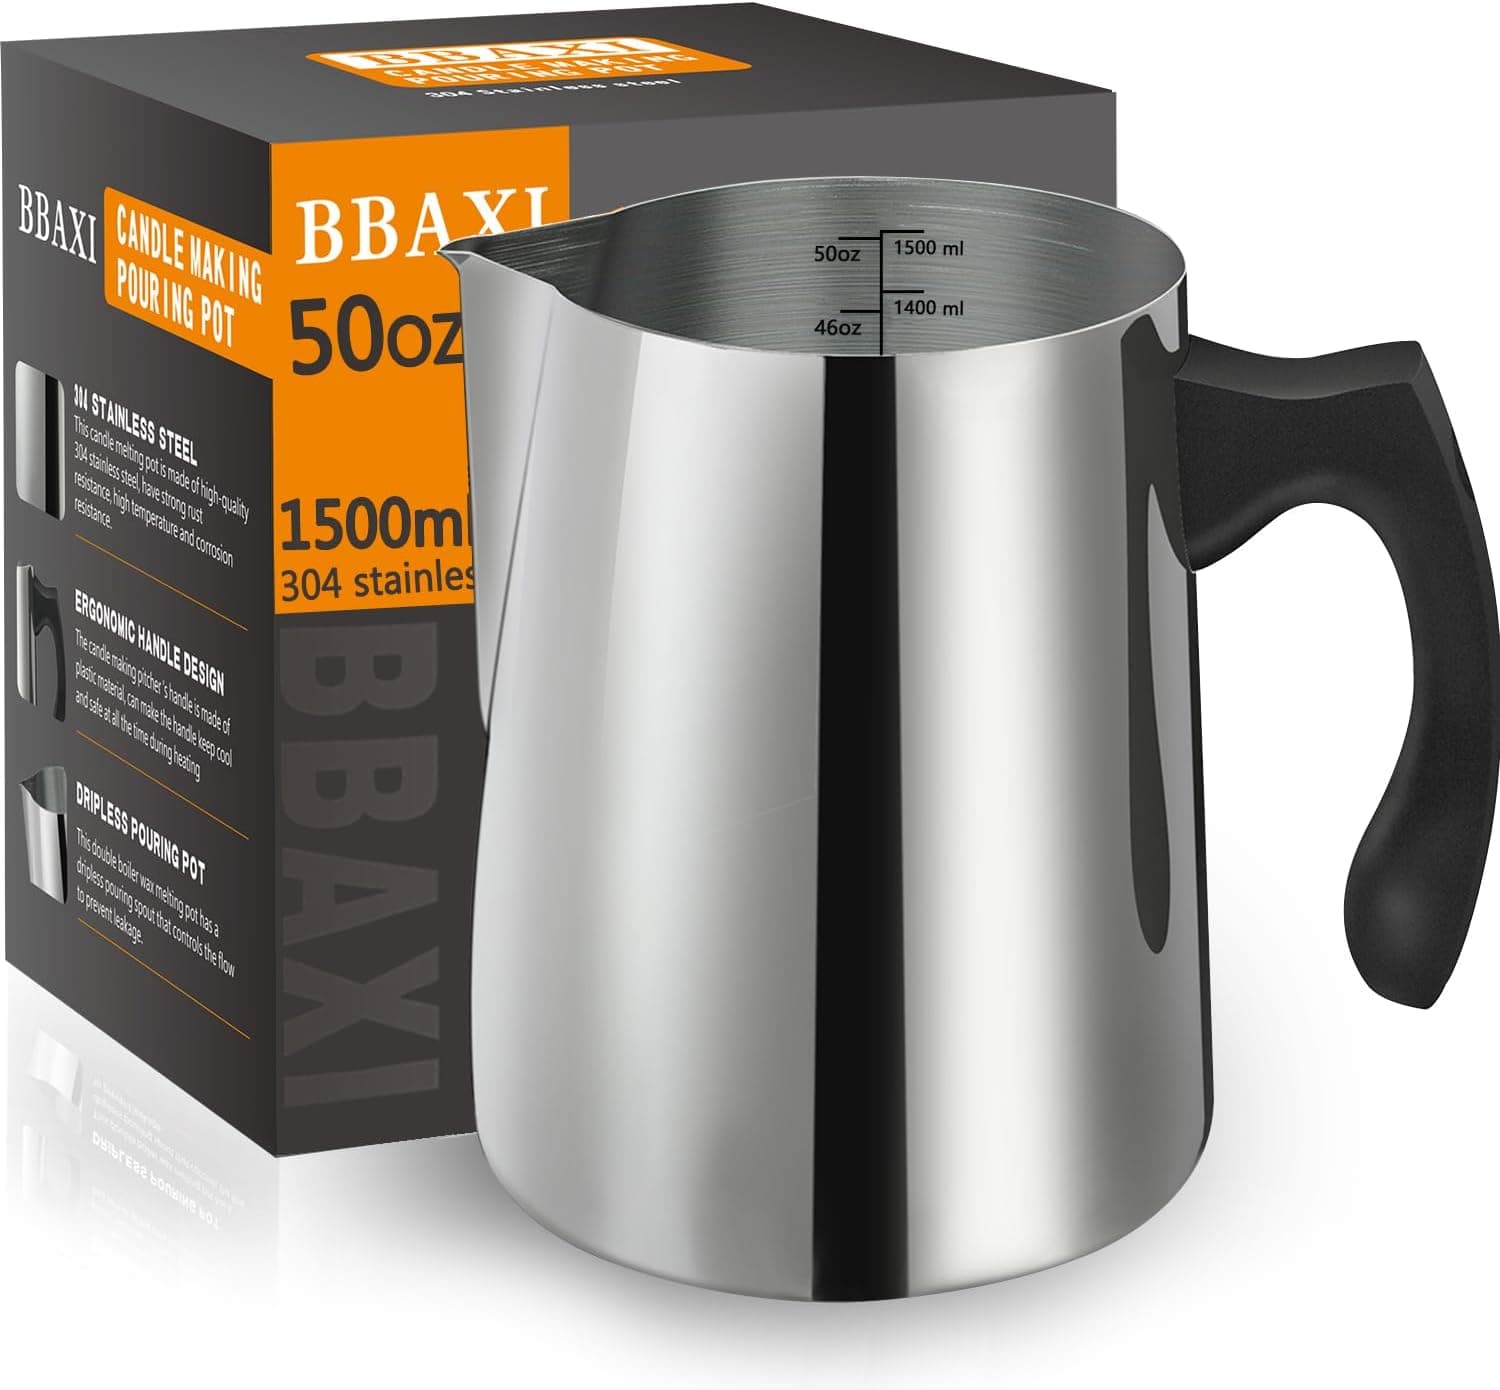
+ 304 stainless steel is sturdy and rust resistant
From our guide: Best Pouring Pitchers for Candle Making
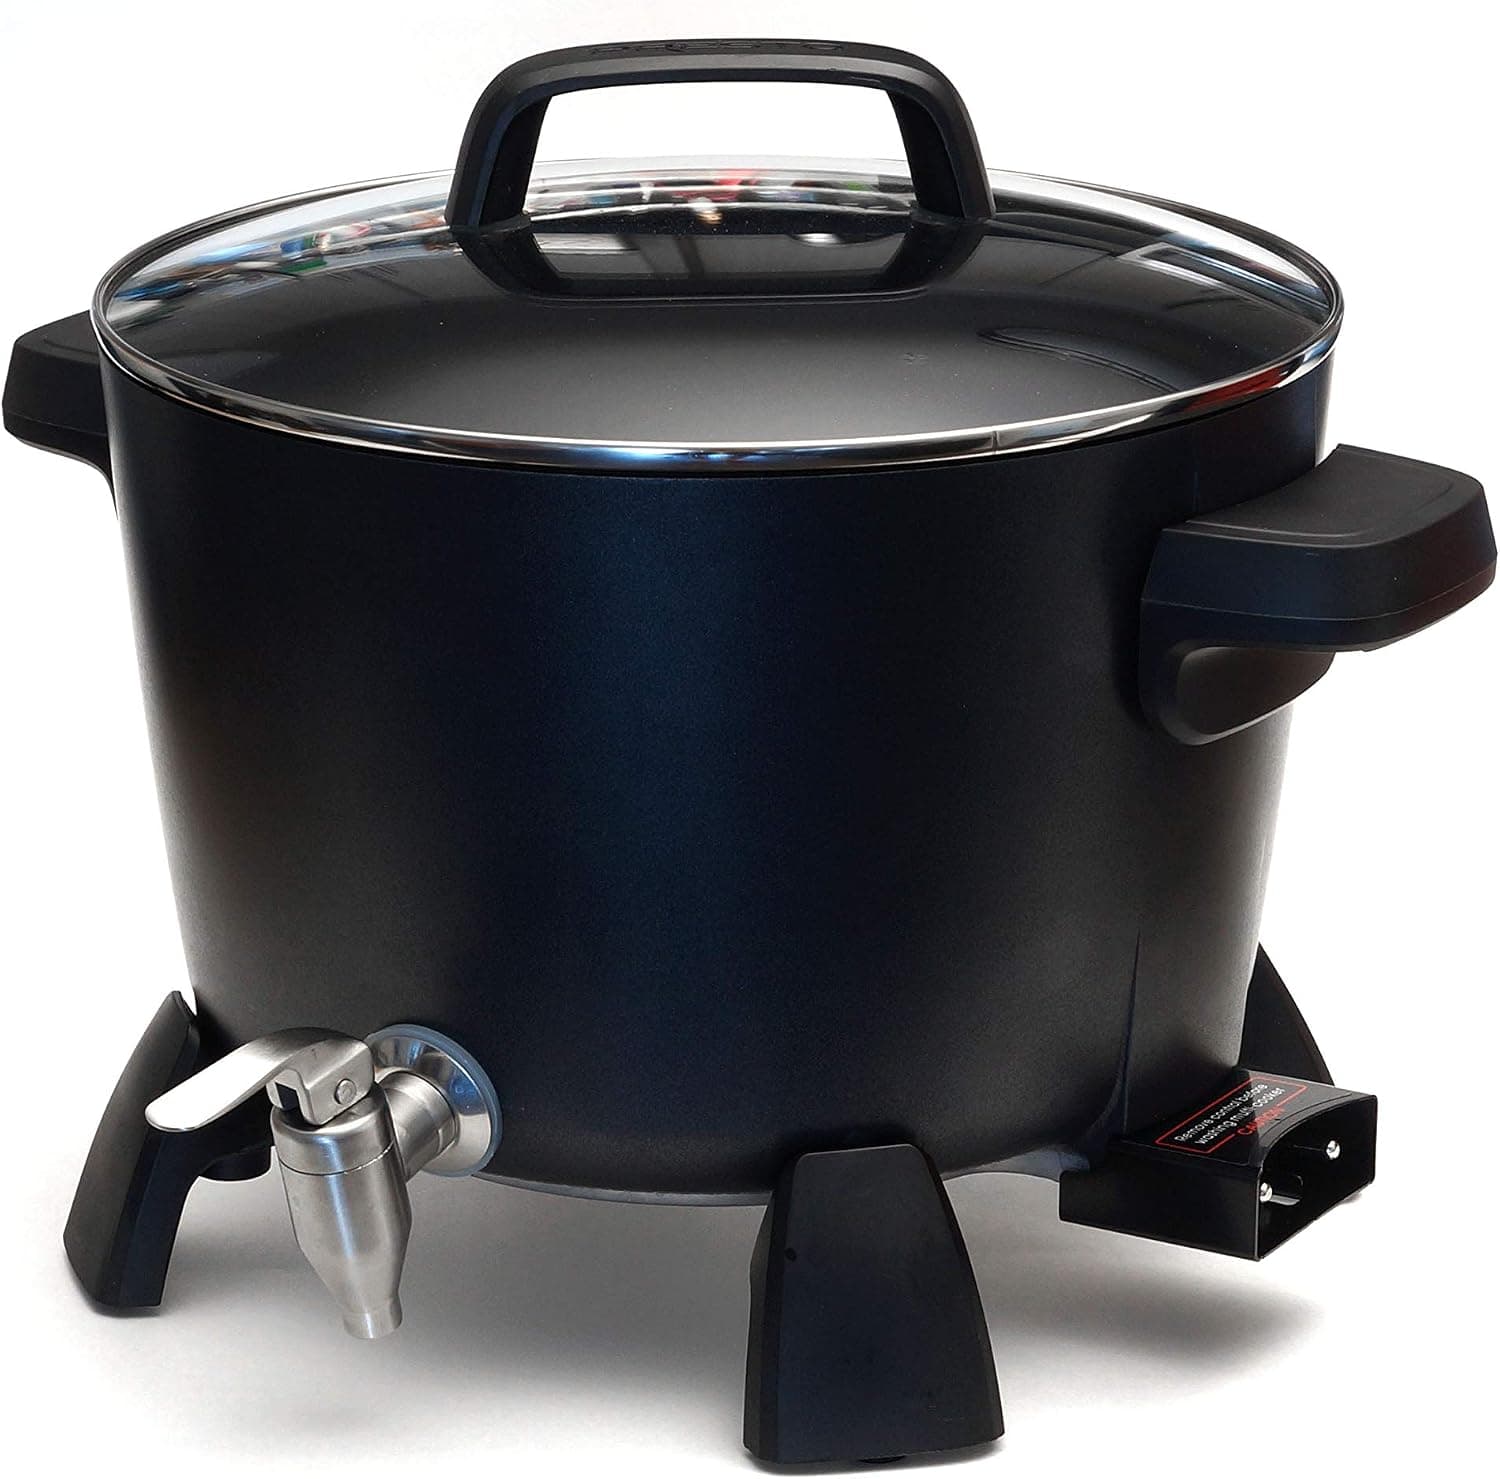
+ 8 Quart (16 lb) capacity supports small business runs
From our guide: Best Wax Warmers and Melters for Candle Making
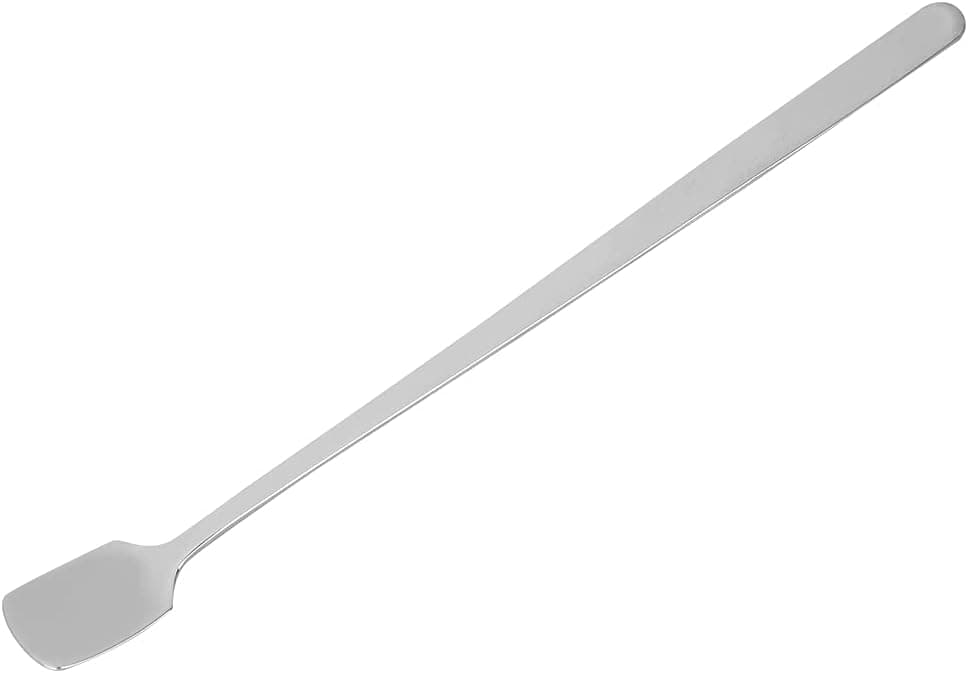
+ Square spoon head scrapes pitcher corners well
From our guide: Best Stirring Tools for Candle Wax and Fragrance
+ Dripless pouring spout keeps jar rims clean
From our guide: Best Pouring Pitchers for Candle Making
Popular right now
- Packaging Candles for Shipping Without BreakageArticle
- Soy vs Beeswax vs Coconut WaxArticle
- Choosing Safe Vessels for Container CandlesArticle
- Best Ceramic Candle Vessels for a Premium LookBuying guide
- Labeling Candles for SaleArticle
- Burn Testing a New Candle Recipe From Start to FinishArticle
Based on the last 28 days of search and visitor data.