Getting Started With Candle Making
Published How we research
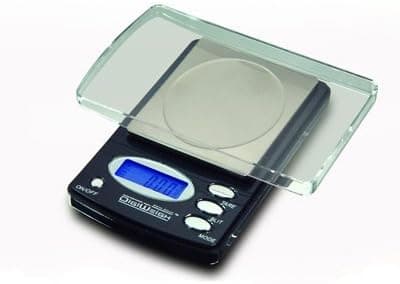
Candle making looks intimidating from the outside because supply shops sell hundreds of products. In practice your first candle needs about eight things: a wax, a wick, a vessel, a fragrance oil if you want scent, a digital thermometer, a pouring pitcher, a kitchen scale that reads in grams, and something to stir with. Everything else is refinement. Buy small quantities of a few items rather than a large quantity of one, because you will change your mind about wax and fragrance within your first month.
Set up your bench before you melt anything. You want a flat heatproof surface, a spot where the poured candles can sit undisturbed for at least twelve hours, and a clear path between the heat source and the pouring area so you are never carrying hot wax past a pet or a child. Cover the surface with parchment or cardboard. Have a roll of paper towels within reach, because spills happen to everyone and the cleanup is much easier while the wax is still warm.
Safety is short and non-negotiable. Never leave melting wax unattended, not even to answer the door. Wax has a flash point and an unwatched pot can reach it. Keep water away from hot wax entirely: a splash of water into hot wax spits violently, and if wax ever does ignite you smother it with a lid or a fire blanket, never with water. A double boiler or a dedicated wax melter is safer than direct heat because it limits how hot the wax can get. Wear closed shoes and keep sleeves out of the way.
The basic workflow is the same for almost every container candle. Weigh your wax. Melt it gently to the temperature your wax manufacturer recommends. While it melts, secure the wick in the centre of the vessel with a wick sticker or a dab of hot glue and hold it upright with a clip or a clothespin laid across the rim. When the wax reaches the fragrance addition temperature, weigh in your fragrance oil and stir for a full two minutes so it genuinely disperses. Let the wax cool to the recommended pour temperature, then pour steadily down the side or the middle in one continuous motion. Leave the candles alone while they set.
Keep a notebook from candle number one. Record the wax type, the exact weights, the fragrance and its percentage, the melt temperature, the fragrance addition temperature, the pour temperature, the room temperature, the wick series and size, and the vessel diameter. When a candle turns out badly you will only be able to fix it if you know what you did. Makers who skip the notebook end up repeating the same failures for months. A cheap notebook is the highest value item on your bench.
Expect the first few candles to be imperfect and treat them as data rather than failures. Rough tops, small surface dips, and a faint scent right after pouring are all normal. Container candles generally need time to cure before you judge the scent, so do not throw out a batch on day one. Light your test candles only when you can watch them, on a heatproof surface, away from anything flammable, and trim the wick to roughly a quarter inch before each burn.
Once you have made five or six candles with the same wax and the same fragrance, you will start to see which variable is actually causing your problems. That is the point where reading about wick sizing, pour temperatures, and cure time stops being abstract and starts being useful. Change one thing at a time, write it down, and your results will improve much faster than they would by changing your entire recipe at once.
Products from this article
The highest-scoring picks from the buying guides mentioned above. Scores are our editorial assessment, not customer ratings.
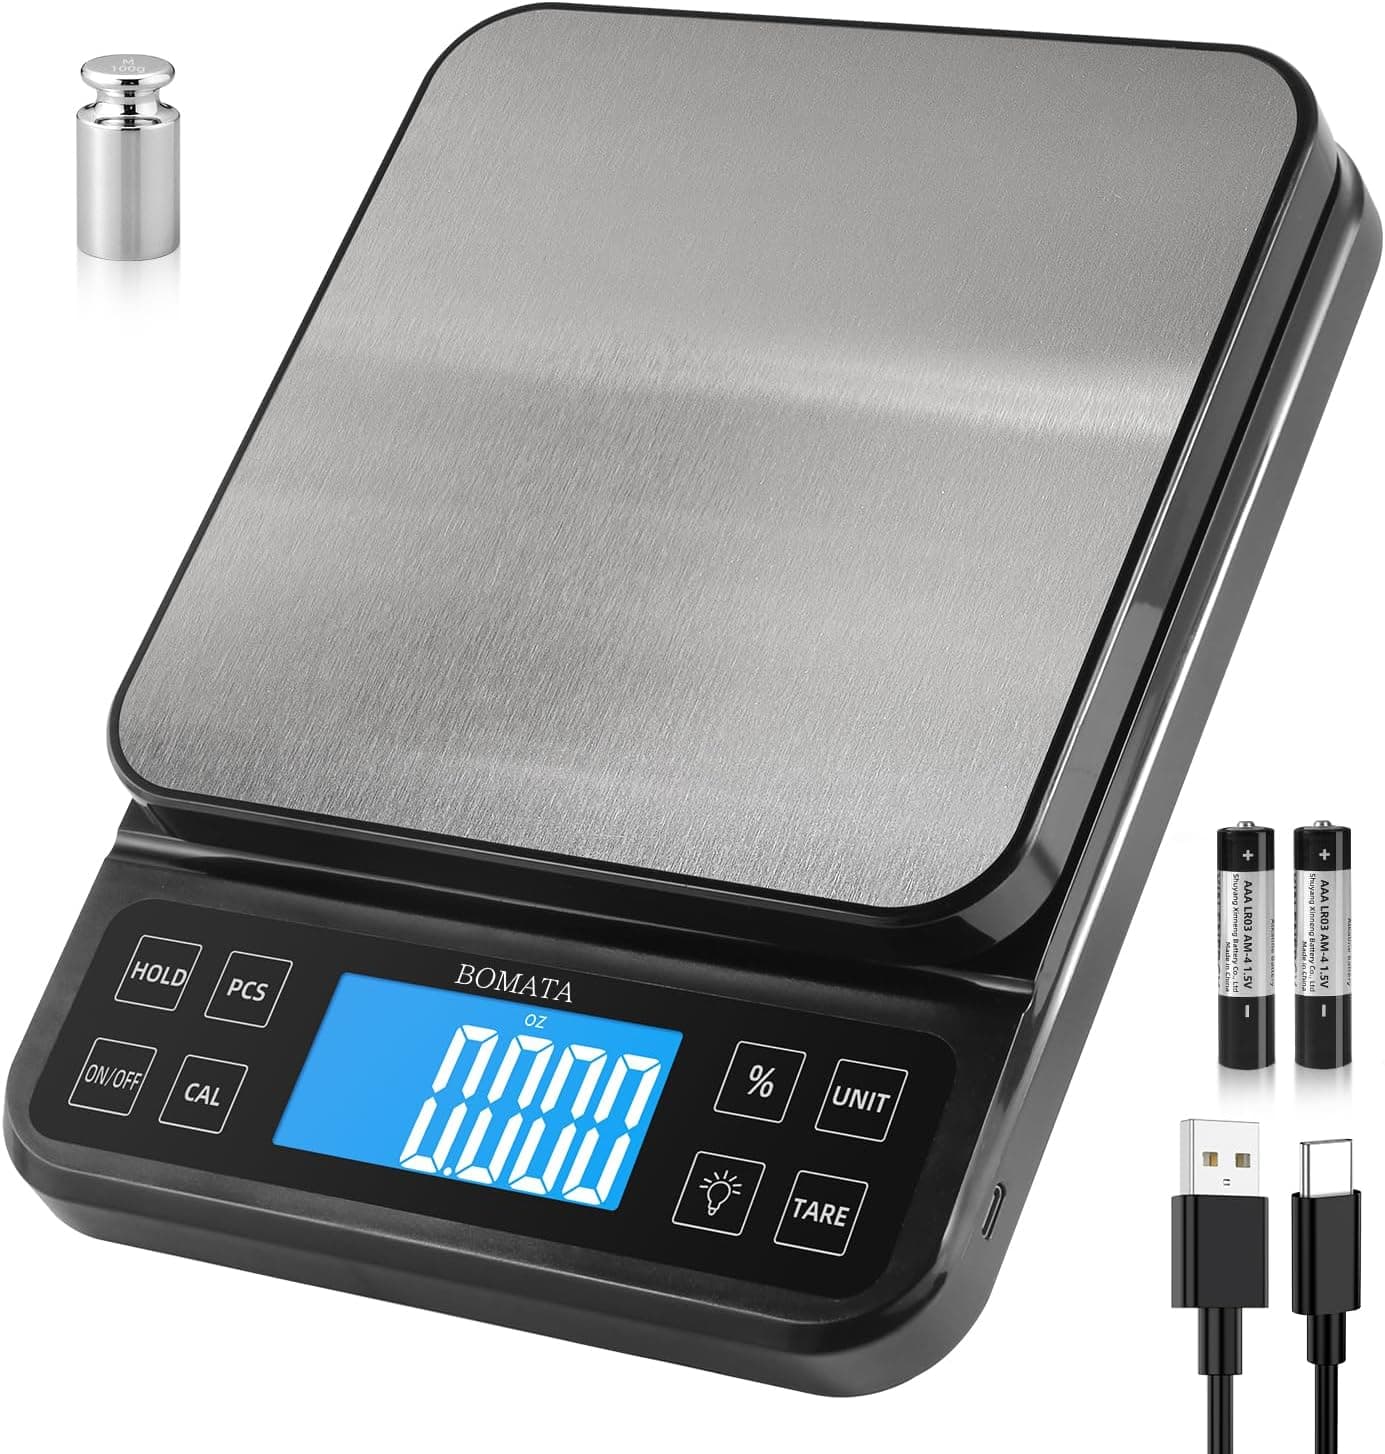
+ Percentage function helps calculate fragrance load quickly
From our guide: Best Digital Scales for Candle Making
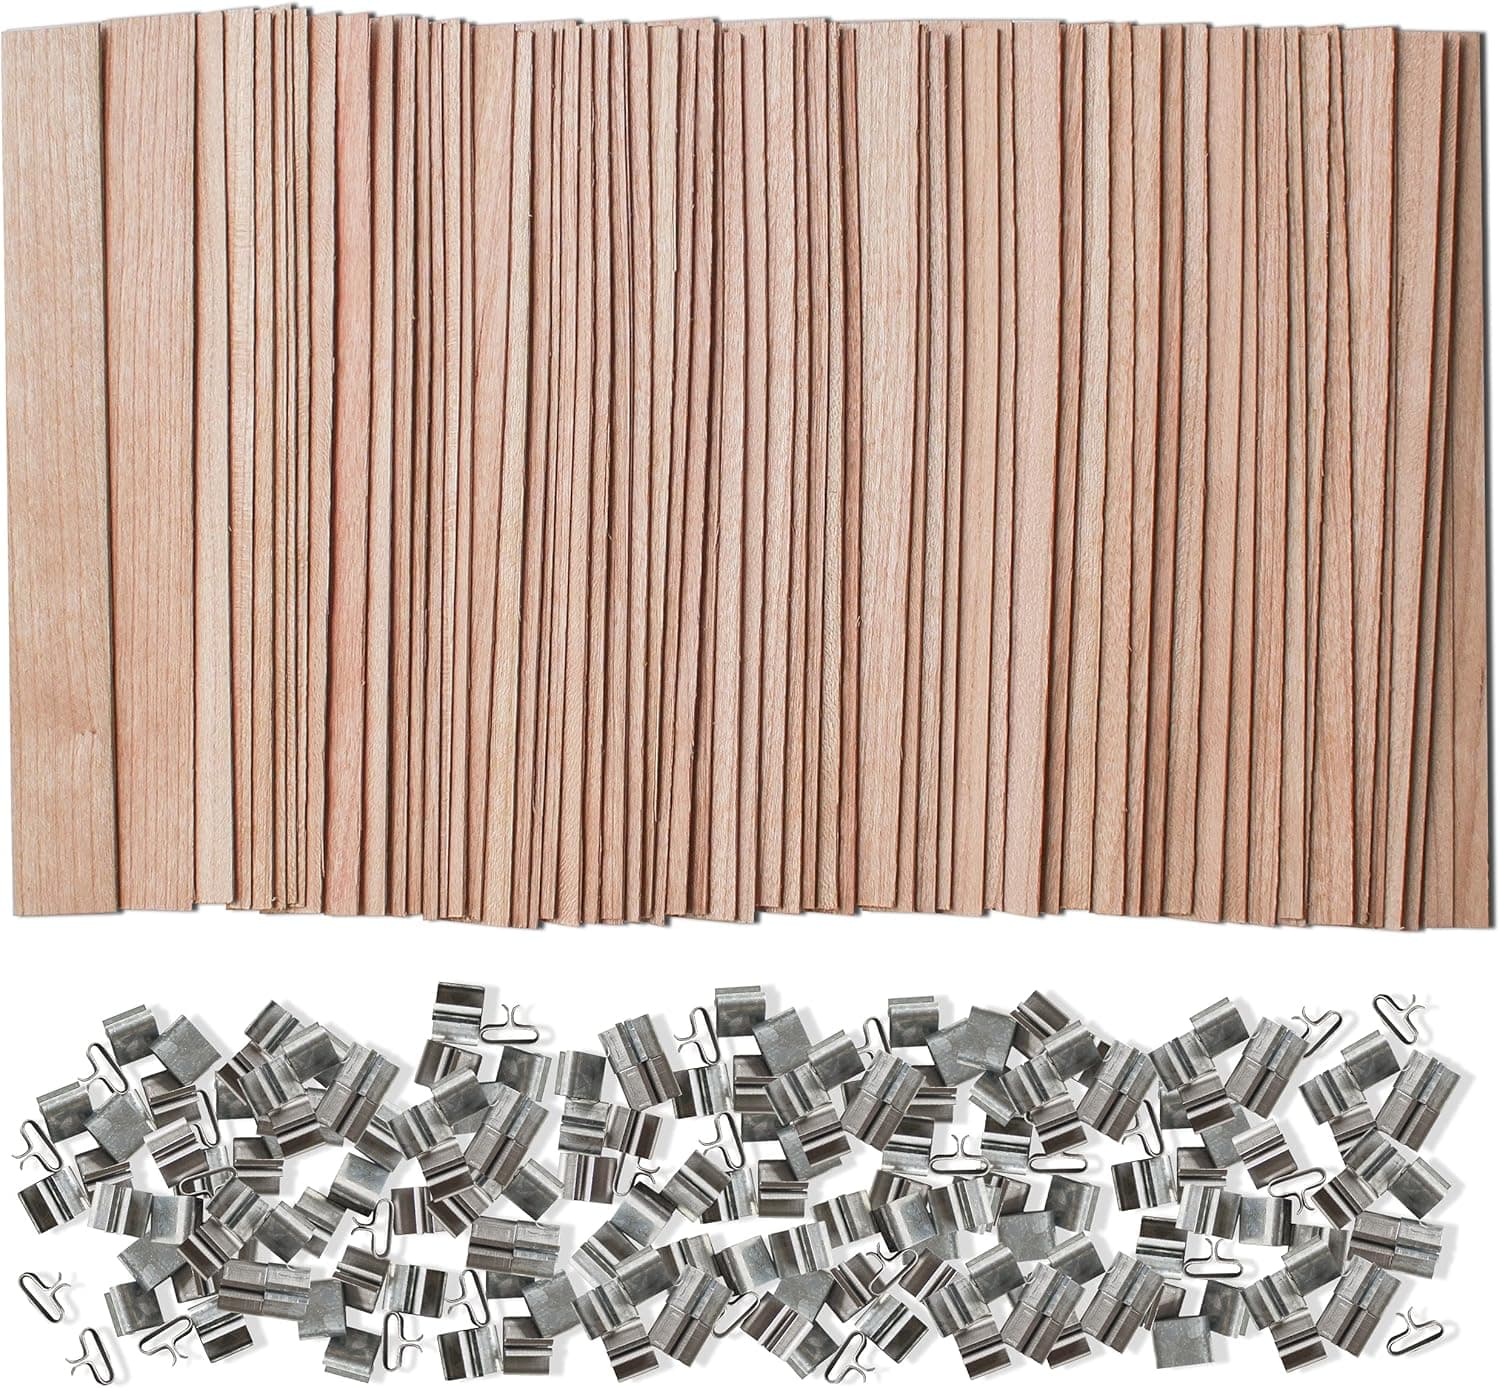
+ Specialist wood wick brand with sizes matched to wax type
From our guide: Best Wooden Wicks for Candles
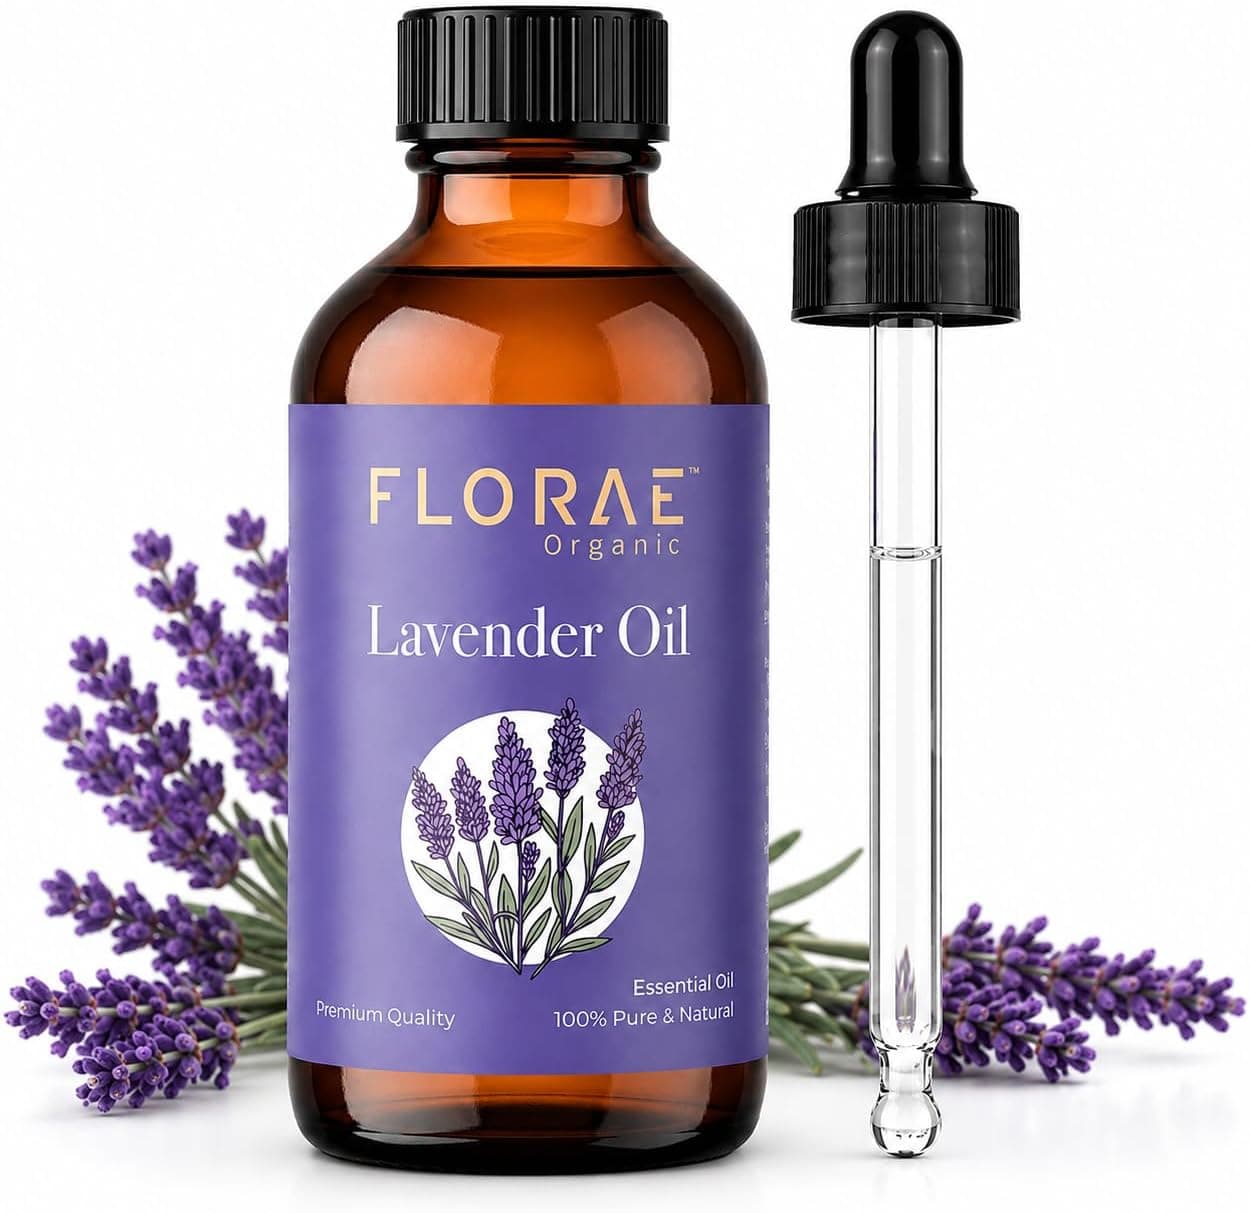
+ 4 Fl Oz bottle is enough for a real batch of lavender candles
From our guide: Best Essential Oils for Candles and What to Expect
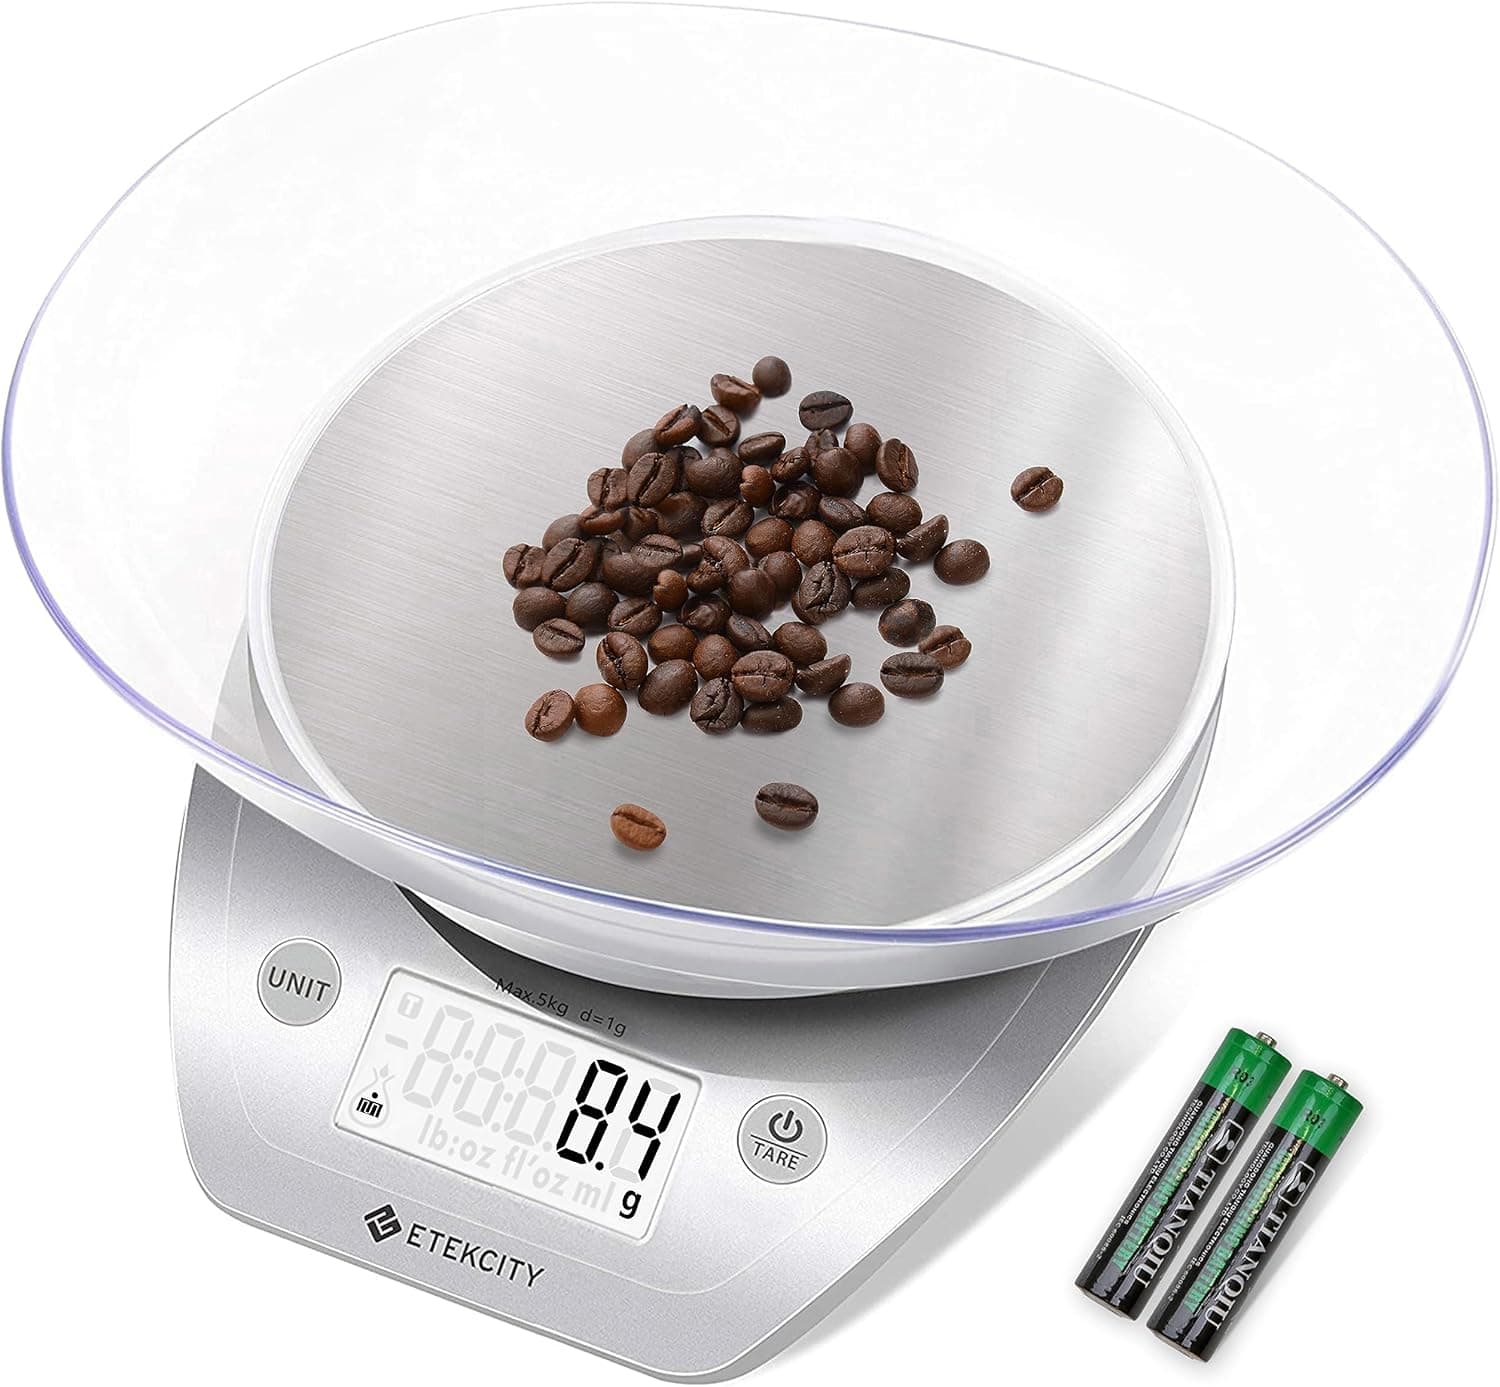
+ Included bowl makes weighing wax flakes easy
From our guide: Best Digital Scales for Candle Making
Popular right now
- Packaging Candles for Shipping Without BreakageArticle
- Soy vs Beeswax vs Coconut WaxArticle
- Choosing Safe Vessels for Container CandlesArticle
- Best Ceramic Candle Vessels for a Premium LookBuying guide
- Labeling Candles for SaleArticle
- Burn Testing a New Candle Recipe From Start to FinishArticle
Based on the last 28 days of search and visitor data.