How to Size a Wick
Published How we research
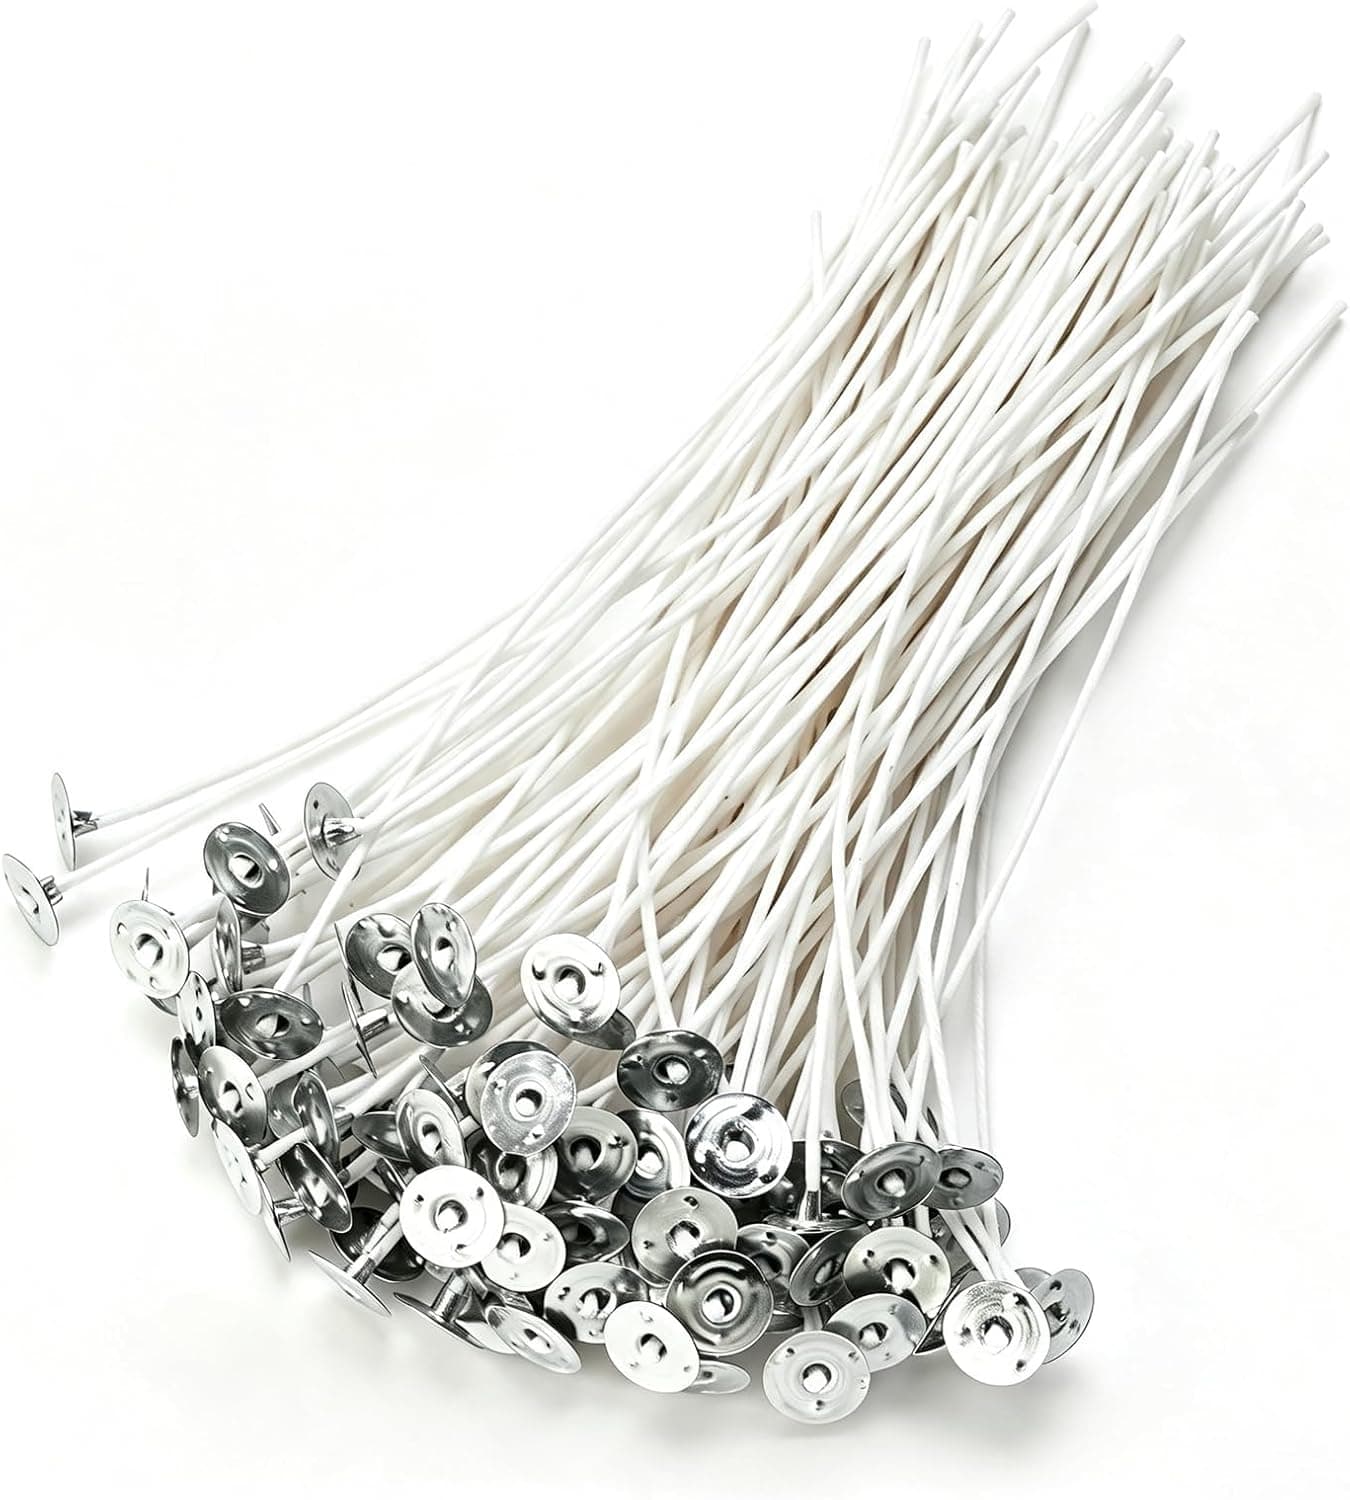
Wick sizing is the single hardest part of candle making because there is no formula that survives contact with reality. A wick has to melt the wax across the full diameter of the container without overheating the vessel or producing a huge flame. That balance depends on the vessel diameter, the wax, the fragrance oil, the dye, the wick material and the vessel shape. What you can do is narrow the starting range intelligently and then test properly.
Start with the vessel diameter measured at the widest point of the wax pool, not at the rim. Most wick manufacturers publish a chart mapping their series to diameter ranges for a given wax family. Use that chart as your entry point rather than guessing. If your vessel is nine centimetres wide, look up what the manufacturer suggests for nine centimetres in a soy container wax, and note the size directly above and directly below it. Those three sizes are your first test set.
Adjust the starting point for what is in the wax. Fragrance oil and dye both change how the wax burns, and heavy fragrance loads generally require a slightly larger wick than the same wax unscented. Denser waxes such as beeswax also tend to need more wick than soft coconut blends at the same diameter. Vessel shape matters too: a straight-sided vessel behaves predictably, while a tapered or curved vessel changes the pool width as the candle burns down and often needs a compromise size.
Test three sizes side by side in identical vessels with identical wax, fragrance and cure time. Testing one wick at a time wastes weeks, because you have nothing to compare against. Label each jar on the base with the wick series and size. Burn them together in the same room, on a heatproof surface, away from draughts and away from anything flammable, and never leave burning test candles unattended. Draughts are the most common reason a test result looks wrong.
Read the burn with numbers rather than impressions. After the first burn of roughly three to four hours, measure the melt pool width and depth. You want a melt pool that reaches or nearly reaches the vessel wall by the end of a normal burn session, with a depth of a few millimetres rather than a deep well. Check the flame height, look for soot on the glass, and touch the outside of the vessel with the back of your hand to judge whether it is getting uncomfortably hot. Repeat for several consecutive burns, because problems often appear on burn three or four rather than burn one.
Interpret the results simply. A wick that leaves a hard ring of unmelted wax around the edge and a narrowing tunnel is too small. A wick that produces a tall flickering flame, a very deep melt pool, visible soot, mushrooming carbon on the tip, or a vessel too hot to hold is too big. If the smallest of your three sizes is still too hot, drop a size and test again. If the largest still tunnels, size up. Aim to land in the middle of your test range so you have room to adjust later.
When you change anything meaningful, size again. A new fragrance, a new dye, a new wax lot, a new vessel supplier, or a change in fragrance percentage can all shift the correct wick. Keep a wick log alongside your recipe notebook recording the wax, vessel, fragrance, percentage, wick tested and outcome. Over a year that log becomes the most valuable thing you own, because it lets you predict a starting wick for a new product instead of beginning from scratch every time.
Products from this article
The highest-scoring picks from the buying guides mentioned above. Scores are our editorial assessment, not customer ratings.
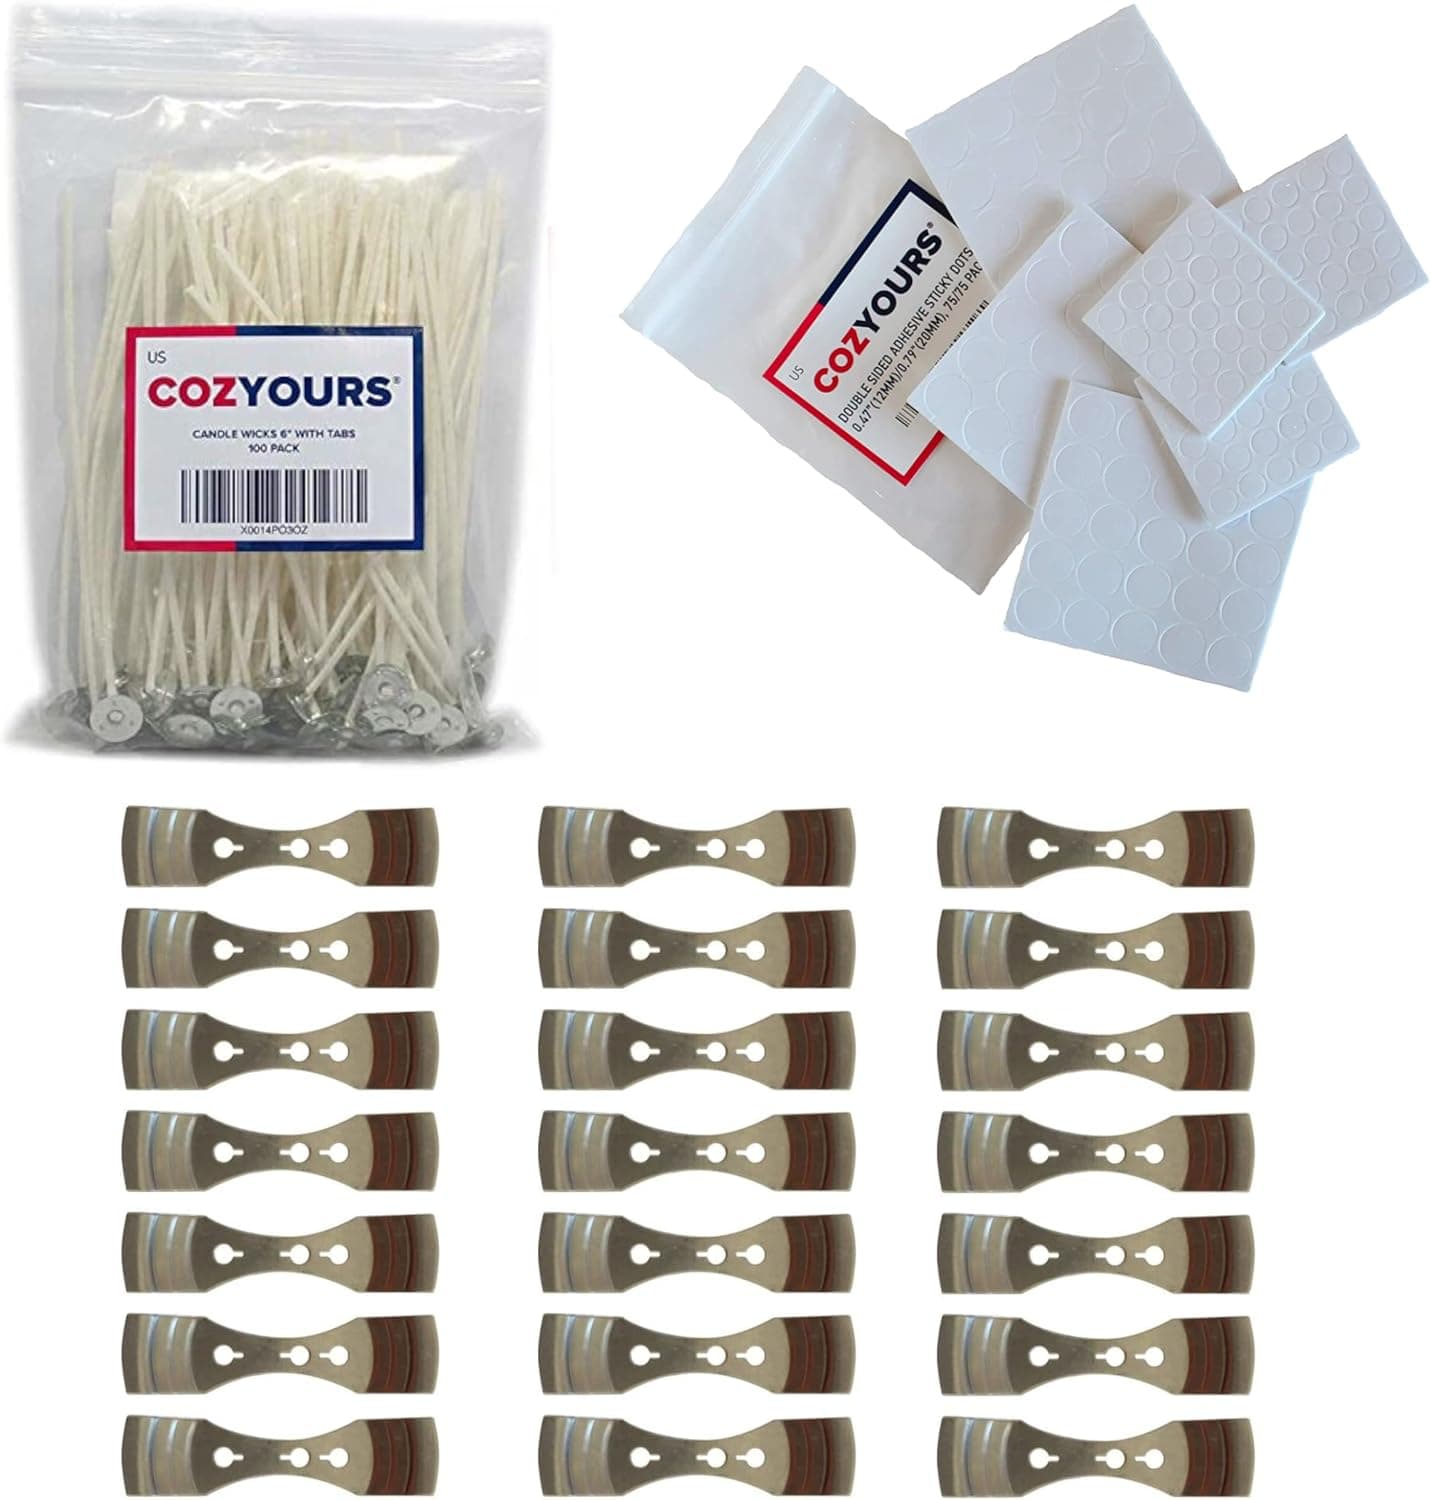
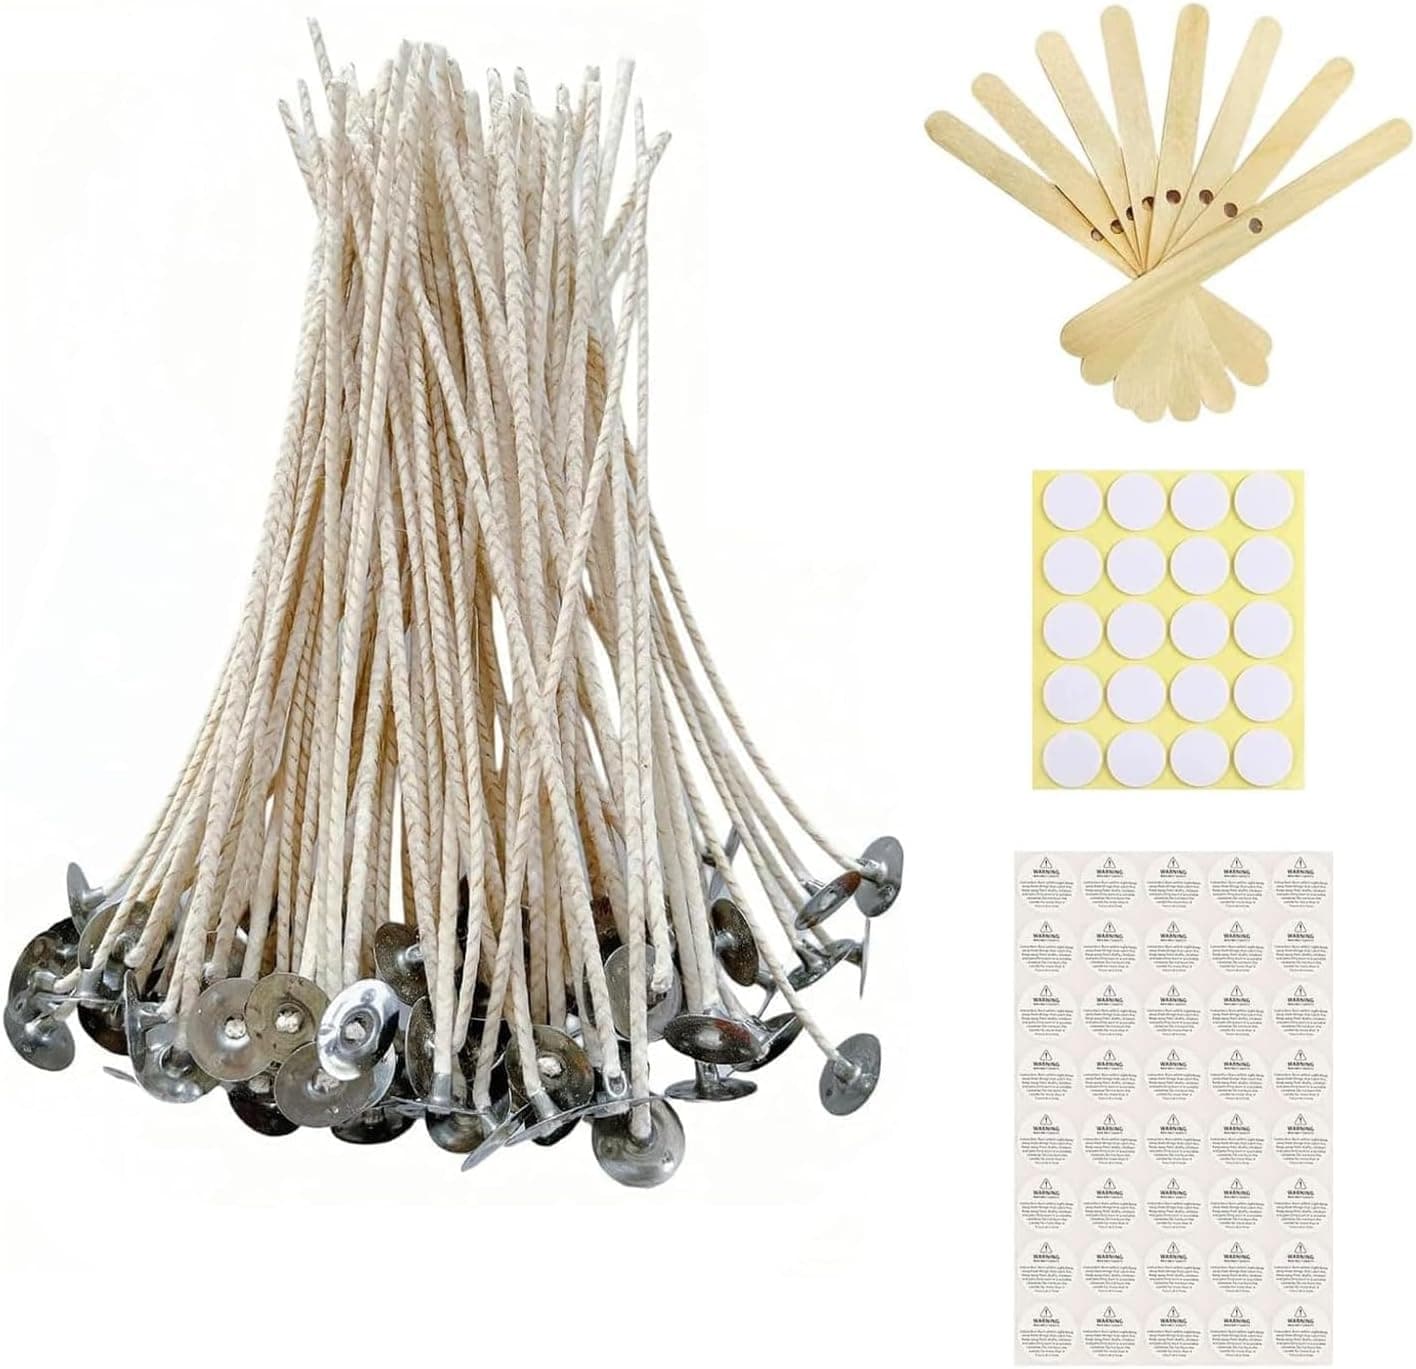
+ 21 metal centering devices let you pour a batch of jars at once
From our guide: Best Candle Wicks
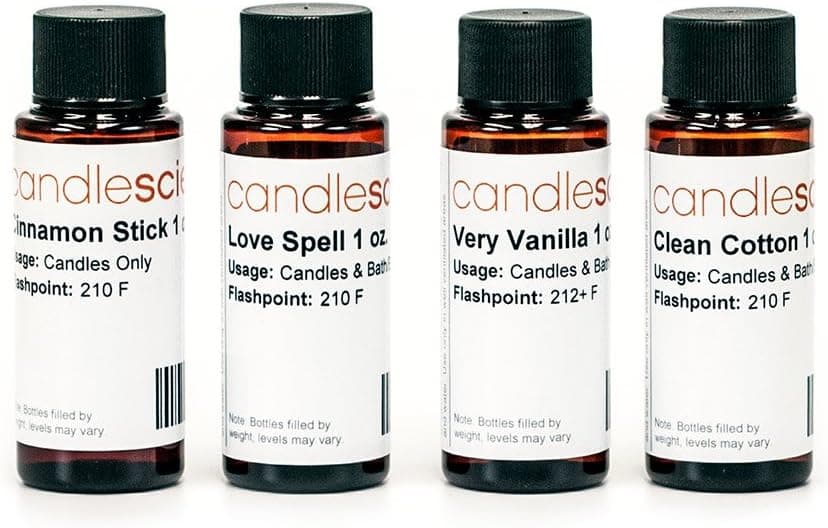
+ CandleScience oils are made and tested for candle making
From our guide: Best Fragrance Oil Sample Sets for Testing Scents
+ Six wick series in one kit make side by side burn tests possible
From our guide: Best Wick Sample Packs
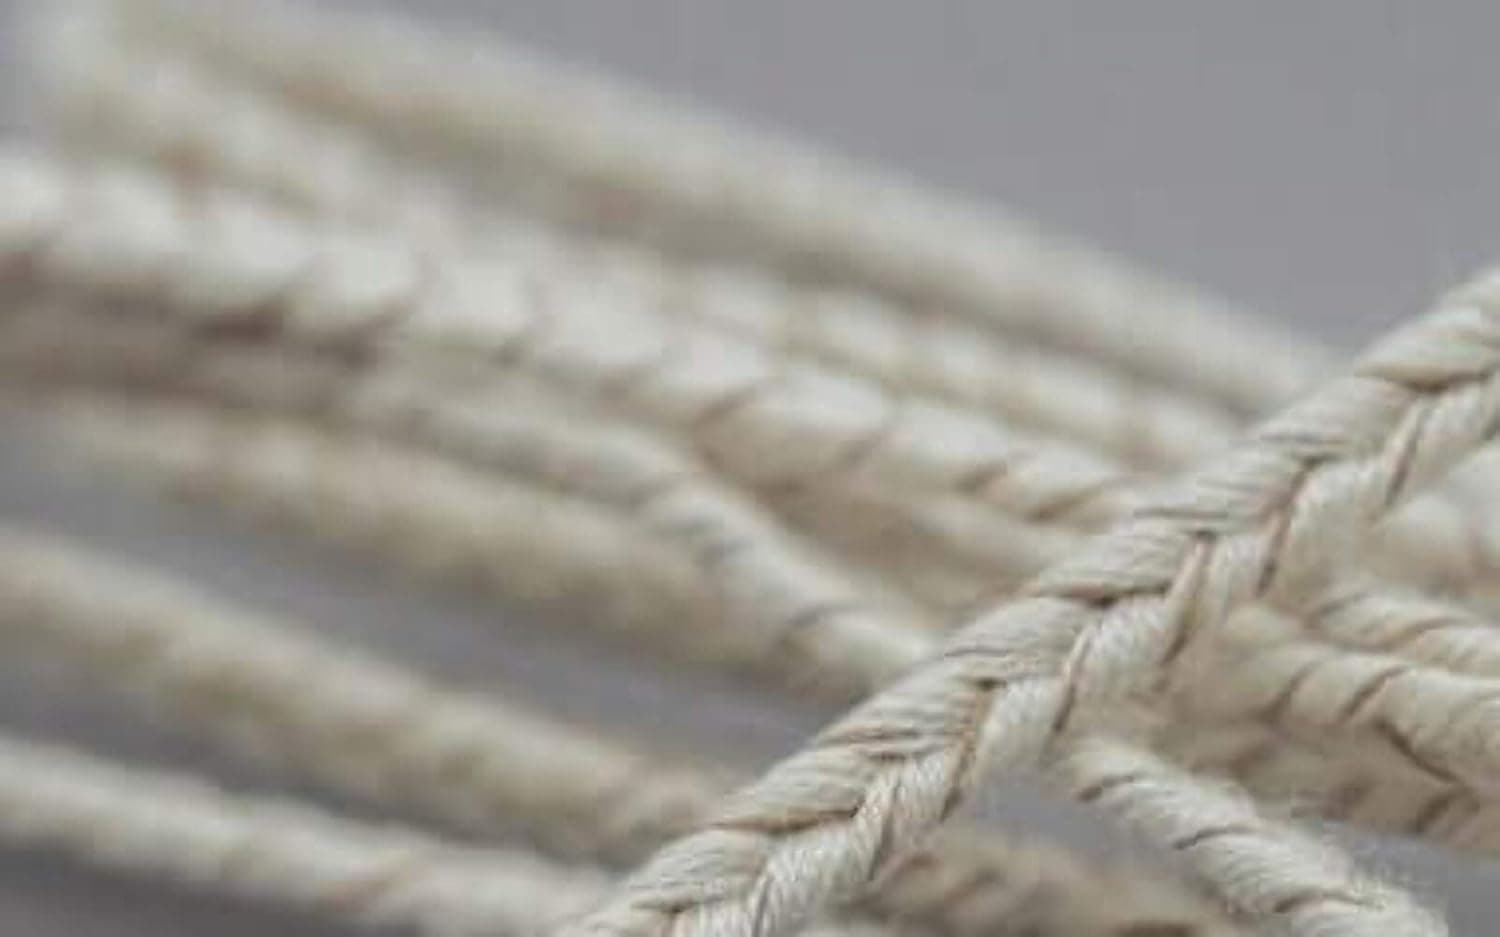
+ ECO style flat braid is popular for soy container candles
From our guide: Best Candle Wicks
Popular right now
- Packaging Candles for Shipping Without BreakageArticle
- Soy vs Beeswax vs Coconut WaxArticle
- Choosing Safe Vessels for Container CandlesArticle
- Best Ceramic Candle Vessels for a Premium LookBuying guide
- Labeling Candles for SaleArticle
- Burn Testing a New Candle Recipe From Start to FinishArticle
Based on the last 28 days of search and visitor data.