Making Pillar Candles That Release Cleanly and Burn Straight
Published How we research
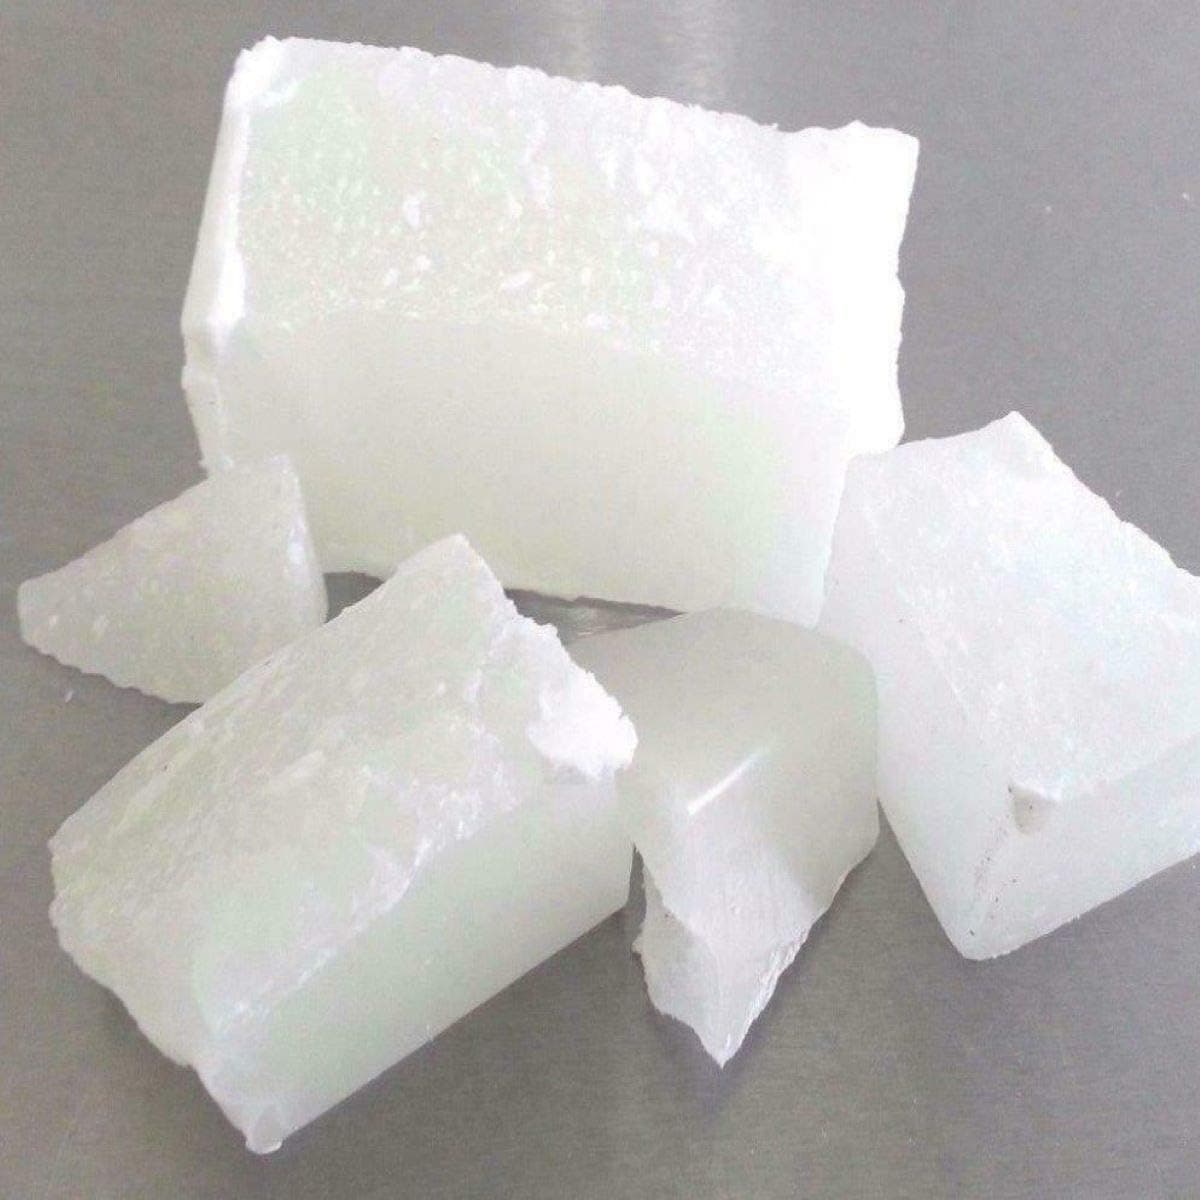
Pillar candles stand on their own without a container, which changes almost every decision compared with jar candles. The wax must be hard enough to hold its shape when the outside softens, and it must shrink slightly as it cools so the candle releases from the mould. That is why pillar wax and container wax are formulated differently and are not interchangeable. Using a soft container wax in a mould gives you a candle that sticks, sags and slumps as it burns.
Start with a wax sold explicitly as a pillar or moulding blend, or with beeswax, which is naturally hard and well suited to freestanding candles. Some makers blend beeswax into a soy pillar wax to increase hardness and burn time. Whatever you use, check the data sheet for melt, fragrance addition and pour temperatures, and note that pillar waxes generally run hotter than container waxes throughout.
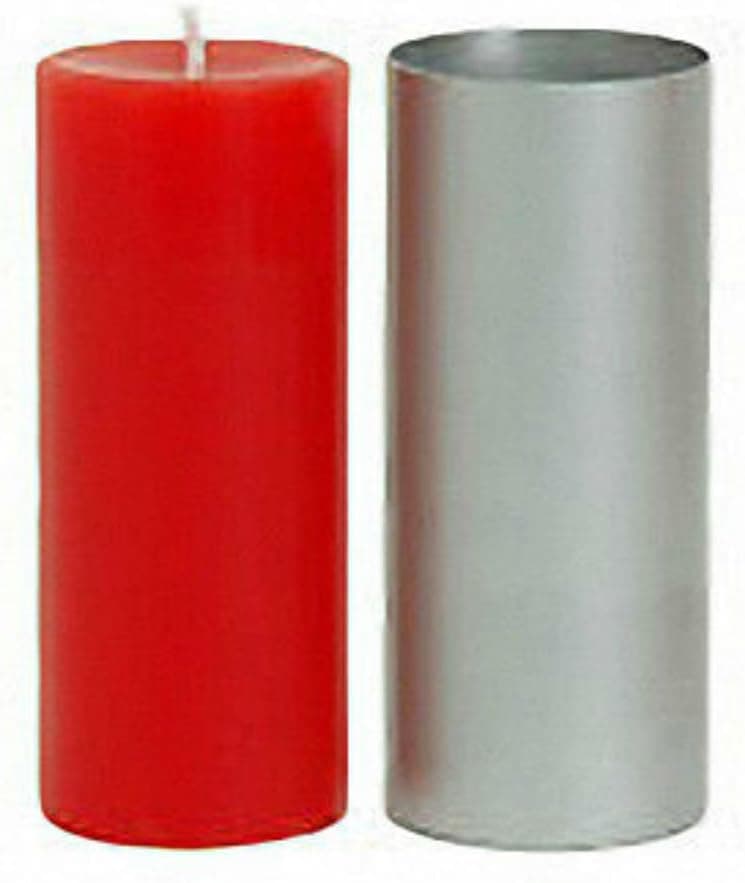
Mould choice affects the finish. Seamless aluminium and polycarbonate moulds give a smooth professional surface and are easy to clean. Silicone moulds allow intricate shapes and release easily but can leave a softer surface texture. Whatever the material, the mould must be clean and dry before pouring, because dust and residue transfer straight onto the visible surface of the candle. Some makers use a light mould release spray for metal moulds, applied sparingly so it does not show.
Wicking a pillar follows different logic from a container. In a jar you generally want the melt pool to reach the wall. In a pillar you usually do not, because you want the outer wall to remain as a shell that contains the melted wax and gives the candle its glow. Aim for a melt pool that stops a few millimetres short of the edge. That means pillars are typically wicked slightly smaller than a container candle of the same diameter. Thread the wick through the mould before pouring, seal the base hole with mould sealer or putty, and hold the wick taut and centred at the top with a wick bar or a skewer.
Cooling is where pillars are won or lost. Pour at the temperature your wax recommends and then let the candle cool slowly and evenly at room temperature. Rapid cooling causes cracks, especially in beeswax and harder blends, and uneven cooling causes the candle to lean or develop dents. Expect a substantial sinkhole around the wick as the core contracts, and plan for a top-up pour. Poke the setting surface with a skewer to release trapped air, then fill with reserved wax warmed slightly above the candle surface temperature.
Release the candle only when it is completely cold, which for a large pillar can mean overnight. A properly cooled pillar in a metal mould usually slides out with a gentle tap. If it resists, a short spell in a cool place can shrink it slightly, but do not force it or freeze it, since thermal shock cracks the wax. Once out, trim the base flat by pressing it briefly onto a warm flat pan so the candle stands level.
Safety notes for pillars are worth repeating to customers because freestanding candles carry more risk than jars. Always burn a pillar on a heatproof holder or plate that can catch dripped wax, keep it away from draughts which cause uneven burning and running, trim the wick to about a quarter inch before each burn, never leave it unattended, and stop burning when about a centimetre of wax remains at the base. On your own bench, the usual rules hold: watch the melting wax at all times and keep water away from it.
Products from this article
The highest-scoring picks from the buying guides mentioned above. Scores are our editorial assessment, not customer ratings.
+ IGI 4625 is formulated for pillars and votives that release from molds
From our guide: Best Pillar Wax for Candles
+ Choose your height to match the pillar look you want
From our guide: Best Pillar Candle Molds for Clean Freestanding Candles
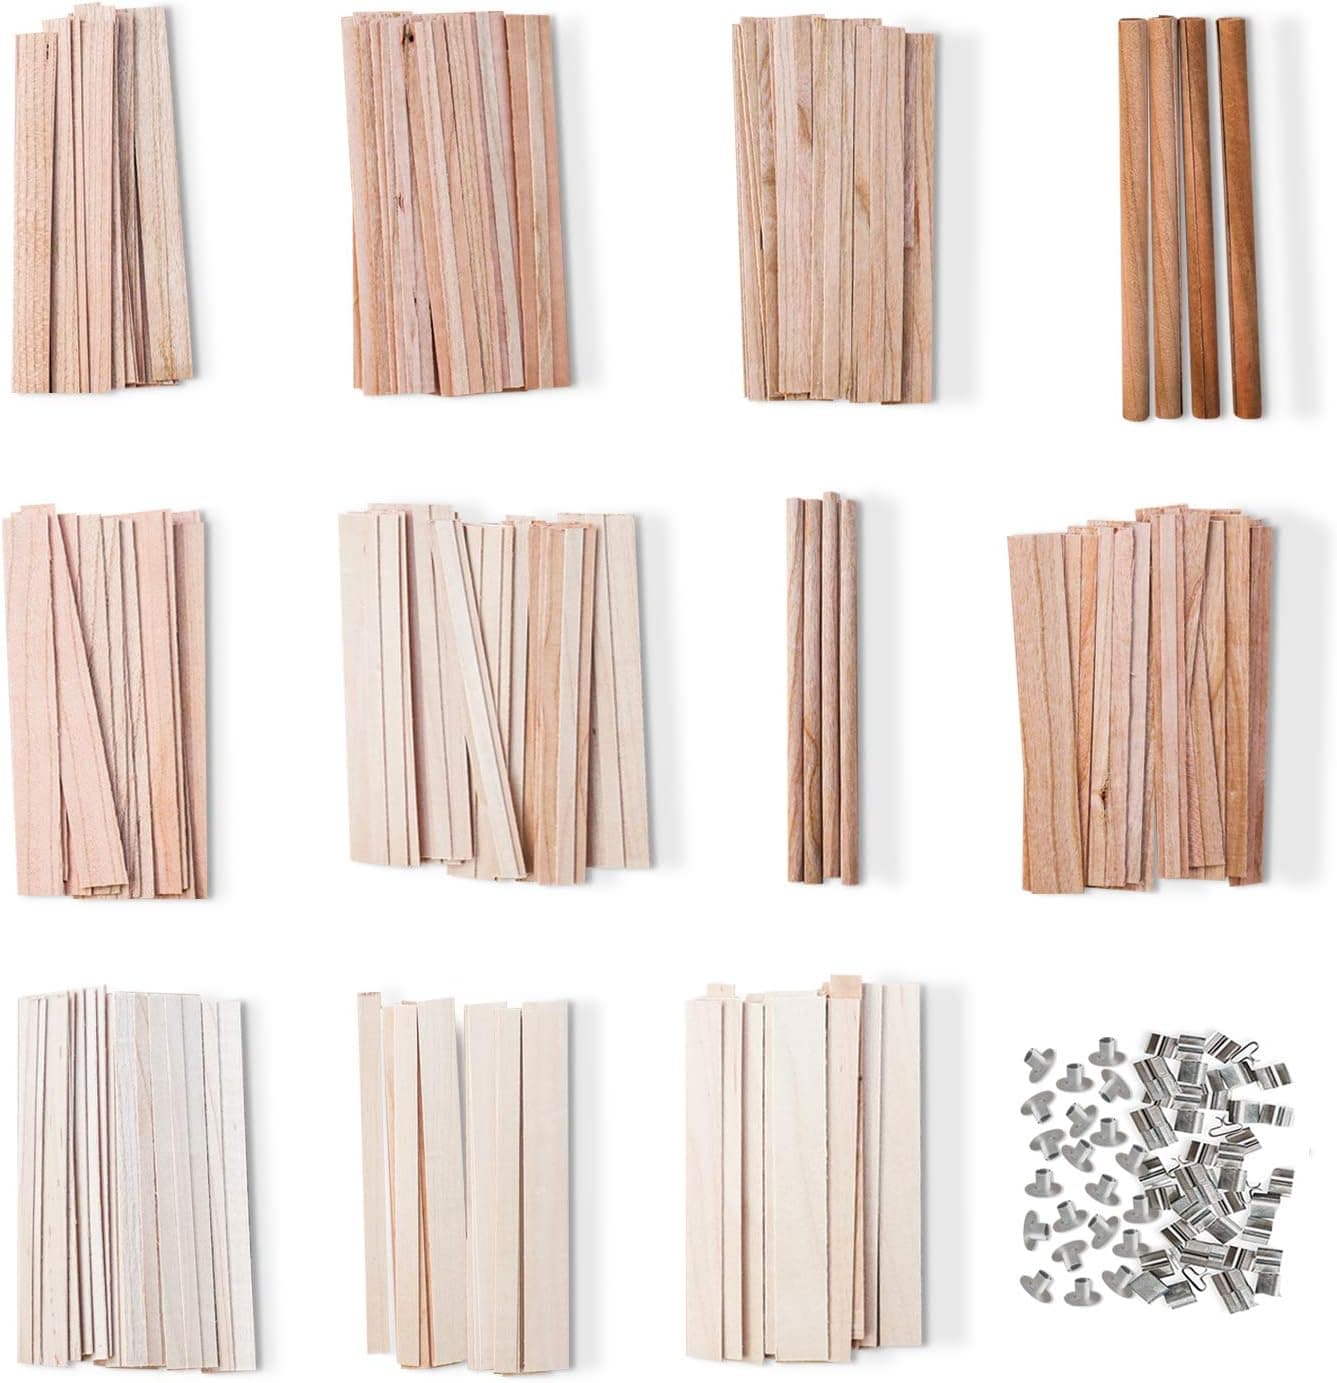
+ Eleven wick varieties allow proper side by side burn tests
From our guide: Best Candle Testing Supplies for Burn Trials
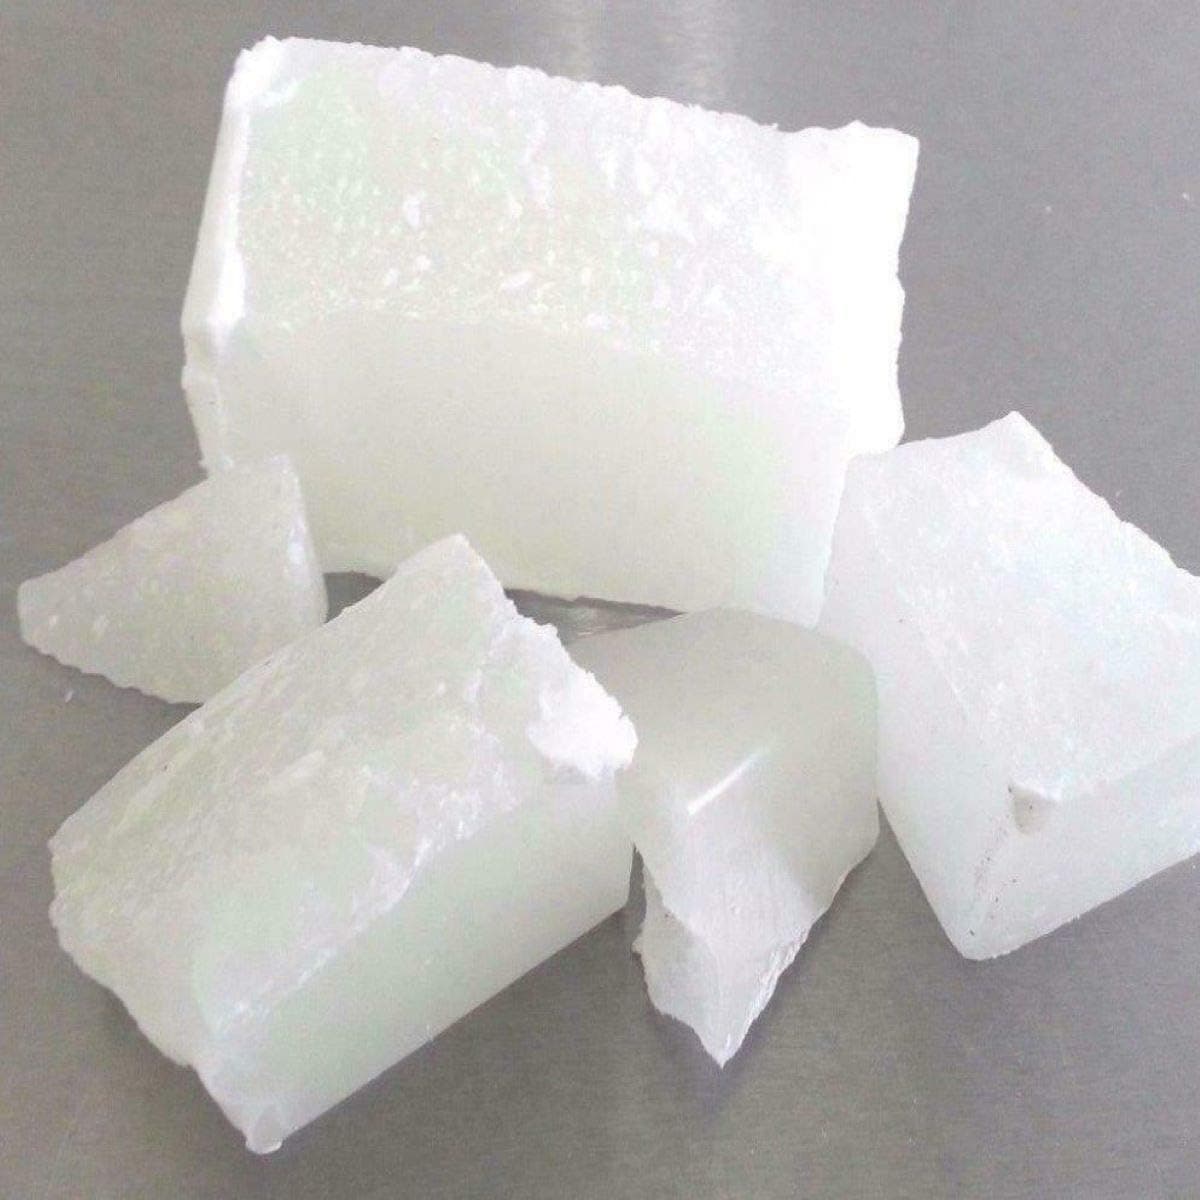
+ 22.50 pound box is a practical size for small candle businesses
From our guide: Best Pillar Wax for Candles
Popular right now
- Packaging Candles for Shipping Without BreakageArticle
- Soy vs Beeswax vs Coconut WaxArticle
- Choosing Safe Vessels for Container CandlesArticle
- Best Ceramic Candle Vessels for a Premium LookBuying guide
- Labeling Candles for SaleArticle
- Burn Testing a New Candle Recipe From Start to FinishArticle
Based on the last 28 days of search and visitor data.