Making Taper Candles by Dipping and Moulding
Published How we research
Taper candles are the slim upright candles that sit in a holder, and they are among the oldest candle forms. They are made in two ways: by repeatedly dipping a wick into melted wax until layers build up, or by pouring wax into a narrow taper mould. Dipping gives a slightly irregular handmade look and is genuinely enjoyable. Moulding is faster and more consistent if you want matched pairs.
Hardness is everything with tapers because the candle has almost no structural support. A soft wax taper will bend in a warm room and slump as it burns. Beeswax is the traditional and still the best choice, giving a rigid candle with a long slow burn. A hard paraffin or a stearic-hardened blend also works. Soy container wax is not suitable. If you blend, err on the side of harder than you think you need, and test a sample by standing a finished taper in a warm room for a day.
For dipping, you need a deep narrow vessel of melted wax, tall enough to submerge the full length of the candle, and a way to hang the pairs between dips. Cut a length of wick roughly double your intended candle length plus a few centimetres, drape it over a dowel so both ends hang free, and dip both ends together. Each dip should be a smooth continuous motion down and back up, not a pause at the bottom, since lingering melts off the layer you just built.
Patience between dips is the whole technique. Let each layer cool and set before the next dip, typically a minute or two depending on room temperature, or the new wax will simply remelt the old. Keep the wax temperature steady throughout: too hot and layers refuse to build, too cool and the surface goes lumpy. Expect thirty or more dips for a standard taper. Weight the wick ends with a small nut or washer for the first few dips to keep them hanging straight, and remove the weights once the candle has enough body.
For moulding, use a proper taper mould, thread the wick through, seal the base and pull the wick taut, then pour at the wax's recommended temperature. Narrow tall moulds trap air easily, so pour slowly and tap the mould gently to release bubbles. Expect a deep sinkhole down the centre as the wax cools and plan on one or two top-up pours. Cool slowly at room temperature; a fast chill will crack a narrow candle.
Finishing matters for tapers more than for other forms. If a taper is slightly bent, roll it gently on a warm flat surface while it is still faintly warm, or warm it briefly in your hands and straighten by hand. Trim the base to fit your intended holder, and shape it by pressing the base against a warm pan or paring it with a knife. Trim the wick to about a quarter inch. If you made pairs by dipping, cut them apart at the dowel and keep matched pairs together.
Tapers demand more from the person burning them, so include clear guidance. They must sit in a sturdy holder that fits properly and stands on a heatproof surface. They drip when exposed to draughts, so keep them away from open windows and vents. They burn down towards the holder, so never let one burn to the very bottom, and never leave a burning taper unattended or near curtains and overhead surfaces. On your own bench, keep an eye on the dipping vat at all times, since a tall vessel of melted wax at working temperature is not something to walk away from, and keep water well clear of it.
Products from this article
The highest-scoring picks from the buying guides mentioned above. Scores are our editorial assessment, not customer ratings.
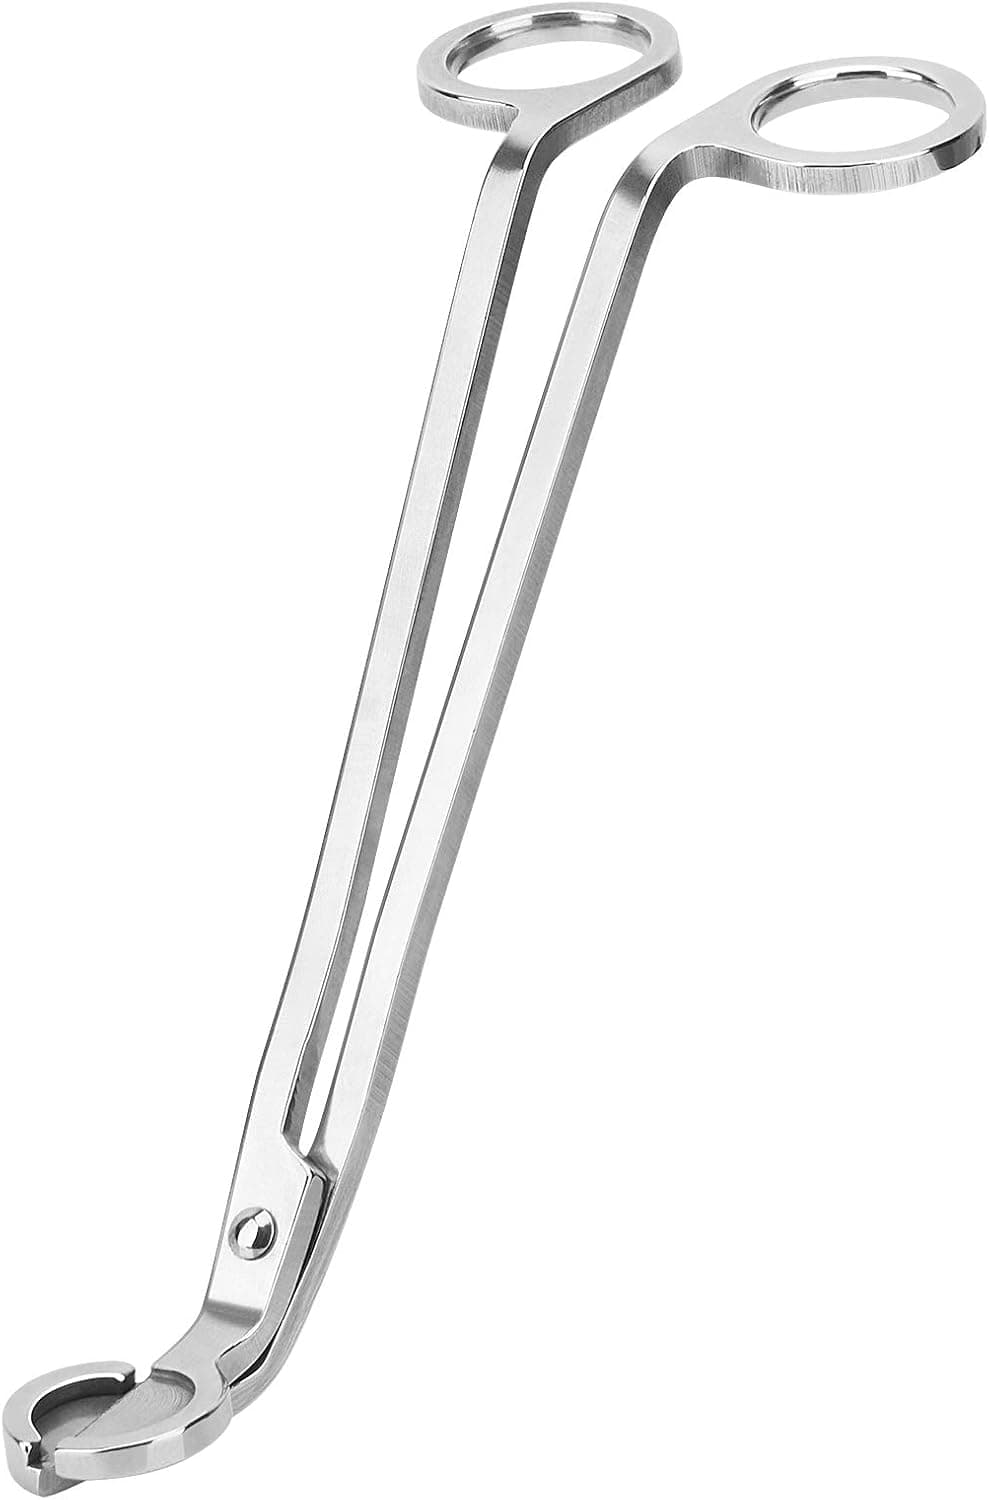
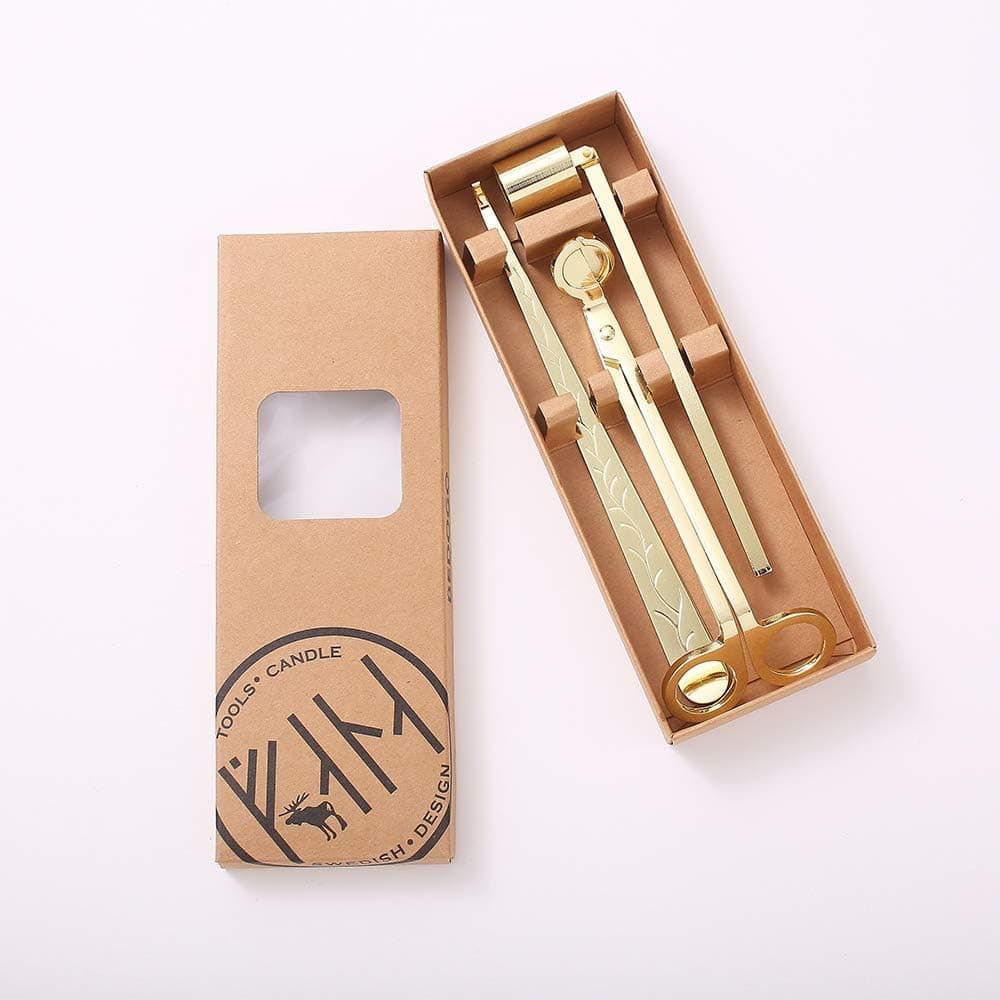
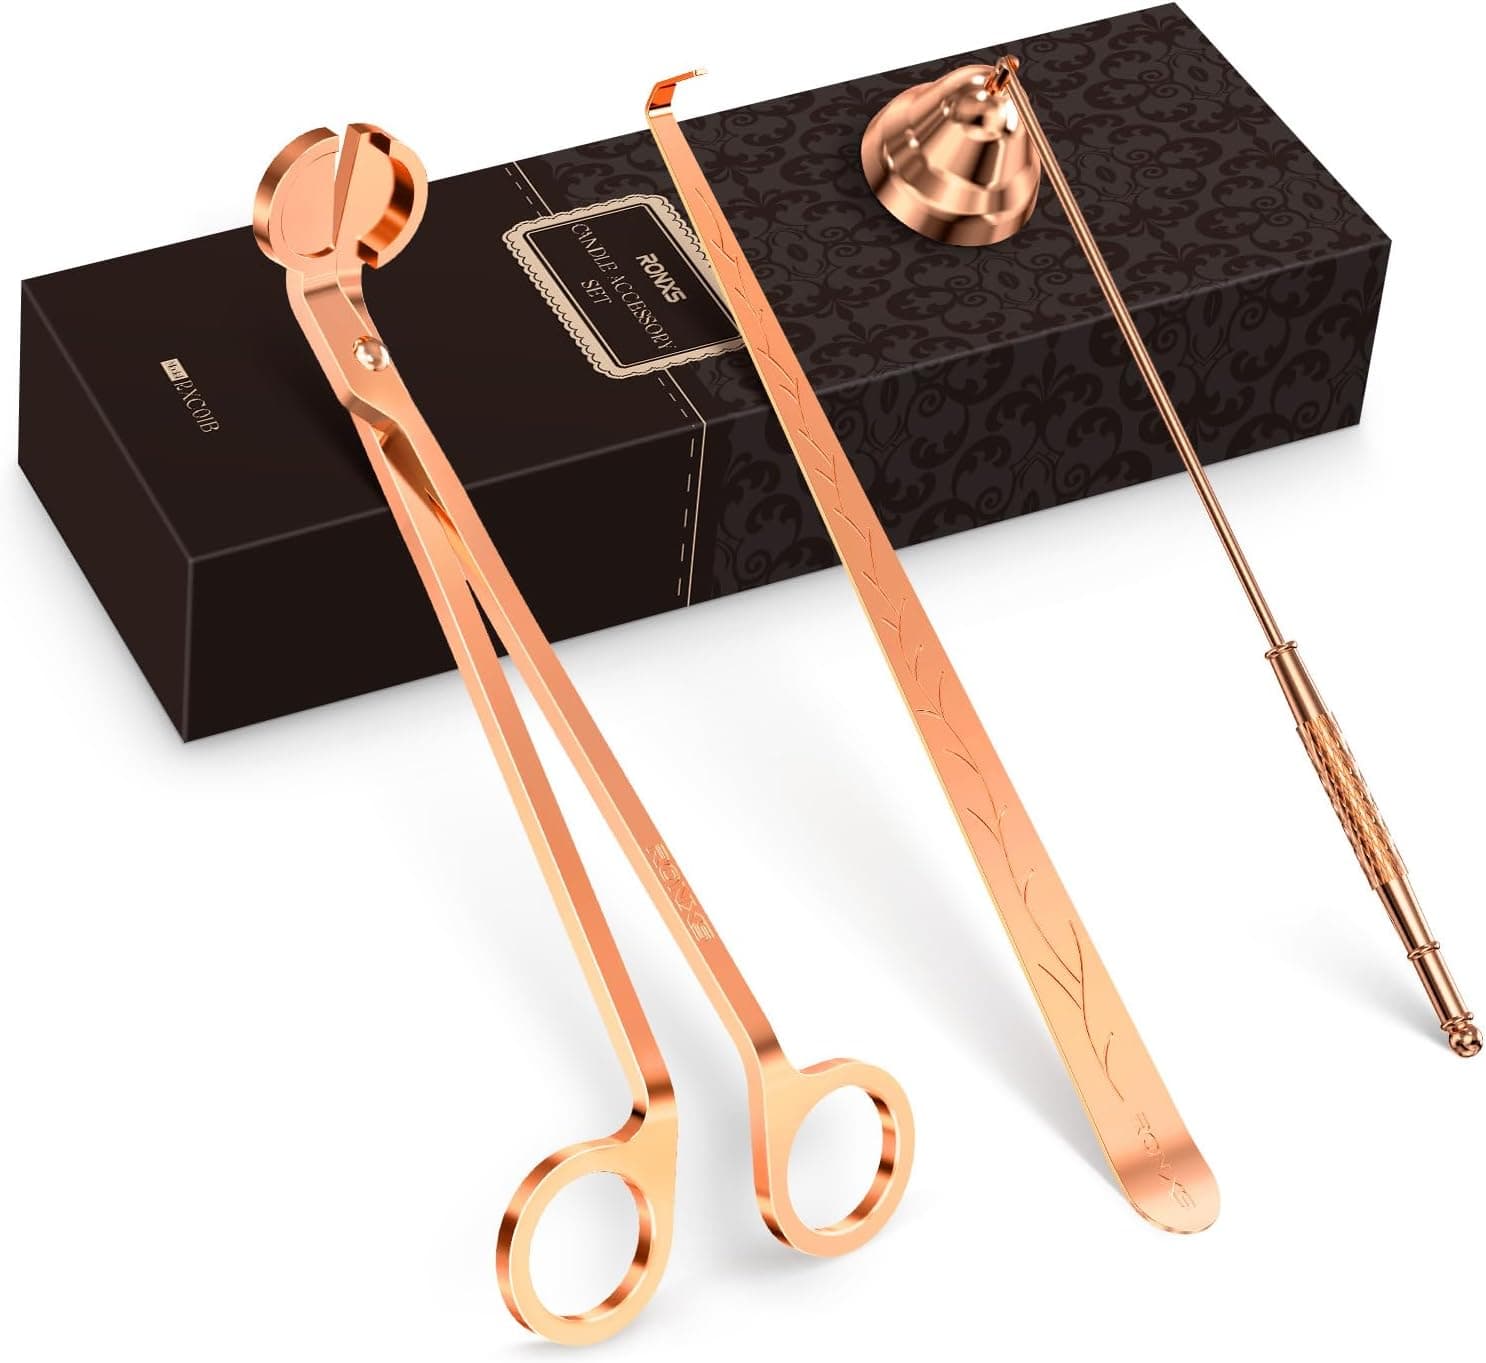
+ 3 in 1 set covers trimming, dipping and snuffing
From our guide: Best Wick Trimmers
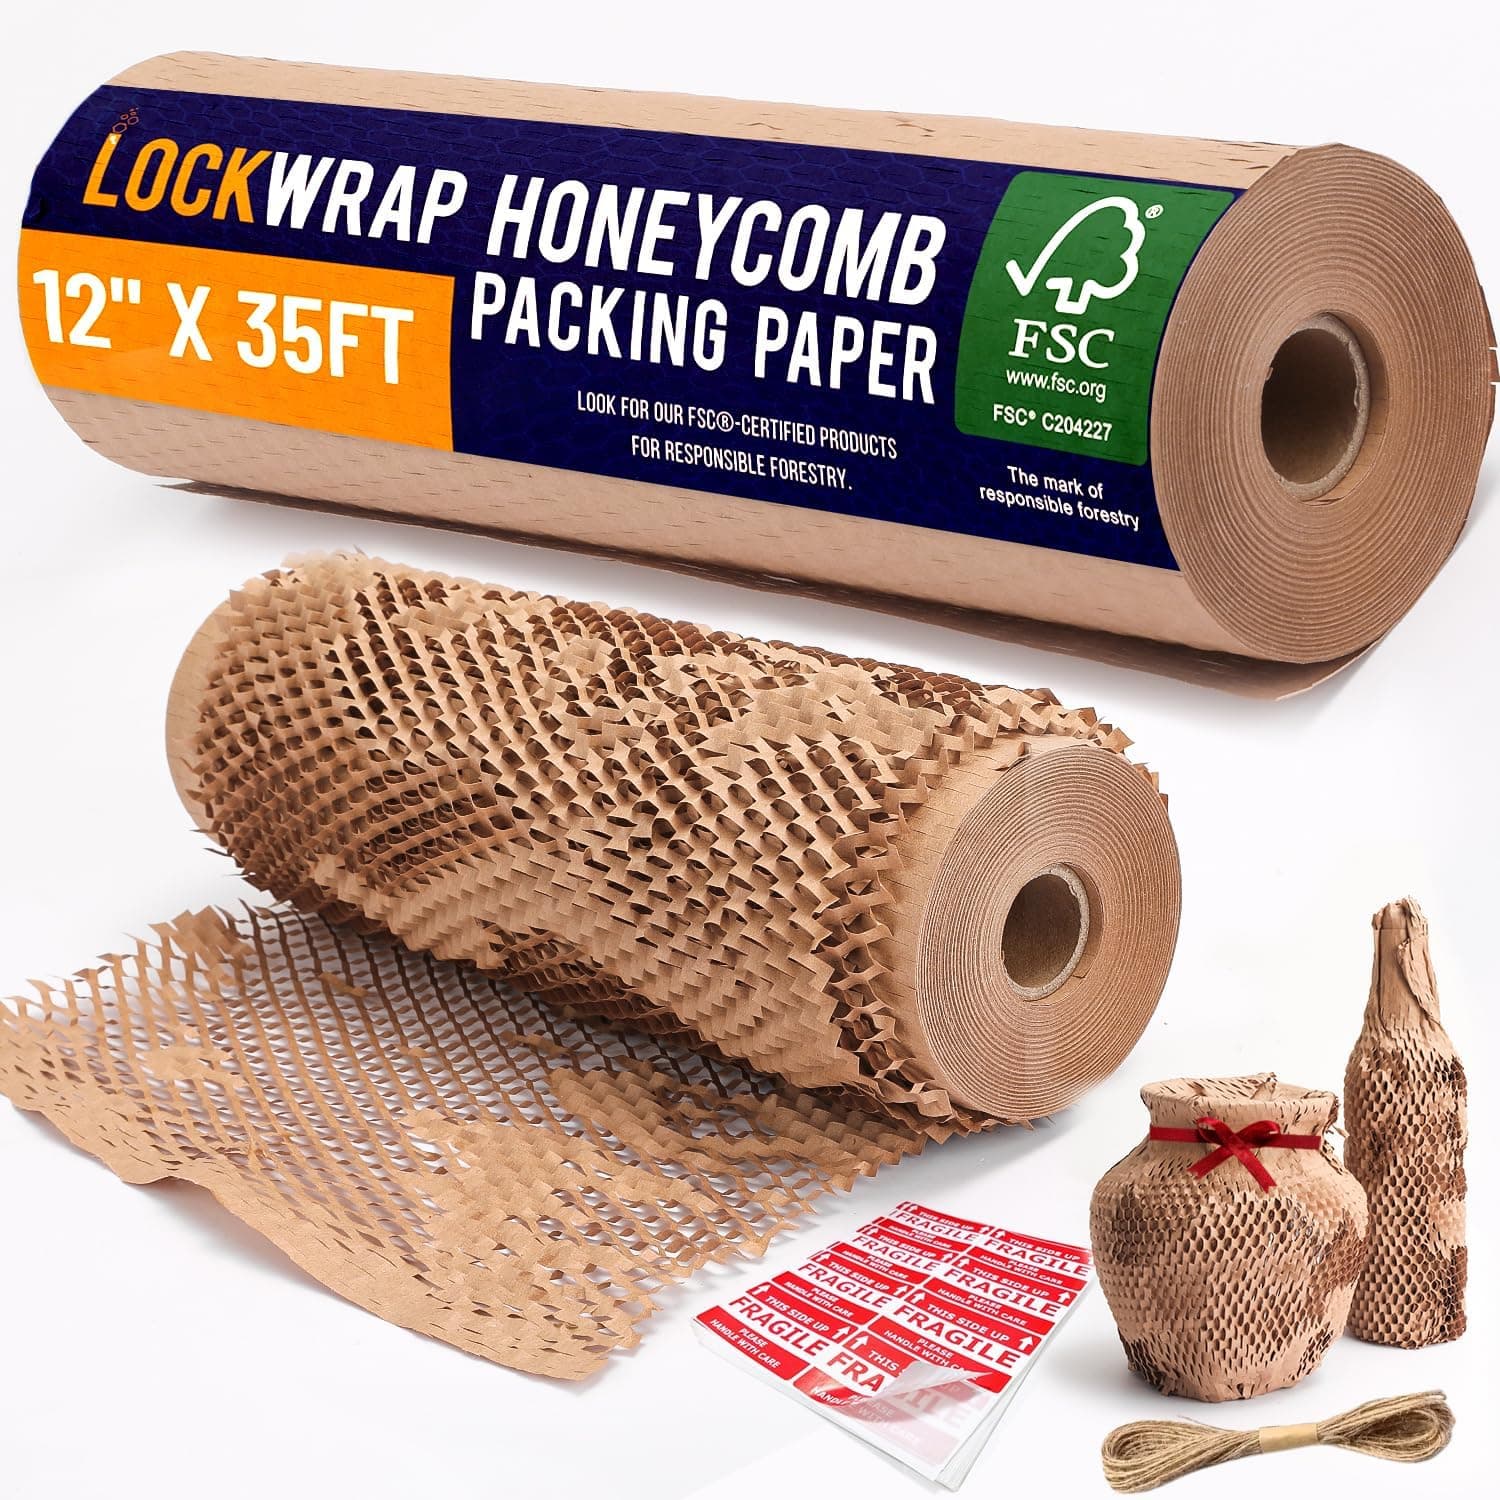
+ Honeycomb paper cushions glass jars without plastic
From our guide: Best Candle Packaging Supplies for Small Makers
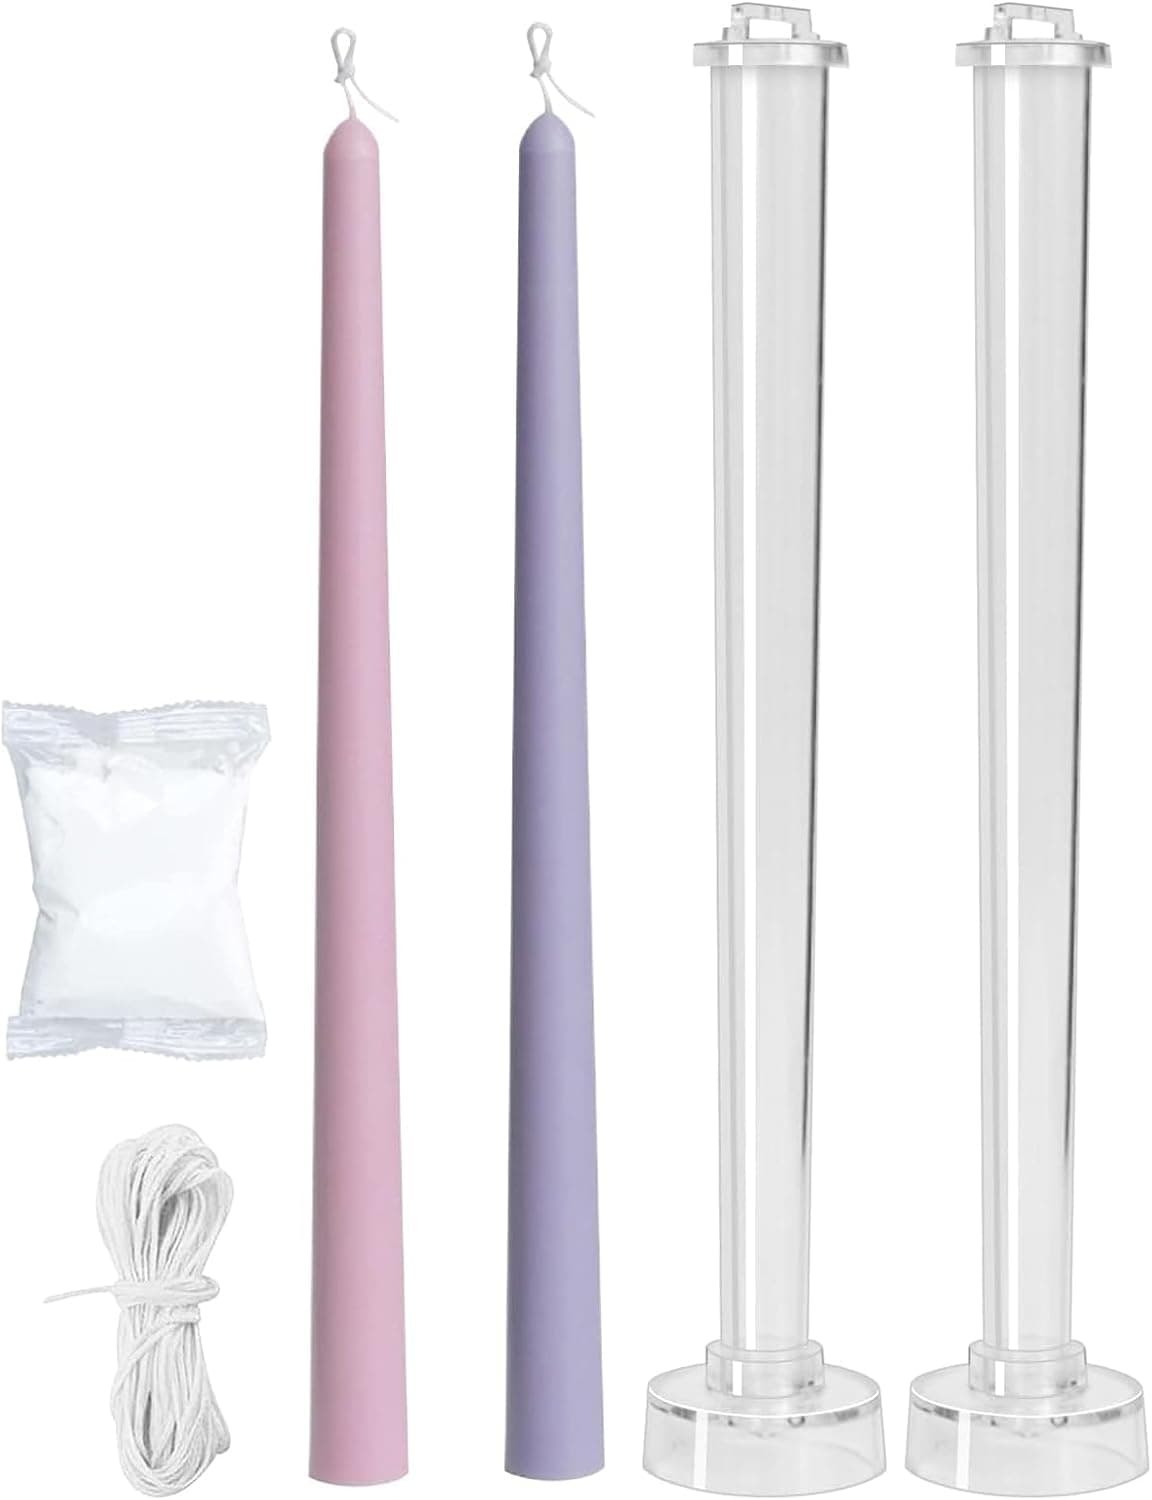
+ 12.87 inch length makes elegant full height tapers
From our guide: Best Taper Candle Molds for Dinner and Twist Candles
+ Rose gold finish gives a stylish, gift-ready look
From our guide: Best Wick Trimmers
Popular right now
- Packaging Candles for Shipping Without BreakageArticle
- Soy vs Beeswax vs Coconut WaxArticle
- Choosing Safe Vessels for Container CandlesArticle
- Best Ceramic Candle Vessels for a Premium LookBuying guide
- Labeling Candles for SaleArticle
- Burn Testing a New Candle Recipe From Start to FinishArticle
Based on the last 28 days of search and visitor data.