Working With Wooden Wicks
Published How we research
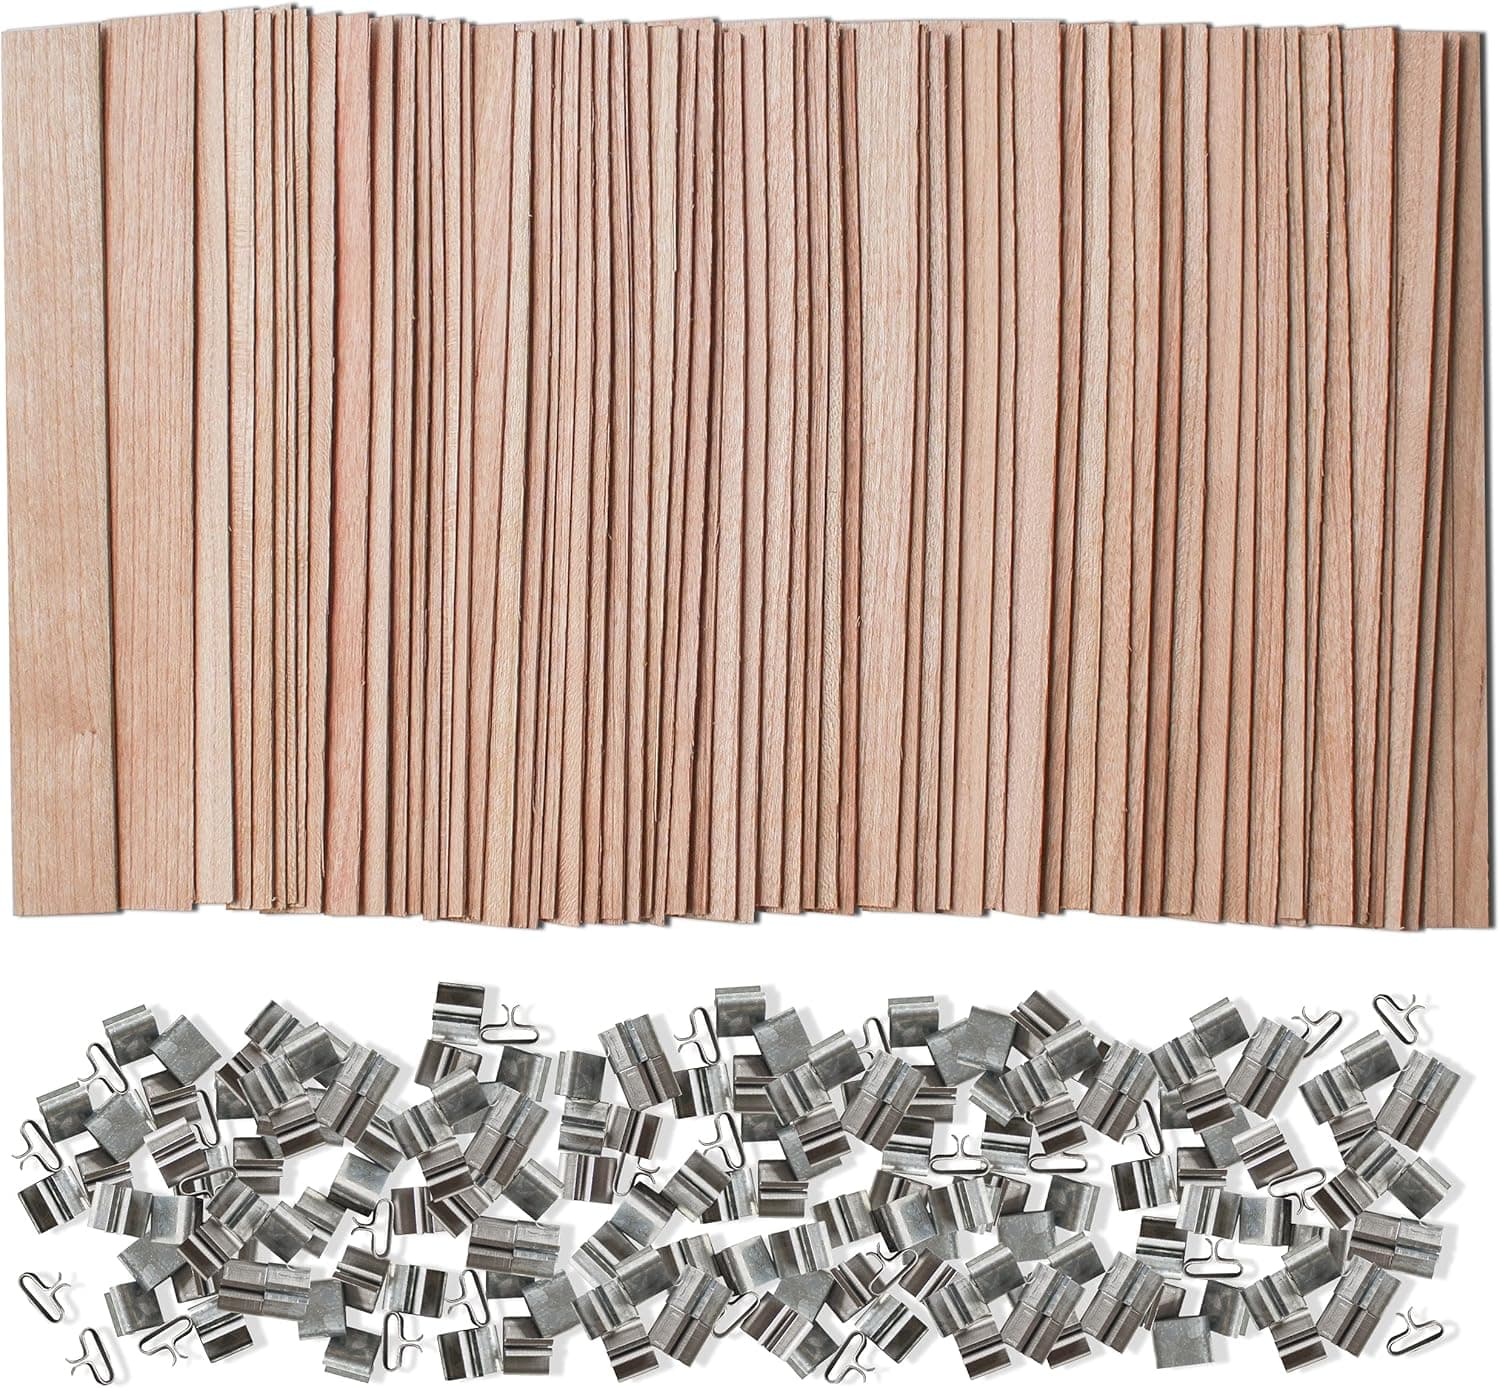
Wooden wicks appeal because of the soft crackle and the wide flat flame, and they sell well for exactly those reasons. They also frustrate more makers than any other component, because they follow different rules from cotton wicks and people carry cotton habits over to them. Once you understand what a wooden wick needs, they become predictable.
Wooden wicks come in several forms. Single flat wicks are the most common and the easiest to source. Booster or double wicks sandwich two layers for more heat. Curved or spiral wicks produce a different flame shape and a louder crackle. Thickness matters as much as width: a wick that is too thin will drown, and a wick that is too thick will burn hot and produce a large flame. Manufacturers publish sizing charts by vessel diameter and wax type, and those charts are the right starting point.
The most important sizing difference is that wooden wicks generally need to be sized wider than you would expect relative to cotton, because a flat wooden wick produces a broad shallow flame rather than a tall one. Wooden wicks also behave differently across wax types and are noticeably fussier in very soft waxes and in candles with high fragrance loads, because they rely on capillary action through the wood grain and thick oily wax resists that. If a wooden wick keeps going out in a heavily fragranced soft wax, dropping the fragrance load a point often solves it.
Trimming is where most customer complaints originate. A wooden wick should be trimmed short, to around three to five millimetres, before every burn. Long wooden wicks self-extinguish because the flame cannot draw enough wax up to sustain itself. The correct tool is a wick trimmer or a pair of nail clippers, and the correct technique is to snap off the charred black portion so fresh wood is exposed. Tell customers this explicitly on a care card, because almost nobody trims a wooden wick short enough by instinct.
Lighting takes a little more effort than cotton. Hold the flame to the wick at an angle along its length for a few seconds rather than touching it once at the tip, and let the whole edge catch. The first burn is the most likely to fail because there is no melted wax yet. Some suppliers pre-prime their wicks with wax, which helps significantly; if yours are unprimed, dipping them briefly in melted wax and letting them cool before use makes lighting far more reliable.
Secure the wick properly at the base. Wooden wicks are held in a metal clip that must sit flat on the bottom of the vessel, glued or stuck down firmly, and the wick must be vertical and centred. A leaning wooden wick will burn unevenly and can lean against the glass. Because the wick is flat, orientation matters in non-round vessels: align the flat face so the flame has equal distance to the wall on both sides.
Test wooden wicks through a full burn cycle exactly as you would cotton, and expect a higher failure rate during testing. Watch for self-extinguishing at any point in the candle's life, not just the first burn, since drowning becomes more likely as the melt pool deepens. Check for a melt pool that reaches the wall, a modest flame, and no scorching of the vessel. Burn tests only on a heatproof surface, away from flammable items, and never unattended. If a wooden wick candle passes every test but a small number of customers still report it going out, the fix is usually clearer trimming instructions rather than a redesign.
Products from this article
The highest-scoring picks from the buying guides mentioned above. Scores are our editorial assessment, not customer ratings.
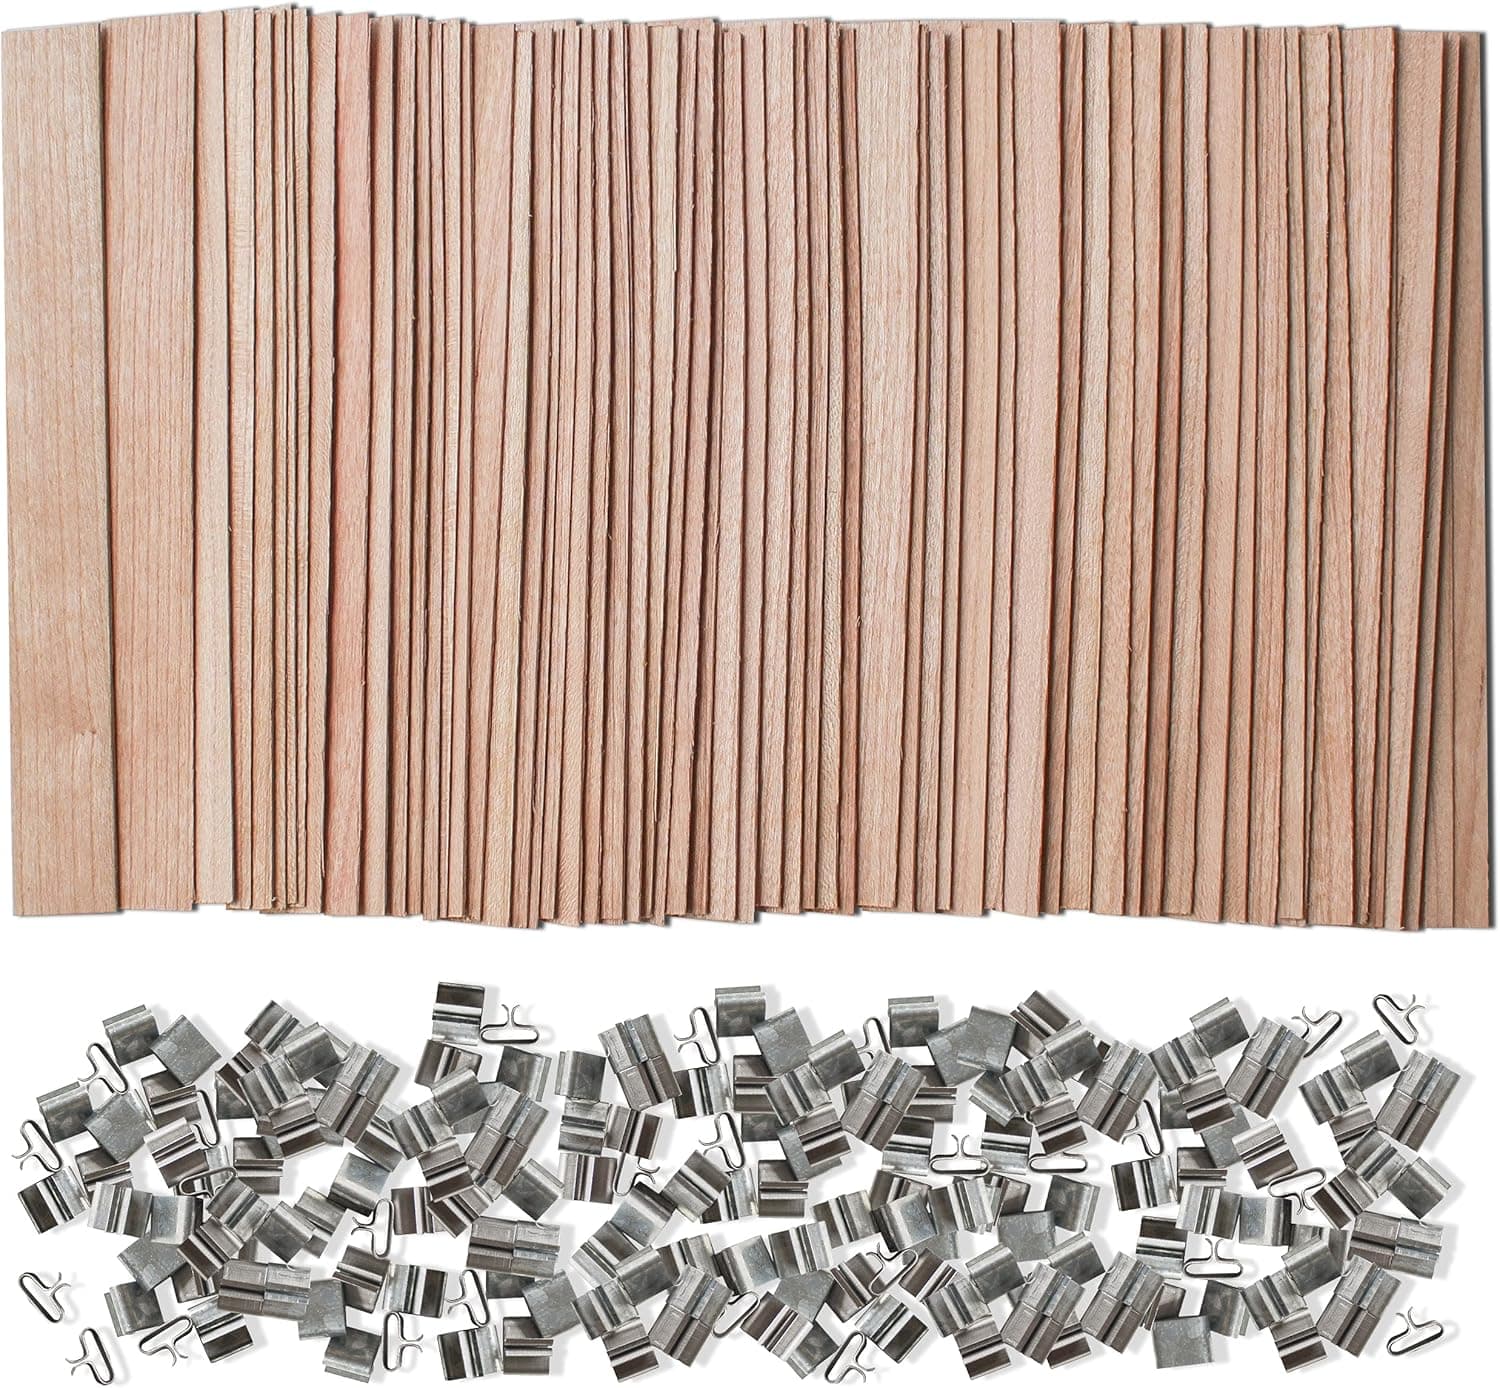
+ Specialist wood wick brand with sizes matched to wax type
From our guide: Best Wooden Wicks for Candles
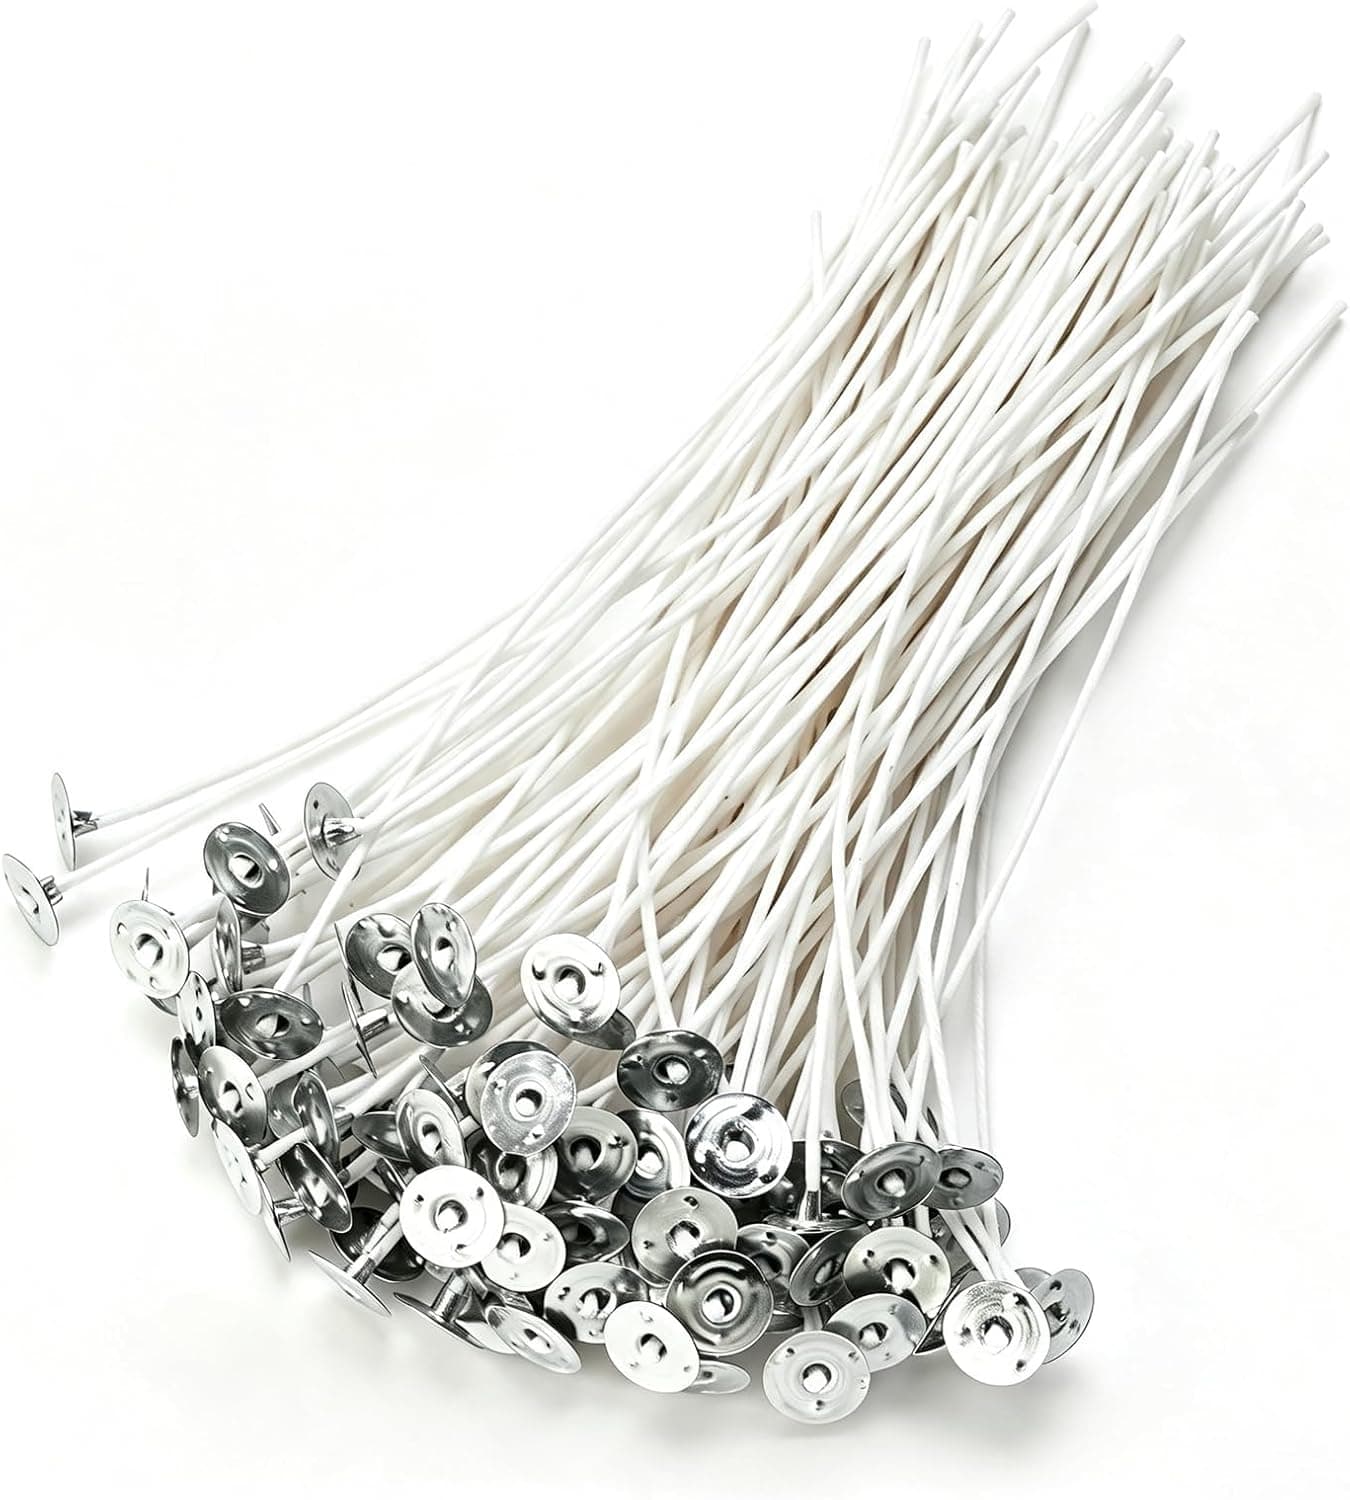
+ 100 piece pack covers many candles at a low cost per wick
From our guide: Best Cotton Wicks for Candles
+ Large size handles wider soy jars that need a stronger flame
From our guide: Best Wooden Wicks for Candles
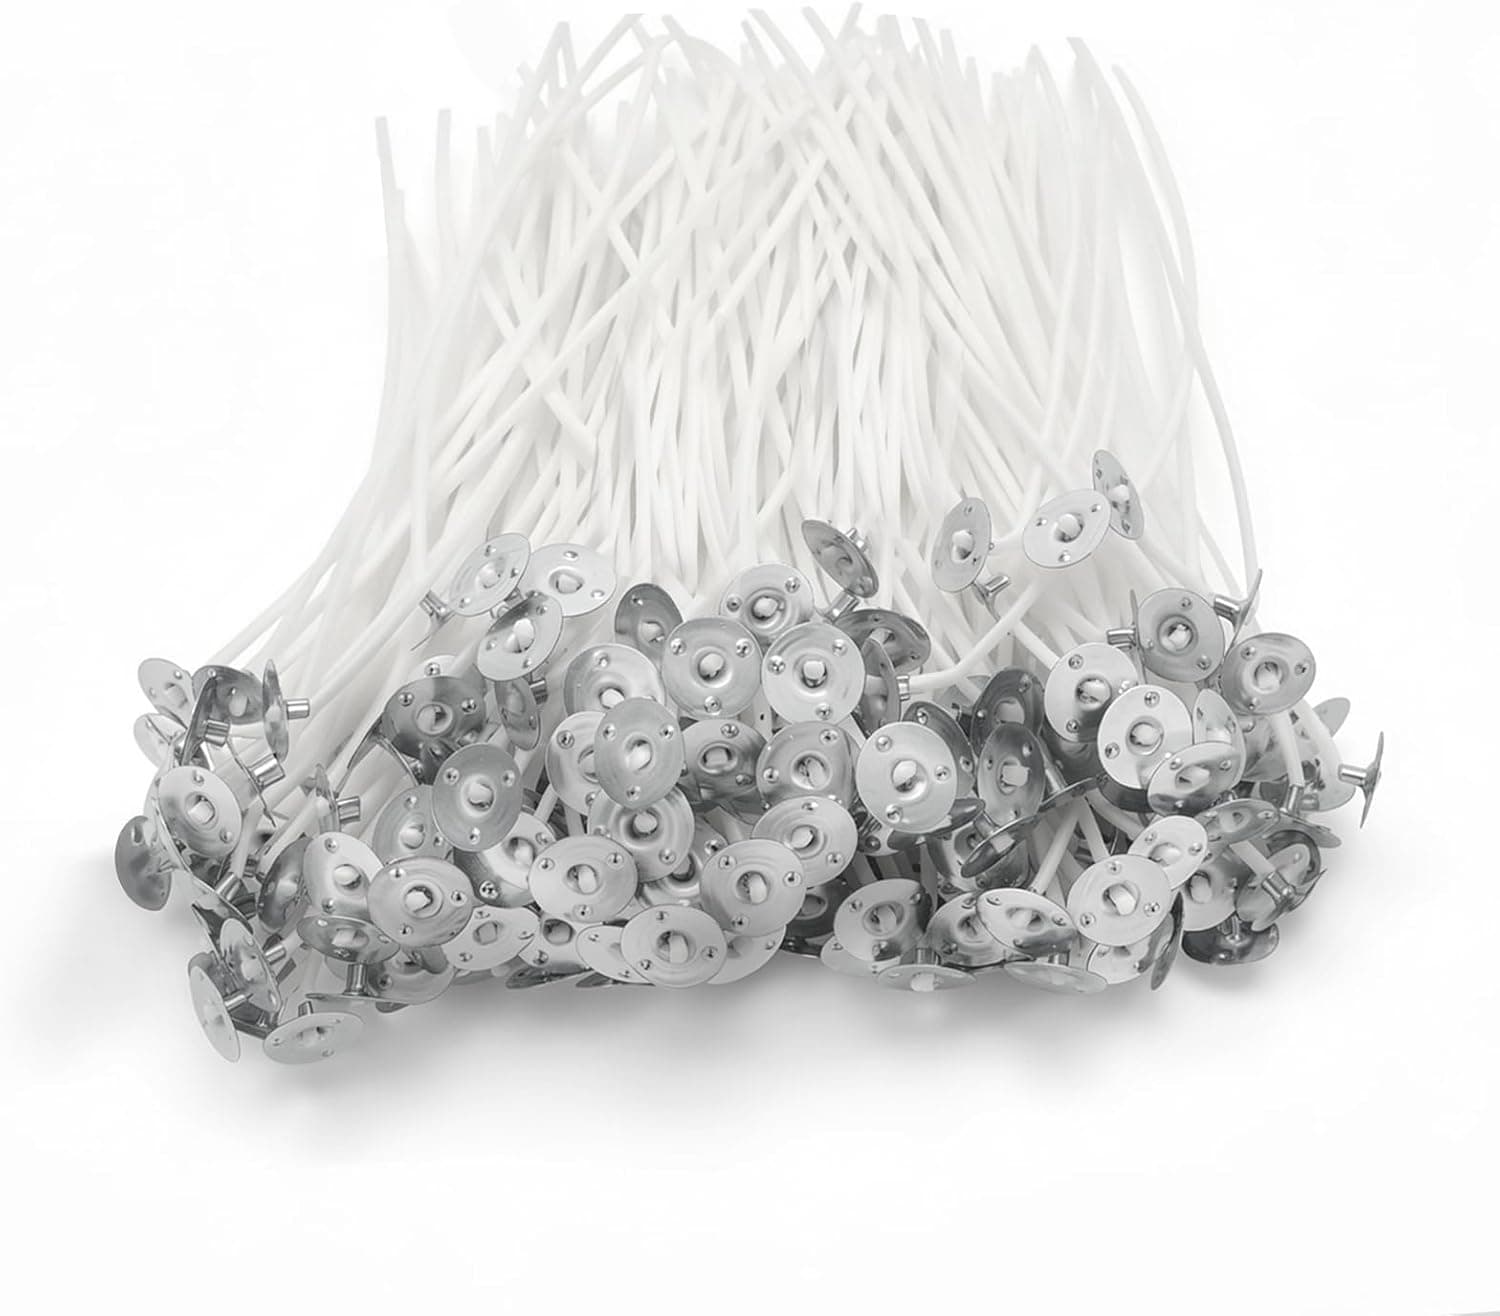
+ 240Pcs count lowers the cost per wick for frequent batches
From our guide: Best Cotton Wicks for Candles
Popular right now
- Packaging Candles for Shipping Without BreakageArticle
- Soy vs Beeswax vs Coconut WaxArticle
- Choosing Safe Vessels for Container CandlesArticle
- Best Ceramic Candle Vessels for a Premium LookBuying guide
- Labeling Candles for SaleArticle
- Burn Testing a New Candle Recipe From Start to FinishArticle
Based on the last 28 days of search and visitor data.