Burn Testing a New Candle Recipe From Start to Finish
Published How we research
Burn testing is the process that turns a promising batch into a product you can stand behind. It is systematic rather than creative, and the makers who do it properly are the ones whose candles behave the same in a customer's home as they did on the bench. Treat it as a protocol you repeat identically every time, because the value comes from comparability.
Start by fixing your variables. A test batch means identical vessels, identical wax from the same lot, identical fragrance and percentage, identical dye, identical pour and cooling conditions, and a full cure. The only thing that varies is the one item you are testing, usually the wick size. Make at least three candles per variant so a single odd result does not mislead you. Label the base of every candle with the wick series and size, the fragrance, the percentage and the pour date.
Set up the testing environment before you light anything. Use a heatproof surface, a room with no draughts, nothing flammable within a safe distance, and no pets or small children with access. Have a timer, a ruler, a notebook and a phone camera to hand. Never test candles unattended, never overnight, and never in a room you will leave. Keep a lid or a snuffer nearby rather than blowing candles out over a full melt pool.
Run the test in cycles. Each cycle is a burn of three to four hours followed by a complete cool, then a wick trim to about a quarter inch before the next lighting. Continue until the candle is spent. At the end of each burn record the melt pool width, the melt pool depth, the flame height and steadiness, any soot on the vessel wall, any mushrooming on the wick tip, how hot the outside of the vessel feels, and how the scent performed in the room. Photograph the melt pool from directly above each time.
Define your pass criteria in advance so you are judging against a standard rather than a mood. A reasonable set is: the melt pool reaches or nearly reaches the vessel wall by the end of a normal session, the pool depth stays modest rather than becoming a deep well, the flame stays steady at a moderate height, the glass stays warm rather than uncomfortably hot at any point including the final quarter, there is no significant soot, the wick does not drown or self-extinguish, and the scent is present in a normal-sized room after an hour.
Pay disproportionate attention to the last quarter of the candle. Many wick problems only appear when the flame sits low in the vessel with little wax left to absorb heat. A candle that behaved perfectly for twenty hours and overheats the glass in the final two hours is a failed test. Note also whether the wick self-extinguishes near the base, which some makers consider a desirable safety behaviour and others treat as a defect depending on the wick sustainer used.
Document in a way your future self can use. One page per test, listing every input and the results by cycle, with photographs attached. Record the room temperature and the date. When a candle fails, write down your interpretation of why, then note what you changed for the next round. Over time this file becomes the reason you can develop a new scent in two weeks instead of two months. Retest whenever anything meaningful changes: a new fragrance oil, a new wax lot from a different supplier, a reformulated oil, a change in fragrance percentage, a different dye load, or a new vessel. It is tempting to assume small changes do not matter. They frequently do, and the whole point of a protocol is that you find out on your bench rather than in someone's living room.
Products from this article
The highest-scoring picks from the buying guides mentioned above. Scores are our editorial assessment, not customer ratings.
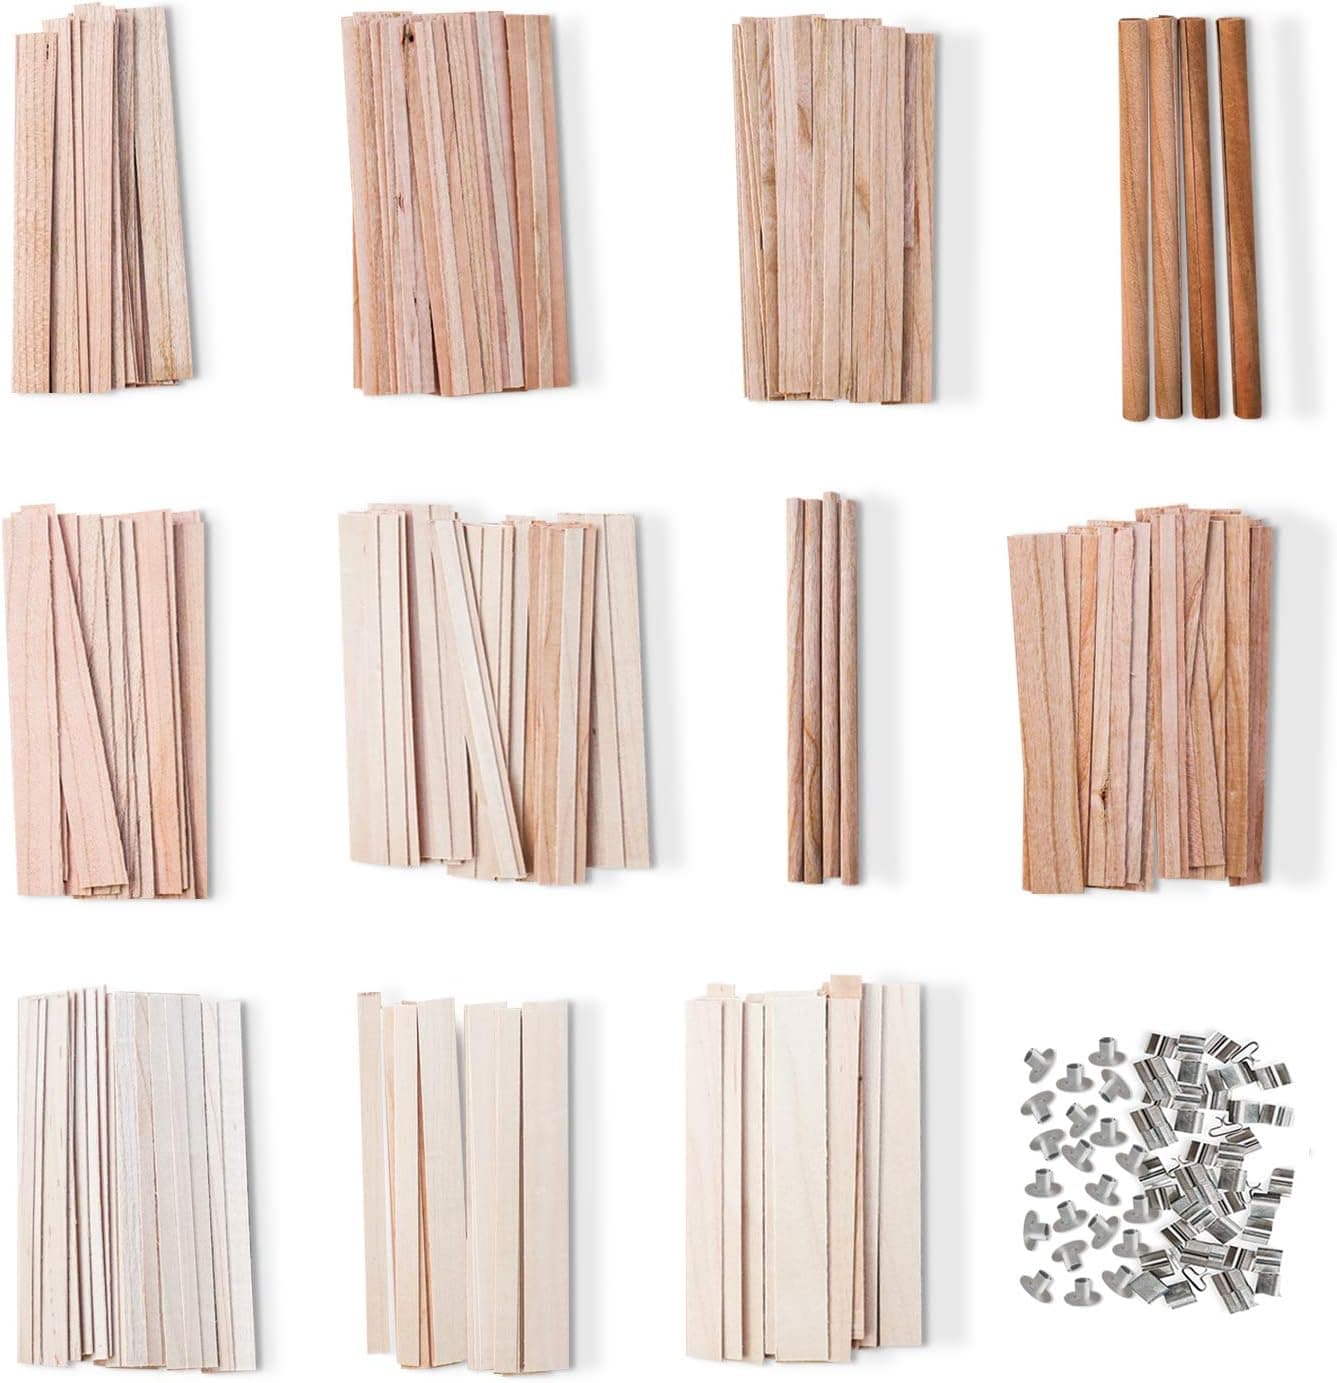
+ Eleven wick varieties allow proper side by side burn tests
From our guide: Best Candle Testing Supplies for Burn Trials
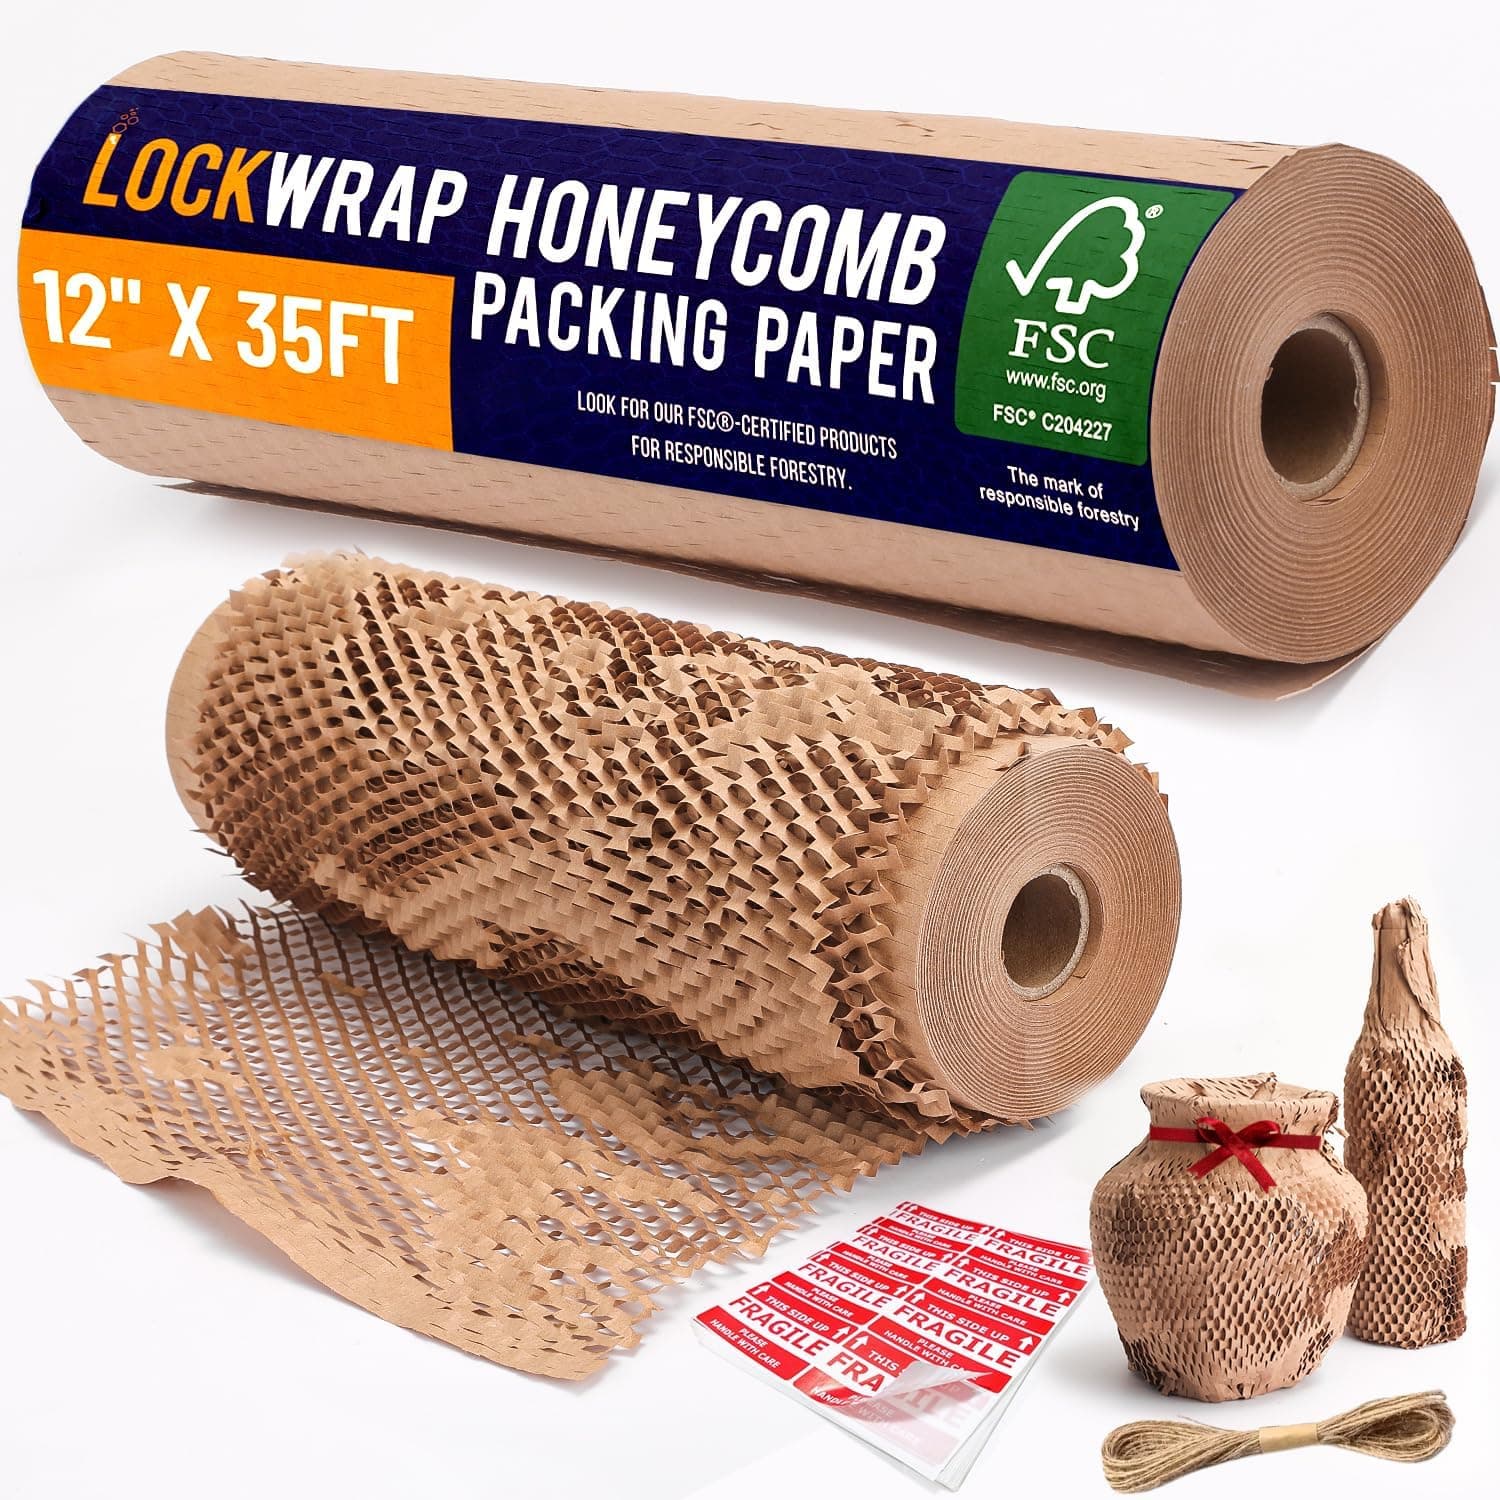
+ Honeycomb paper cushions glass jars without plastic
From our guide: Best Candle Packaging Supplies for Small Makers
+ Six wick series in one kit make side by side burn tests possible
From our guide: Best Wick Sample Packs
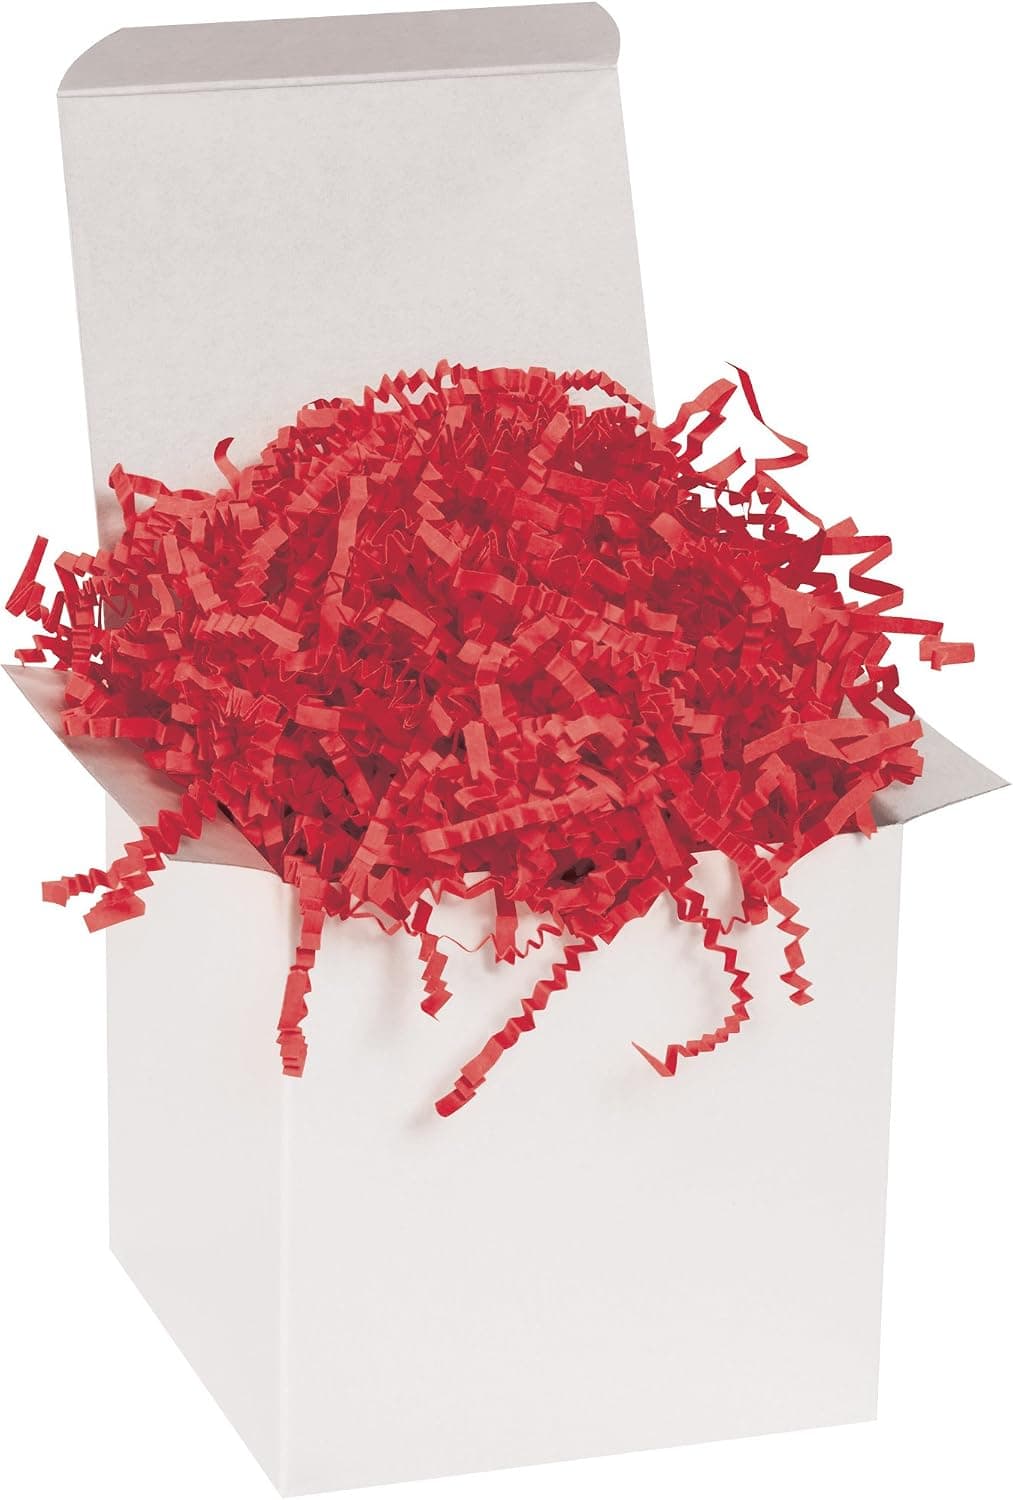
+ 10lb is a large supply of void fill for many orders
From our guide: Best Candle Packaging Supplies for Small Makers
Popular right now
- Packaging Candles for Shipping Without BreakageArticle
- Soy vs Beeswax vs Coconut WaxArticle
- Choosing Safe Vessels for Container CandlesArticle
- Best Ceramic Candle Vessels for a Premium LookBuying guide
- Labeling Candles for SaleArticle
- When to Add Fragrance Oil to Melted WaxArticle
Based on the last 28 days of search and visitor data.