Candle Testing Sheet: What to Record on Every Burn Test
Published How we research
A candle testing sheet is a one-page log with three blocks: the recipe (wax, wick, vessel, fragrance, dye, pour and cure details), one row of readings for every burn cycle, and a pass or fail verdict against criteria you set before lighting. Fill in one sheet per test candle and you can compare wicks or fragrance loads side by side instead of trusting memory. The layout below fits on a single printed page or one spreadsheet tab. Copy the fields as they are, then add anything specific to your own range.
Block 1: the recipe header
The top of the sheet records everything that went into the candle, so that a result can be traced back to a cause. Start with a test ID that you also write on the base of the candle, the pour date and the date of the first burn. Then log the vessel: its name or supplier code, the inside diameter at the widest point, and the fill weight of wax. Diameter matters more than volume here, because wick choice follows the width the melt pool has to cross.
Next come the ingredients. Record the wax name and, if the bag shows one, the lot number. Record the wick as series and size, plus the number of wicks. For fragrance, write the oil name, the supplier, the load as a percentage of wax weight, and the actual weight you added. A 6 percent load in 16 oz of wax is 0.96 oz of oil, and writing both figures catches arithmetic slips later. Add the flash point exactly as the fragrance supplier states it. For dye, note the type (liquid, chip or block) and the amount.
Finish the header with process details: the highest temperature the wax reached, the temperature when the fragrance went in, the pour temperature, the room temperature at pouring, and the number of days the candle cured before its first burn. Use the temperatures the wax maker recommends rather than a number from memory. Weigh wax and oil on a scale instead of measuring by volume, since a sheet is only as good as the figures written on it.
Block 2: one row for every burn cycle
The middle of the sheet is a table with one row per burn. A standard test burn lasts three to four hours, followed by a complete cool-down and a wick trim to about a quarter inch before the next lighting. Keep going until the candle is finished, because many problems only show up in the last third of the jar, when the flame sits deep in the vessel and there is little wax left to absorb heat.
Give the table these columns: cycle number, date, room temperature, wick length after trimming, burn time, minutes until the melt pool reached the vessel wall (or the gap left if it never did), melt pool depth at the end of the burn, flame height, flame behavior (steady, flickering or dancing), soot on the vessel (none, light or heavy), mushrooming on the wick tip (none, small or large), how hot the outside of the vessel was, hot throw, and a notes column with the file name of a photo taken from directly above.
Decide once how you will measure each column and write the method at the top of the sheet. Measure melt pool depth with a toothpick or wick dipper and a ruler. Many makers look for a pool about a quarter to half an inch deep after a full session. Score hot throw from 1 to 5 in the same room each time and note the room size. For vessel heat, either use the same hand test every time or note a reading from an infrared thermometer, and say which one you used.
Block 3: pass or fail checks
The bottom of the sheet is a short checklist that you write before the first burn, so you judge the candle against a standard and not a mood. A workable set of checks: the melt pool reaches or nearly reaches the wall within a normal session by the third or fourth burn; the pool never becomes a deep well; the flame stays steady and moderate; there is no heavy soot on the glass; any mushroom on the wick is small; the vessel stays warm and never too hot to handle, including during the final burns; the wick does not drown or go out on its own; and the scent is clearly noticeable in an ordinary room.
End the block with three fields: verdict (pass, fail or retest), your reading of why, and the single change you will make next. The pattern of ticks usually points to the change. A pool that never reaches the wall, a small flame and wax left on the sides suggest the wick is too small. A deep pool, a tall or dancing flame, soot, large mushrooms and a hot vessel suggest it is too large. Move one wick size at a time and change nothing else, or the next sheet will not tell you which change made the difference.
A filled-in example
Here is how one sheet might read. The numbers show the layout and are not a recipe to copy. Header: test ID S-014-B, poured March 3, first burn March 17 after a 14 day cure. Vessel: straight-sided glass jar, 3 inch inside diameter, 8 oz wax fill. Wax: soy container wax, lot number from the bag. Wick: one cotton wick, the middle of three sizes on test (candles A, B and C differ only by wick). Fragrance: 8 percent of wax weight, 0.64 oz, flash point copied from the supplier sheet. No dye. Fragrance added and wax poured at the temperatures given by the wax maker, room at 70°F.
Rows: cycle 1, 3 hours, pool stopped about an eighth of an inch short of the wall, depth a quarter inch, flame steady, no soot, no mushroom, vessel warm, throw 3 out of 5. Cycle 2, 3.5 hours, full pool at 2 hours 40 minutes, depth three eighths of an inch, flame steady, small mushroom, vessel warm, throw 4. Cycle 6, 4 hours, full pool at 1 hour 50 minutes, depth half an inch, flame taller, light soot at the rim, vessel hot near the end, throw 4. Verdict: retest. Reading: fine through the middle of the jar, running hot in the lower third. Next change: compare against candle A, one wick size smaller, through its final burns.
Getting real use out of your sheets
A sheet only pays off when tests are comparable. Change one variable per round, pour at least three candles for each variant so one odd candle does not mislead you, and burn all the variants at the same time in the same room. Keep paper sheets in a binder in test ID order, or keep one spreadsheet tab per candle with the photos in a folder of the same name. Start a fresh sheet whenever anything changes: a new fragrance oil, a different percentage, a new wax or lot, a different dye load or a new vessel.
The sheet does not replace safe test conditions. Burn test candles on a heatproof surface, away from drafts, curtains and shelves, and out of reach of children and pets. Never leave a burning candle unattended, do not test overnight, and stop a test at once if the flame becomes large or the vessel feels too hot. A timer, a ruler, a wick trimmer and a snuffer are the only tools the sheet needs beyond the candles themselves.
Frequently asked questions
How many rows does a candle testing sheet need? Enough to cover the whole candle. A medium container candle burned in three to four hour sessions often takes ten or more sessions to finish, so print or add at least fifteen rows and continue on a second page if the candle is still going.
How long should each test burn be? Three to four hours is the usual test session, and four hours is the common upper limit printed on candle warning labels. Burn every candle in a comparison for the same length of time, and write the actual burn time in the row, since a short burn and a long burn are not comparable.
When should I start a new sheet instead of adding to an old one? Any time the recipe changes. A new wick size, fragrance oil, fragrance percentage, wax, dye amount or vessel means a new candle with a new test ID and its own sheet. Reference the earlier test ID in the notes so you can follow the chain of changes.
Can I use the same sheet for wax melts? Use the recipe header as it is, without the wick fields, and swap the burn rows for warmer sessions: warmer type, amount of wax used, how long the scent stayed noticeable and how cleanly the melt released from its mold.
Products from this article
The highest-scoring picks from the buying guides mentioned above. Scores are our editorial assessment, not customer ratings.
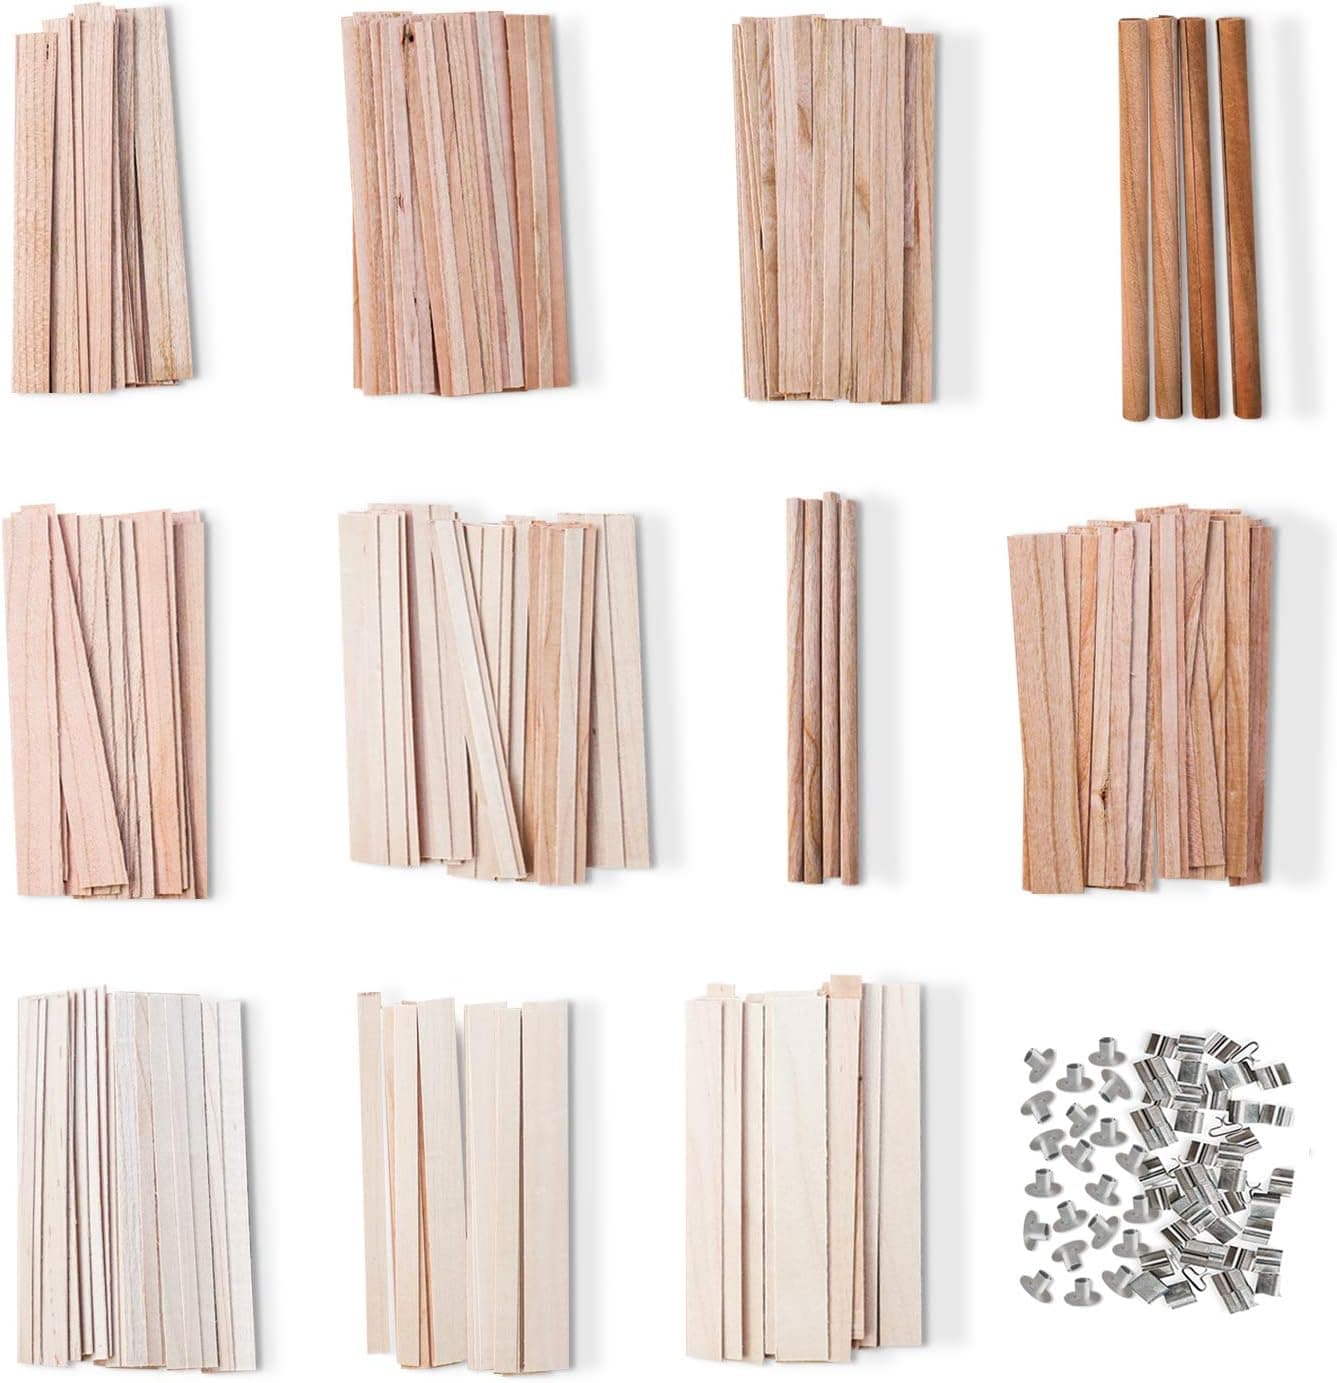
+ Eleven wick varieties allow proper side by side burn tests
From our guide: Best Candle Testing Supplies for Burn Trials
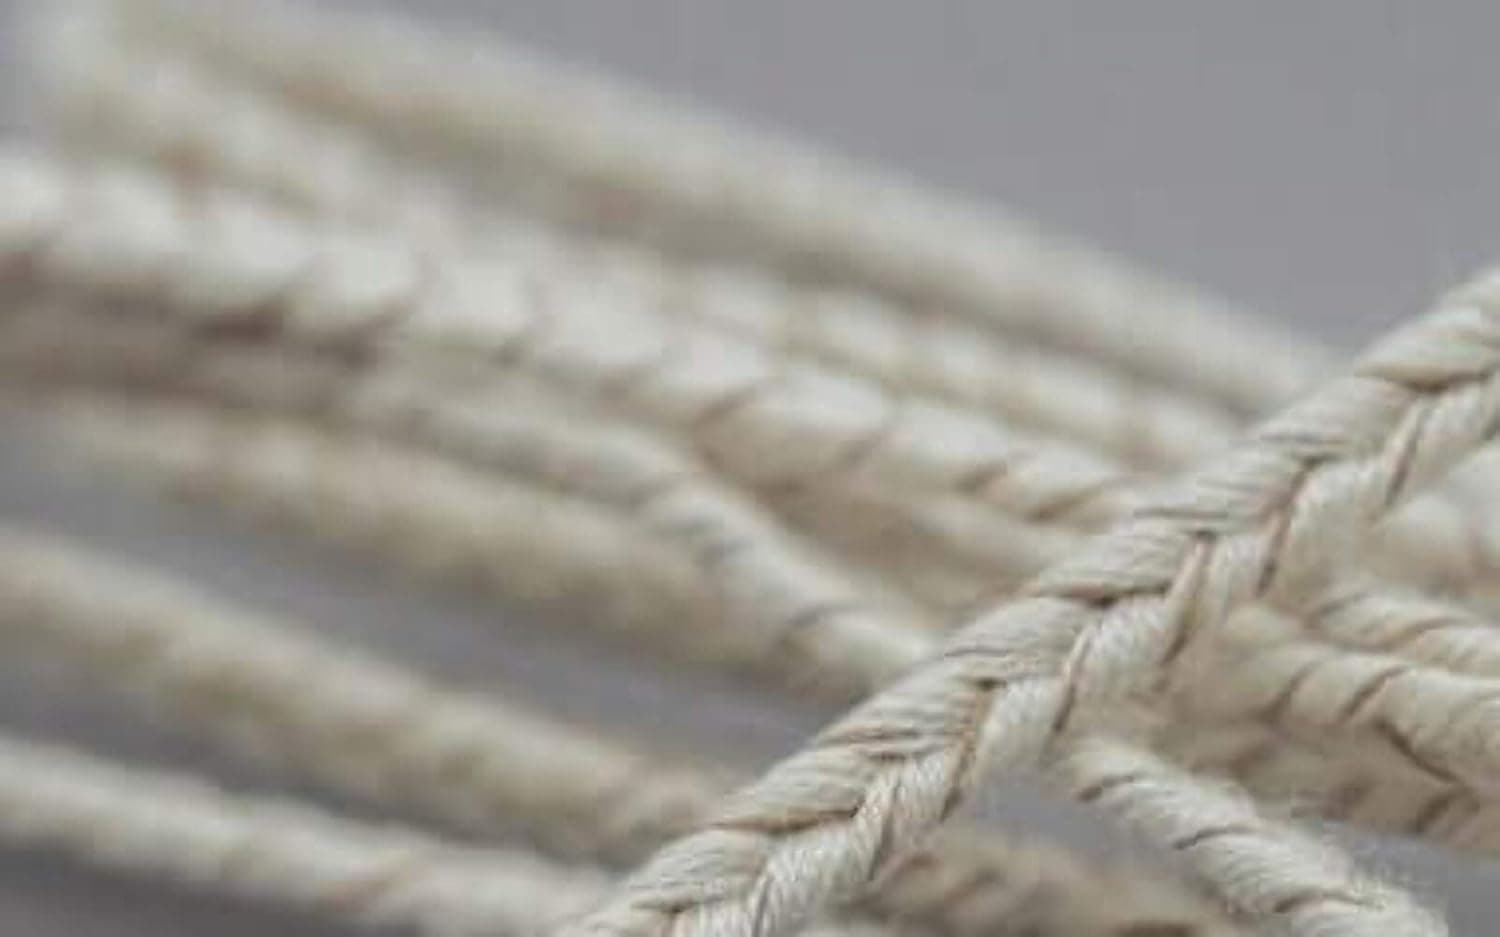
+ Six wick series in one kit make side by side burn tests possible
From our guide: Best Wick Sample Packs
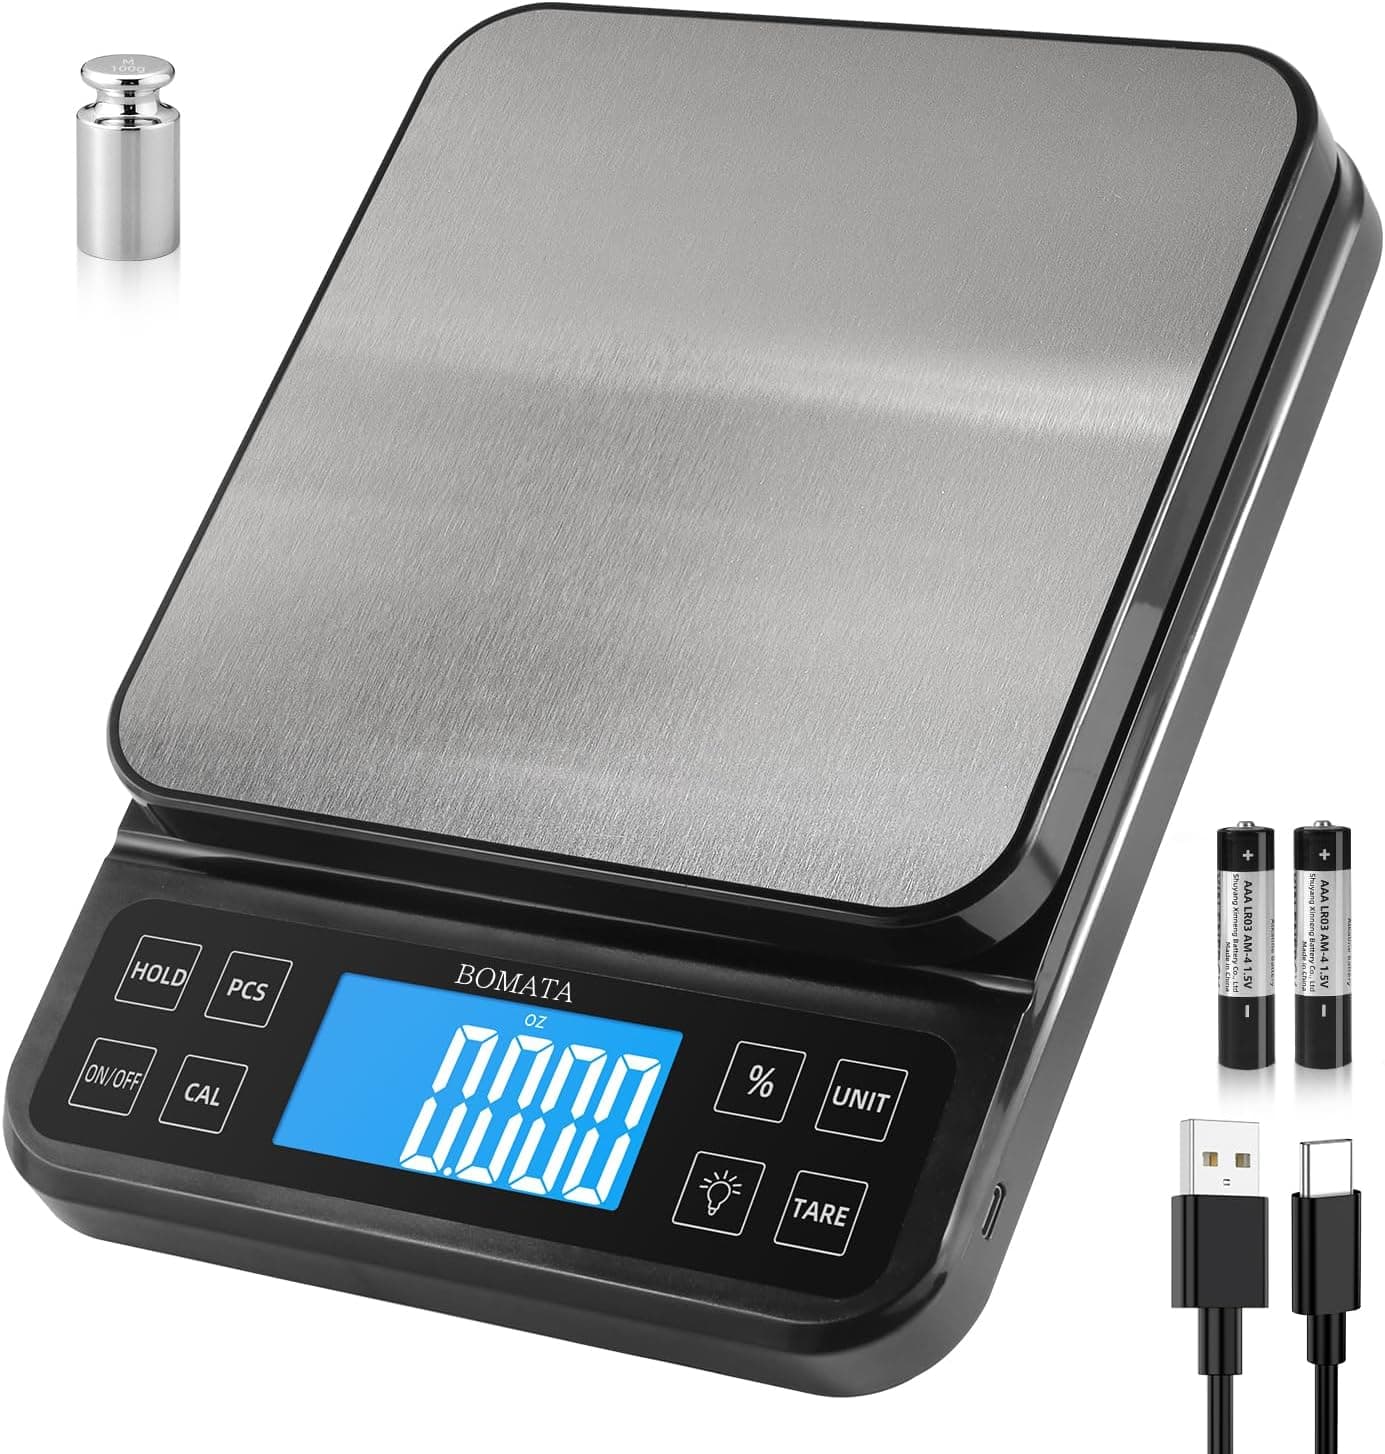
+ Percentage function helps calculate fragrance load quickly
From our guide: Best Digital Scales for Candle Making
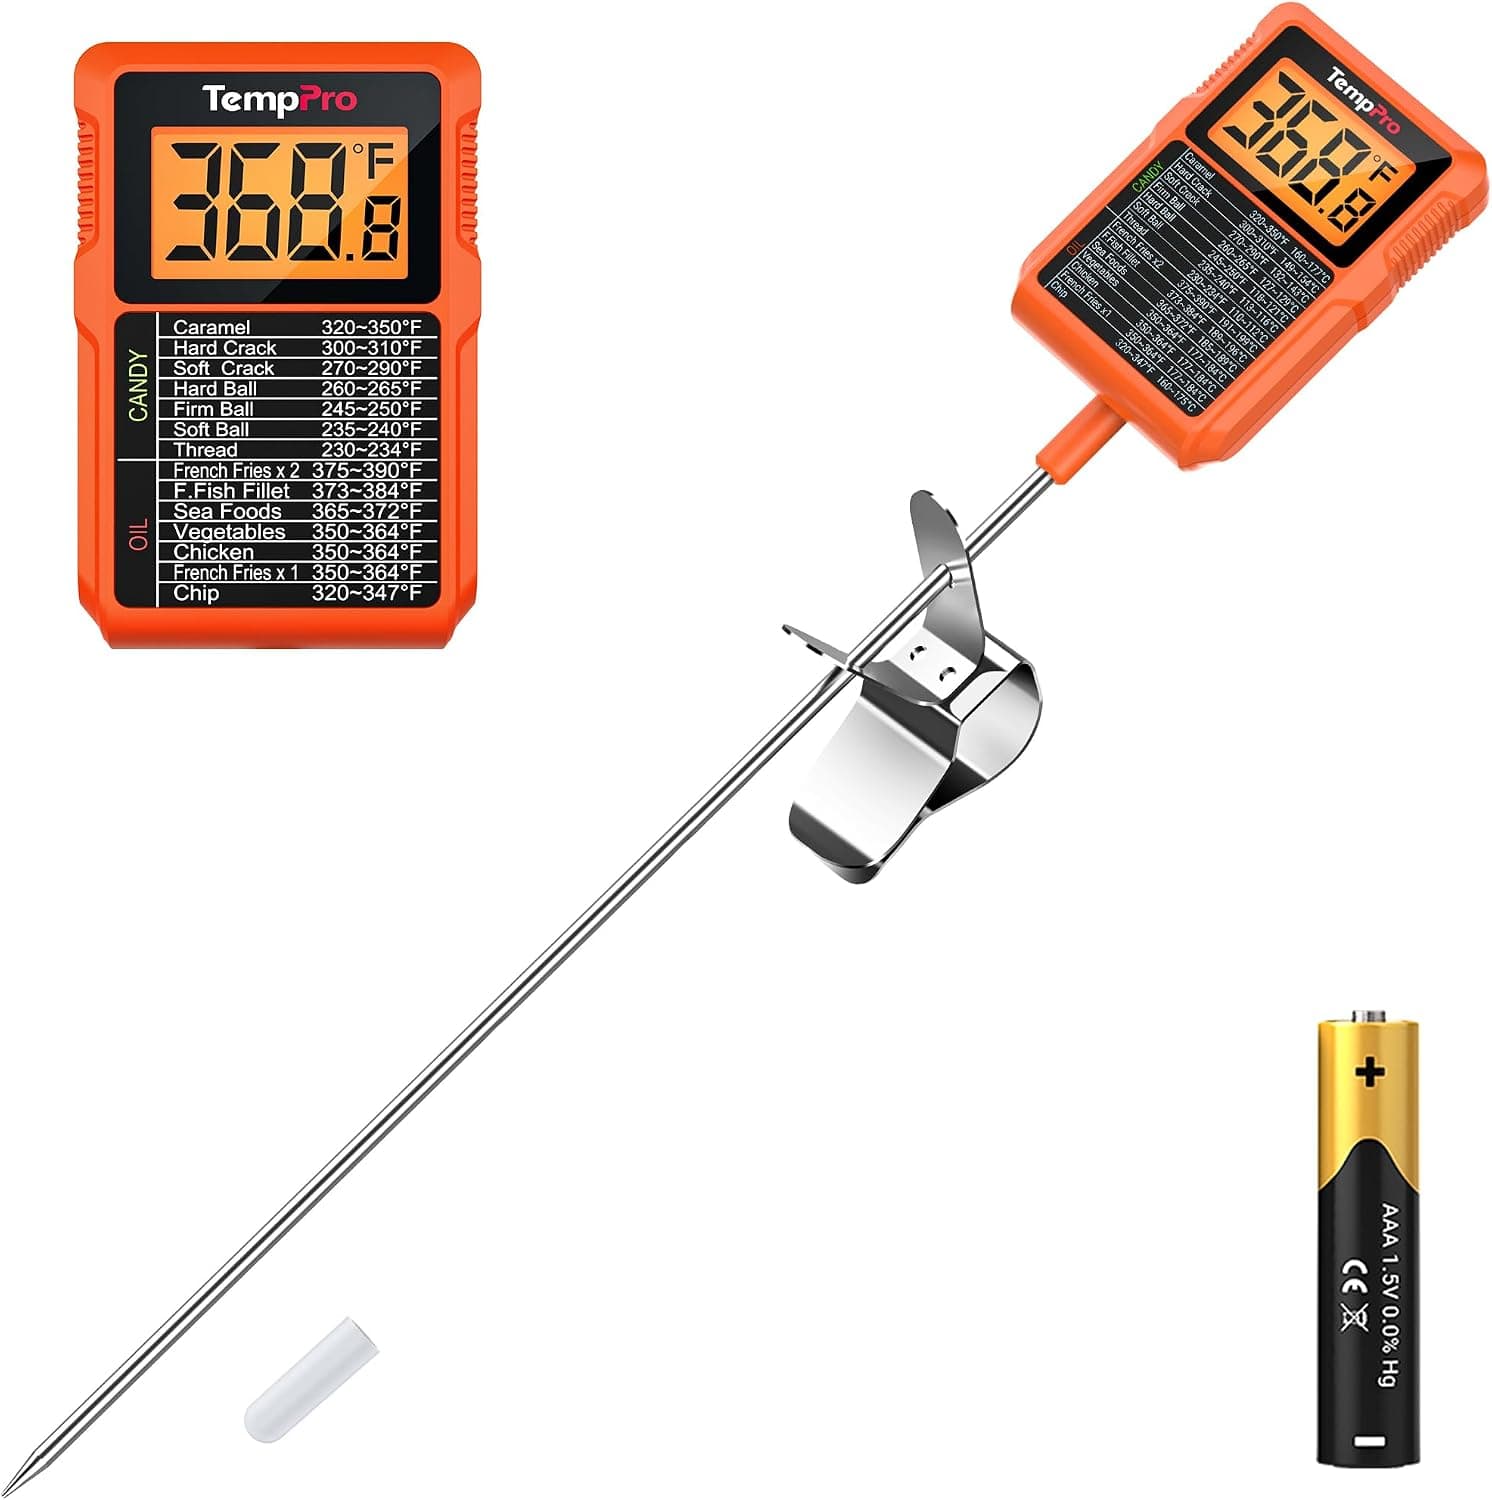
+ 1 Sec reading helps catch the exact fragrance add temp
From our guide: Best Candle Thermometers for Accurate Pours
Popular right now
- Best Soy Wax for CandlesBuying guide
- Best Wooden Wicks for CandlesBuying guide
- Pillar wax explainedGlossary
- Labeling Candles for SaleArticle
- How to Blend Fragrance Oils for Fall and Holiday CandlesArticle
- Choosing Safe Vessels for Container CandlesArticle
Based on the last 28 days of search and visitor data.