Choosing a Wax for Your First Candle
Published How we research
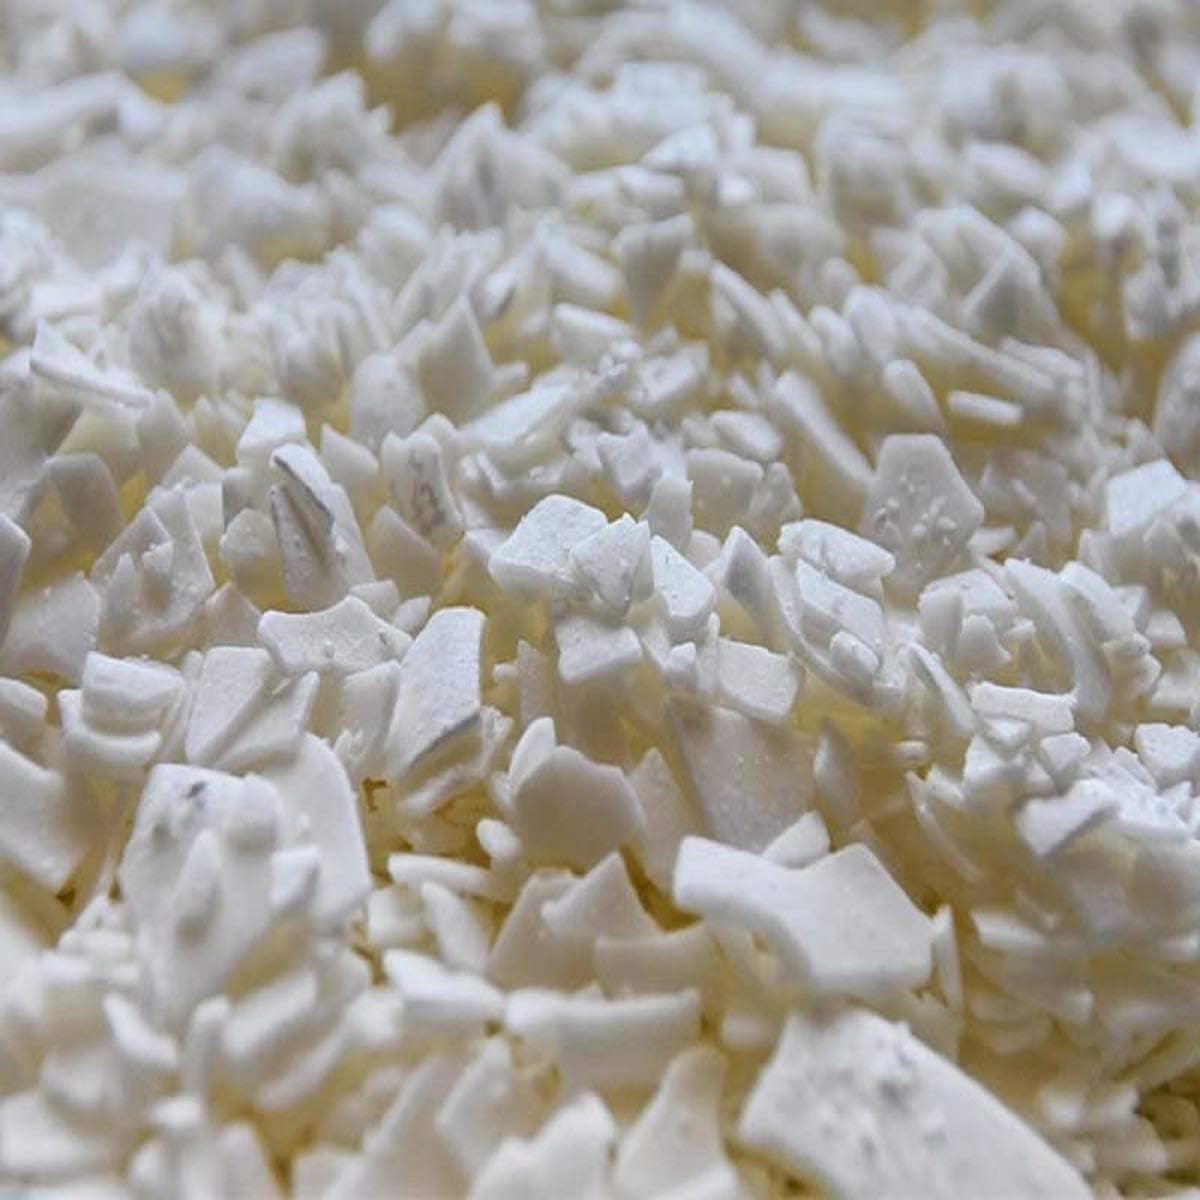
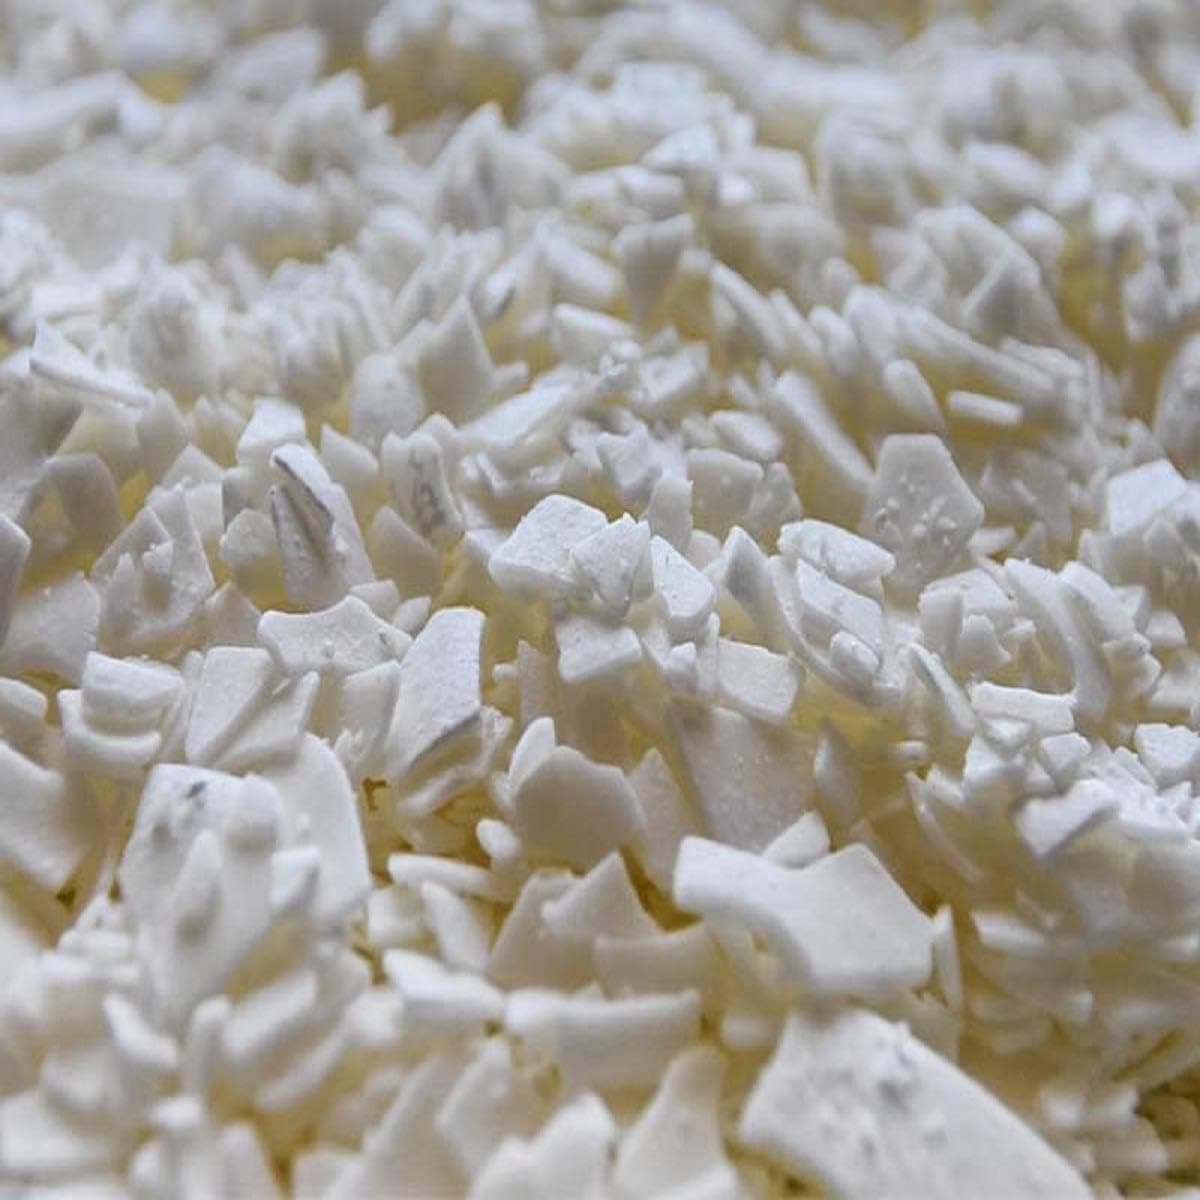
The wax you start with shapes almost everything else about your early results, so it is worth ten minutes of thought rather than grabbing whatever is cheapest. The single most important distinction is container wax versus pillar wax. Container waxes are formulated to be soft, to cling to glass, and to stay put in a jar. Pillar waxes are harder and are designed to shrink away from a mould so the candle releases cleanly. Using a pillar wax in a jar tends to produce a candle that pulls away from the glass in ugly patches. Using a container wax in a mould tends to produce a candle that will not come out.
For a first candle in a jar, a soy container blend or a soy and coconut container blend is the friendliest place to start. These are widely available, they melt at low temperatures, they forgive small mistakes, and there is a large amount of maker-shared experience about them. Paraffin container waxes are also easy to work with and tend to give a strong scent release, though some sellers and buyers prefer plant-based options for marketing reasons. Beeswax is beautiful and burns well but behaves differently enough that it is a slightly steeper first climb.
Look for a wax described as a single-pour or one-pour container wax if you want the easiest possible start. These blends are engineered to reduce the surface dips and sinkholes that otherwise require a second top-up pour. You still may need a top-up occasionally, but the failure rate is lower while you are learning the rest of the process. A wax that requires careful cooling control will punish beginners for things that have nothing to do with their skill.
Before you buy, get the manufacturer or supplier data sheet and check four numbers: the recommended melt temperature, the recommended fragrance addition temperature, the recommended pour temperature range, and the maximum fragrance load. Those four numbers turn wax from a mystery into a set of instructions. If a supplier cannot tell you those numbers for a wax they sell, buy elsewhere. Also check the recommended wick families, since wax manufacturers usually know which wick series behave well in their product.
Buy a small quantity to start, something in the range of a few kilograms rather than a full case. You will likely try two or three waxes before you settle, and a half-used sack of wax you dislike is money sitting on a shelf. Store wax sealed and away from strong smells, because wax picks up odours from its environment and that will quietly ruin your fragrance work. Keep it off a damp concrete floor and out of direct sun.
When you do switch waxes later, treat it as a full reset rather than a swap. A different wax usually needs a different wick size, often a different pour temperature, and sometimes a different fragrance percentage to smell the same. Makers get frustrated when a proven recipe stops working after a wax change, but that is expected behaviour rather than a fault. Test the new wax as if it were a new project.
One last practical note on safety while you experiment: whatever wax you choose, never leave it melting unattended and keep water well away from the melting area. Different waxes have different flash points, so read the data sheet for the one in front of you instead of relying on a number you remember from a different product. Melt gently, watch your thermometer, and pull the wax off the heat as soon as it is fully liquid.
Products from this article
The highest-scoring picks from the buying guides mentioned above. Scores are our editorial assessment, not customer ratings.
+ Coconut soy blend is known for smooth tops in container candles
From our guide: Best Coconut Wax for Candles
+ 3 bags of 10 pounds keep most wax sealed until you need it
From our guide: Best Container Wax for Candles
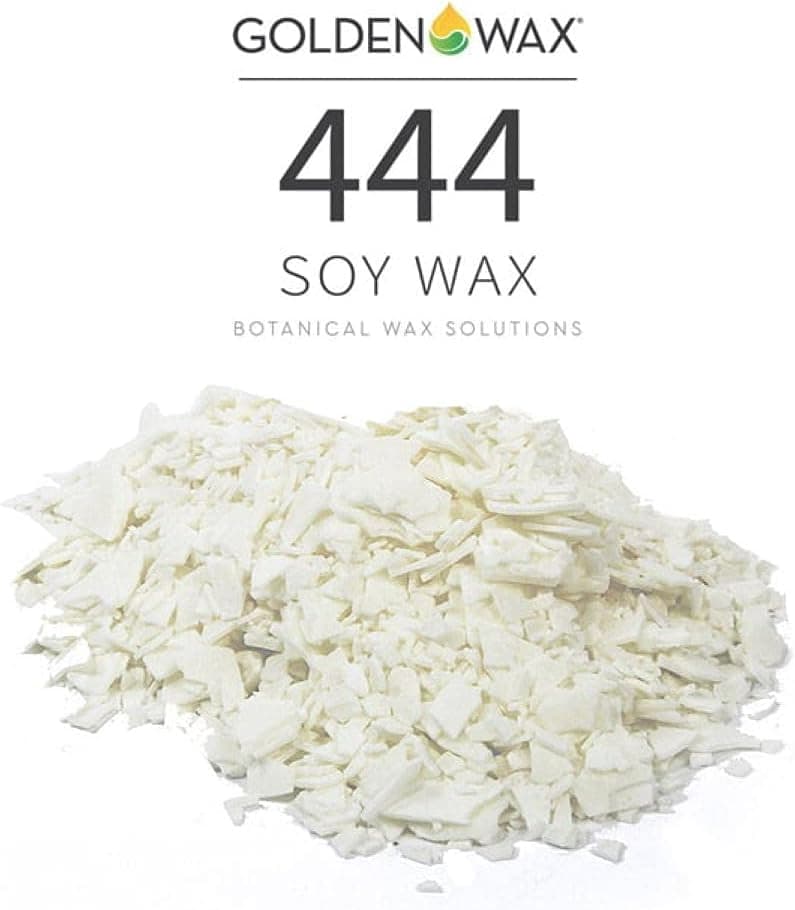
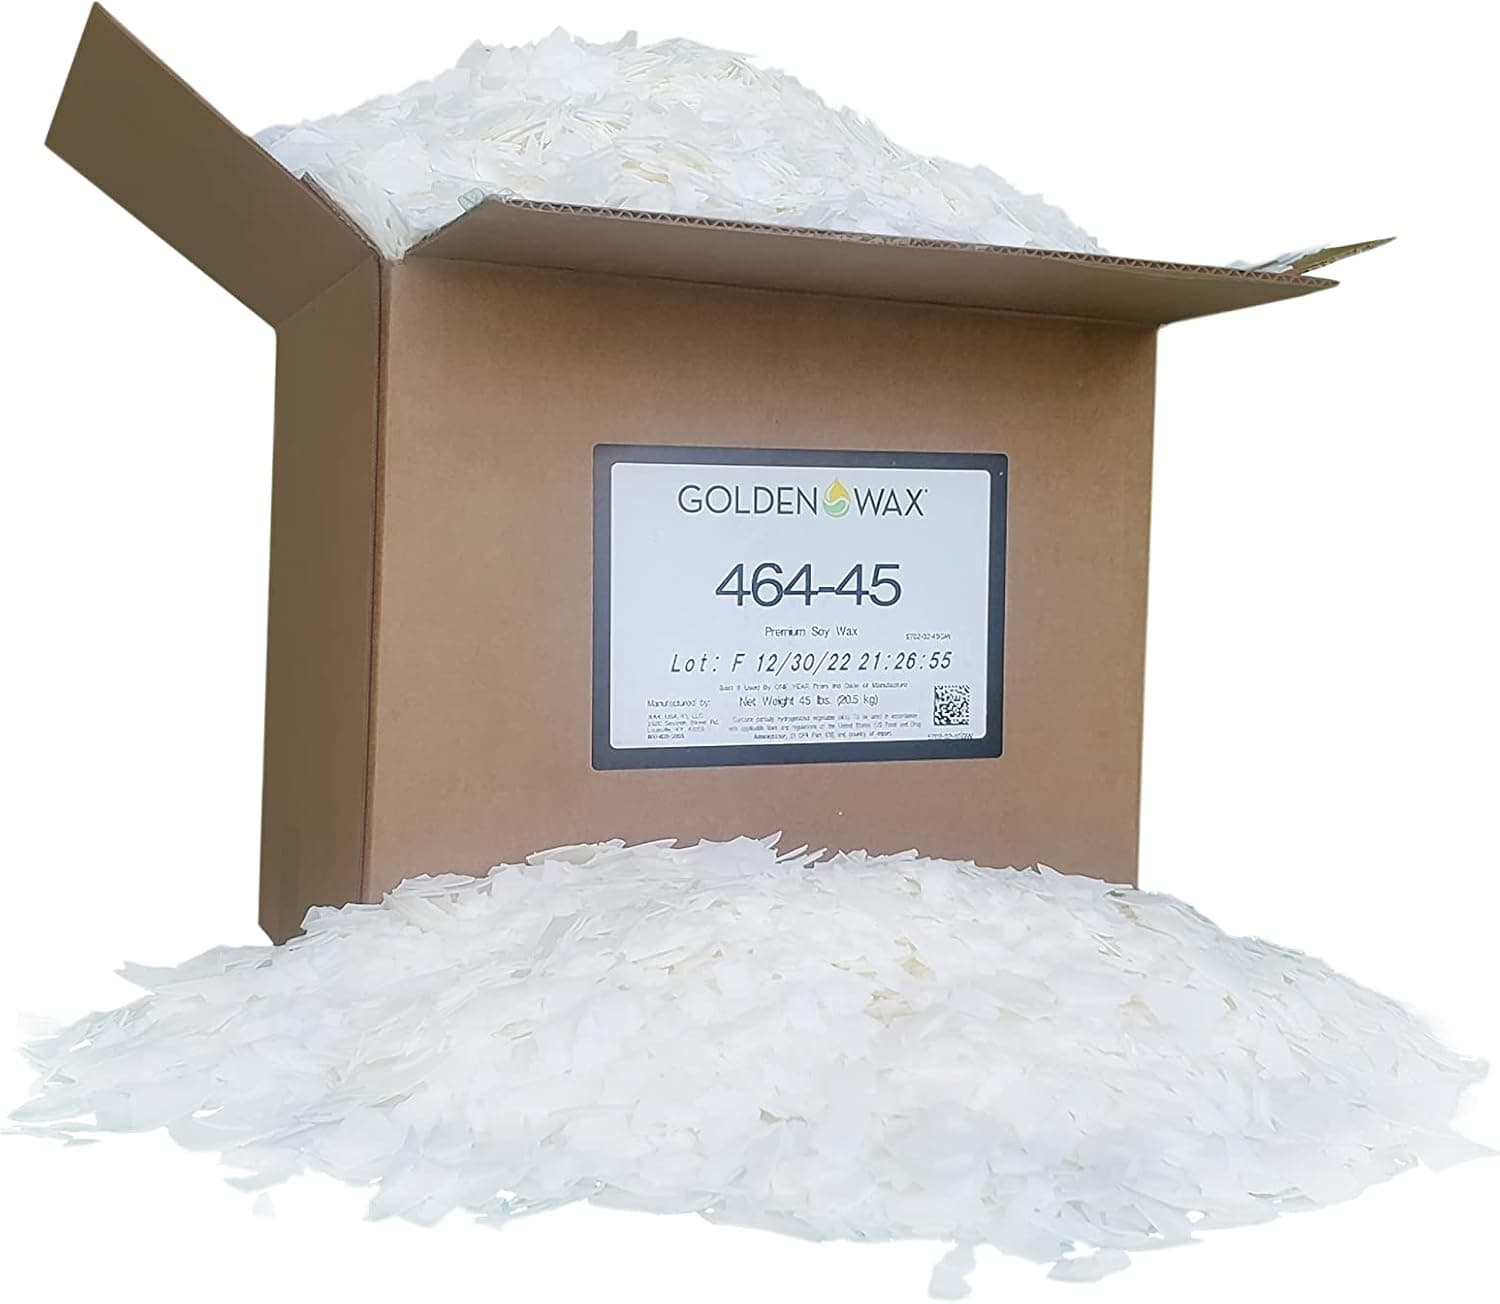
+ 464 is a widely used container soy blend, so plenty of tutorials match it
From our guide: Best Soy Wax for Candles
+ 10 LB bag is enough to dial in wicks and fragrance loads
From our guide: Best Coconut Wax for Candles
Popular right now
- Packaging Candles for Shipping Without BreakageArticle
- Soy vs Beeswax vs Coconut WaxArticle
- Choosing Safe Vessels for Container CandlesArticle
- Best Ceramic Candle Vessels for a Premium LookBuying guide
- Labeling Candles for SaleArticle
- Burn Testing a New Candle Recipe From Start to FinishArticle
Based on the last 28 days of search and visitor data.