Why Wick Testing Matters More Than Any Other Step
Published How we research
Every other decision in candle making is reversible in the sense that a bad result is merely disappointing. A badly wicked candle is different, because the wick determines how much heat the candle produces and therefore whether the vessel stays intact and the flame stays controlled. This is the step where guessing has real consequences, and it is also the step most new makers rush because it is slow and unglamorous.
A proper wick test is a series of full burn cycles, not a single lighting. Burn the candle for three to four hours, extinguish it, let it cool completely, trim the wick to roughly a quarter inch, and burn it again. Repeat until the candle is finished. The reason for the full sequence is that failure modes appear at different depths. A wick that looks perfect on the first burn can start overheating the glass at the halfway mark, because there is less wax above the flame to absorb heat and the flame sits lower inside the vessel.
Record data at each cycle. Note the melt pool width and depth, the flame height in rough terms, whether the flame is steady or dancing, any soot on the vessel wall, any mushrooming carbon ball on the wick tip, and the temperature of the vessel by hand feel. Note the room temperature too, because a cold room makes a candle look underwicked and a warm room makes it look overwicked. Photographs of the melt pool at each cycle are more useful than written descriptions when you compare candidates weeks later.
Control your test conditions or your results mean nothing. Test on a heatproof surface, away from draughts, away from curtains and shelves, and out of reach of pets and children. Do not test candles overnight or while you are out of the room. Test all candidate wicks at the same time in the same conditions so that the only variable is the wick. Use fully cured candles for the final decision, since scent and burn behaviour both change during cure.
Understand what you are testing for. The goal is a flame that stays modest and steady, a vessel that stays comfortably warm rather than hot, a melt pool that reaches the wall within a reasonable session without becoming a deep pool of liquid wax, minimal soot, and a candle that burns down cleanly with little wax left on the walls. Perfection on every measure at once is rare. Most makers accept a very slight amount of leftover wax at the top rather than pushing the wick up a size and running hotter.
The most common testing shortcut is assuming a wick that works with one fragrance will work with all of them. It often will not. Fragrance oils differ in viscosity and composition and genuinely change burn behaviour, sometimes dramatically. Dye does the same to a smaller degree. If you sell candles, every scent in your range needs its own confirmed wick, and every reformulation of a scent needs a retest. This is tedious and it is also the reason experienced makers release new scents slowly.
Budget real time for this. Testing three wicks through a full burn cycle on a medium jar can take a couple of weeks of evenings. Plan launches around that rather than trying to compress it. When someone asks why handmade candles cost what they do, the honest answer includes the dozens of hours of burn testing behind each scent. Skipping it does not save time, it just moves the failure from your bench into someone's home.
Products from this article
The highest-scoring picks from the buying guides mentioned above. Scores are our editorial assessment, not customer ratings.
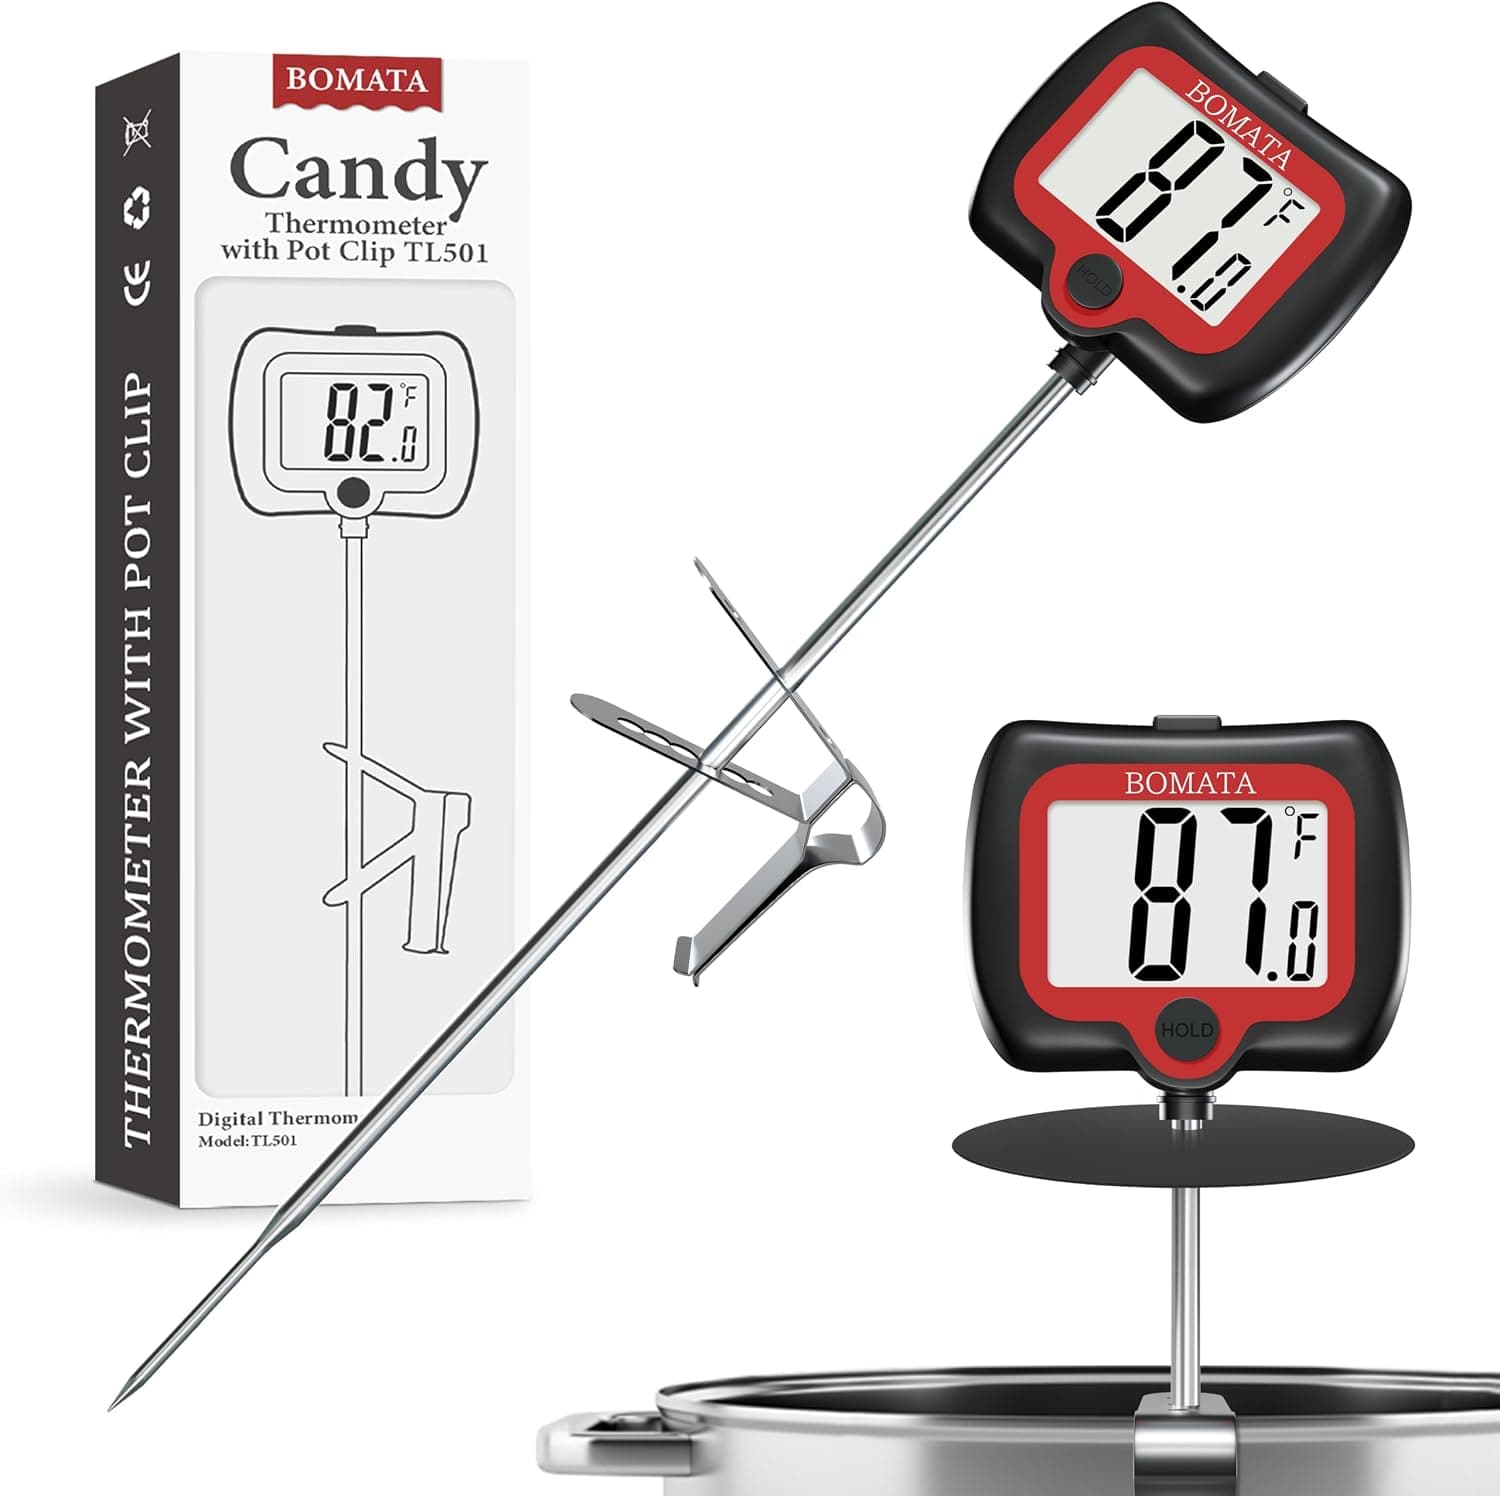
+ Heat shield protects hands when reading over hot wax
From our guide: Best Candle Making Safety Gear
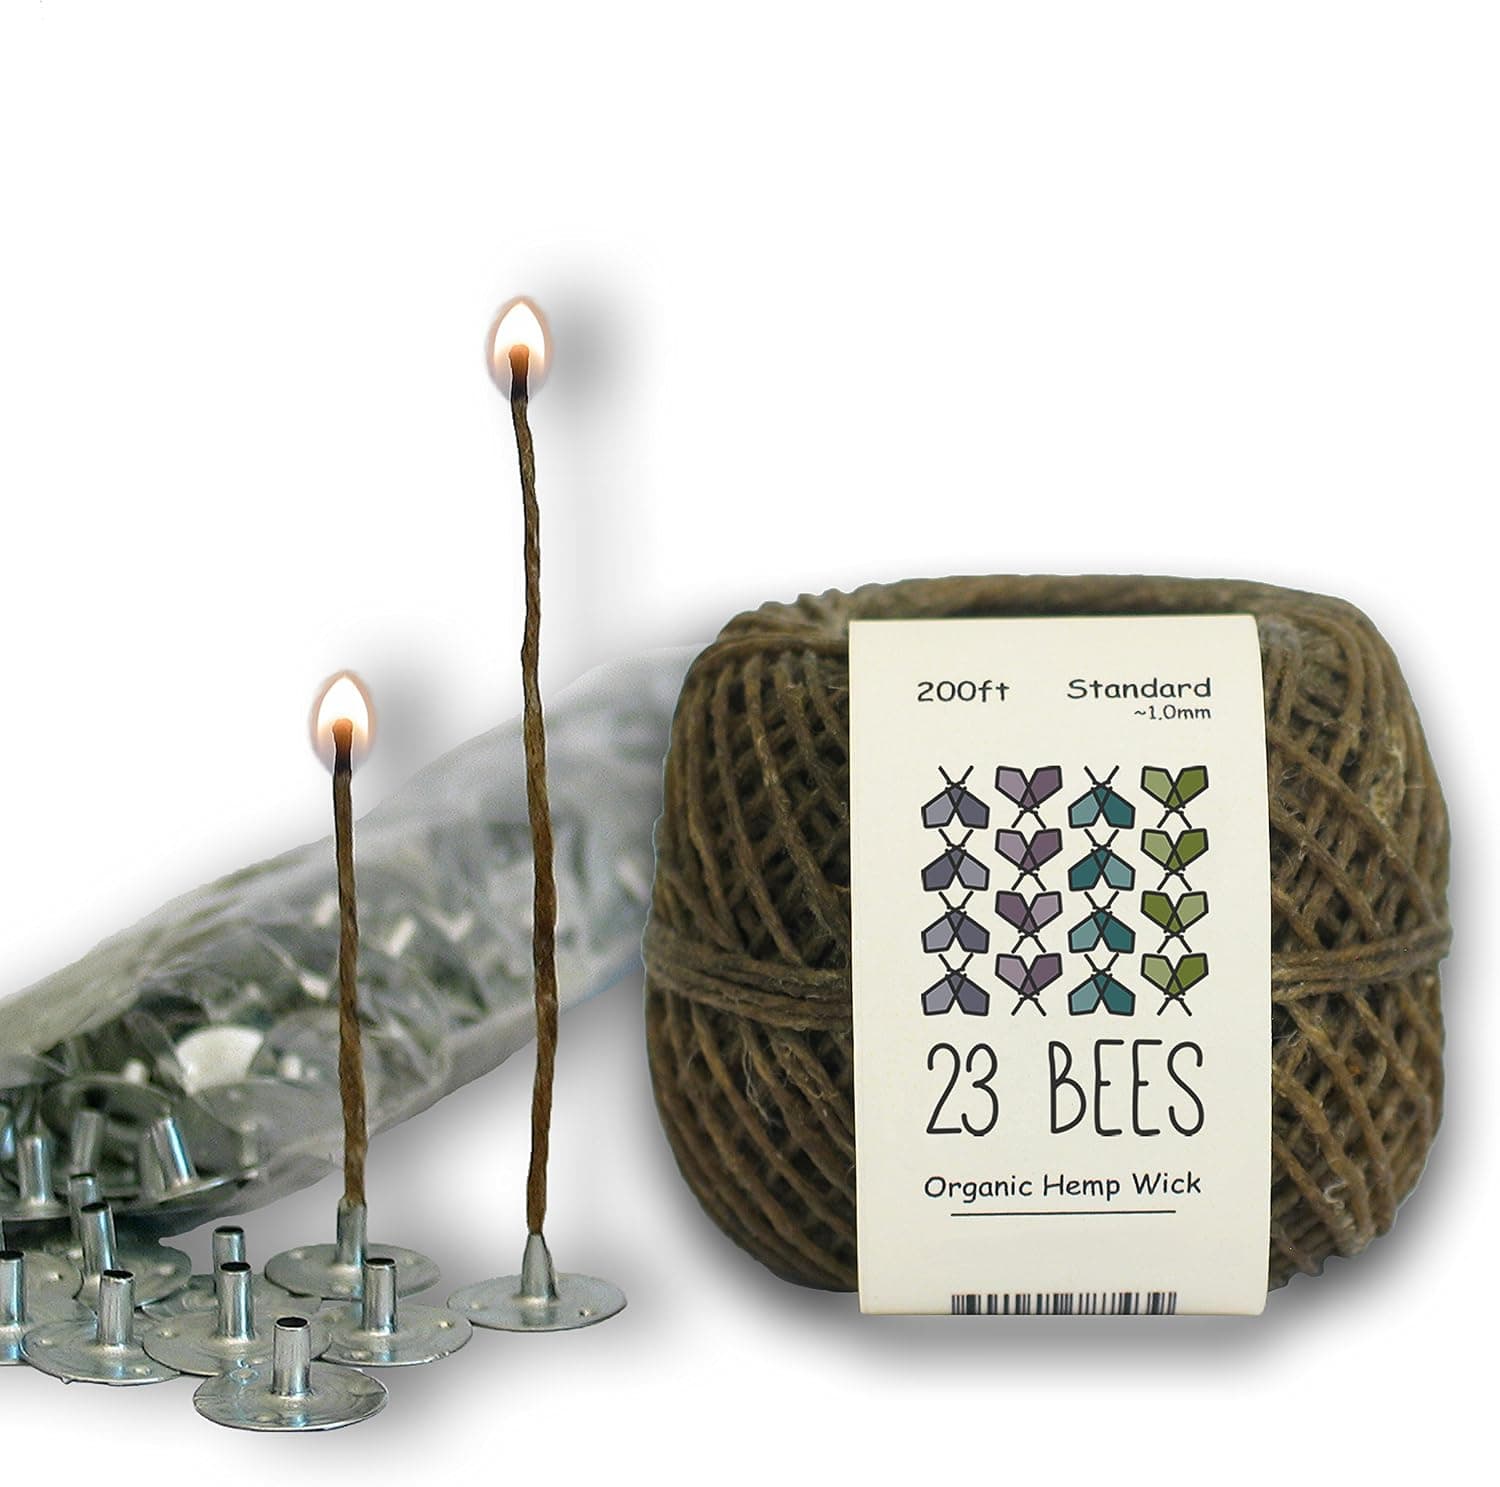
+ Includes 200pcs sustainer tabs so you can cut and tab wicks yourself
From our guide: Best Hemp Wicks for Candles
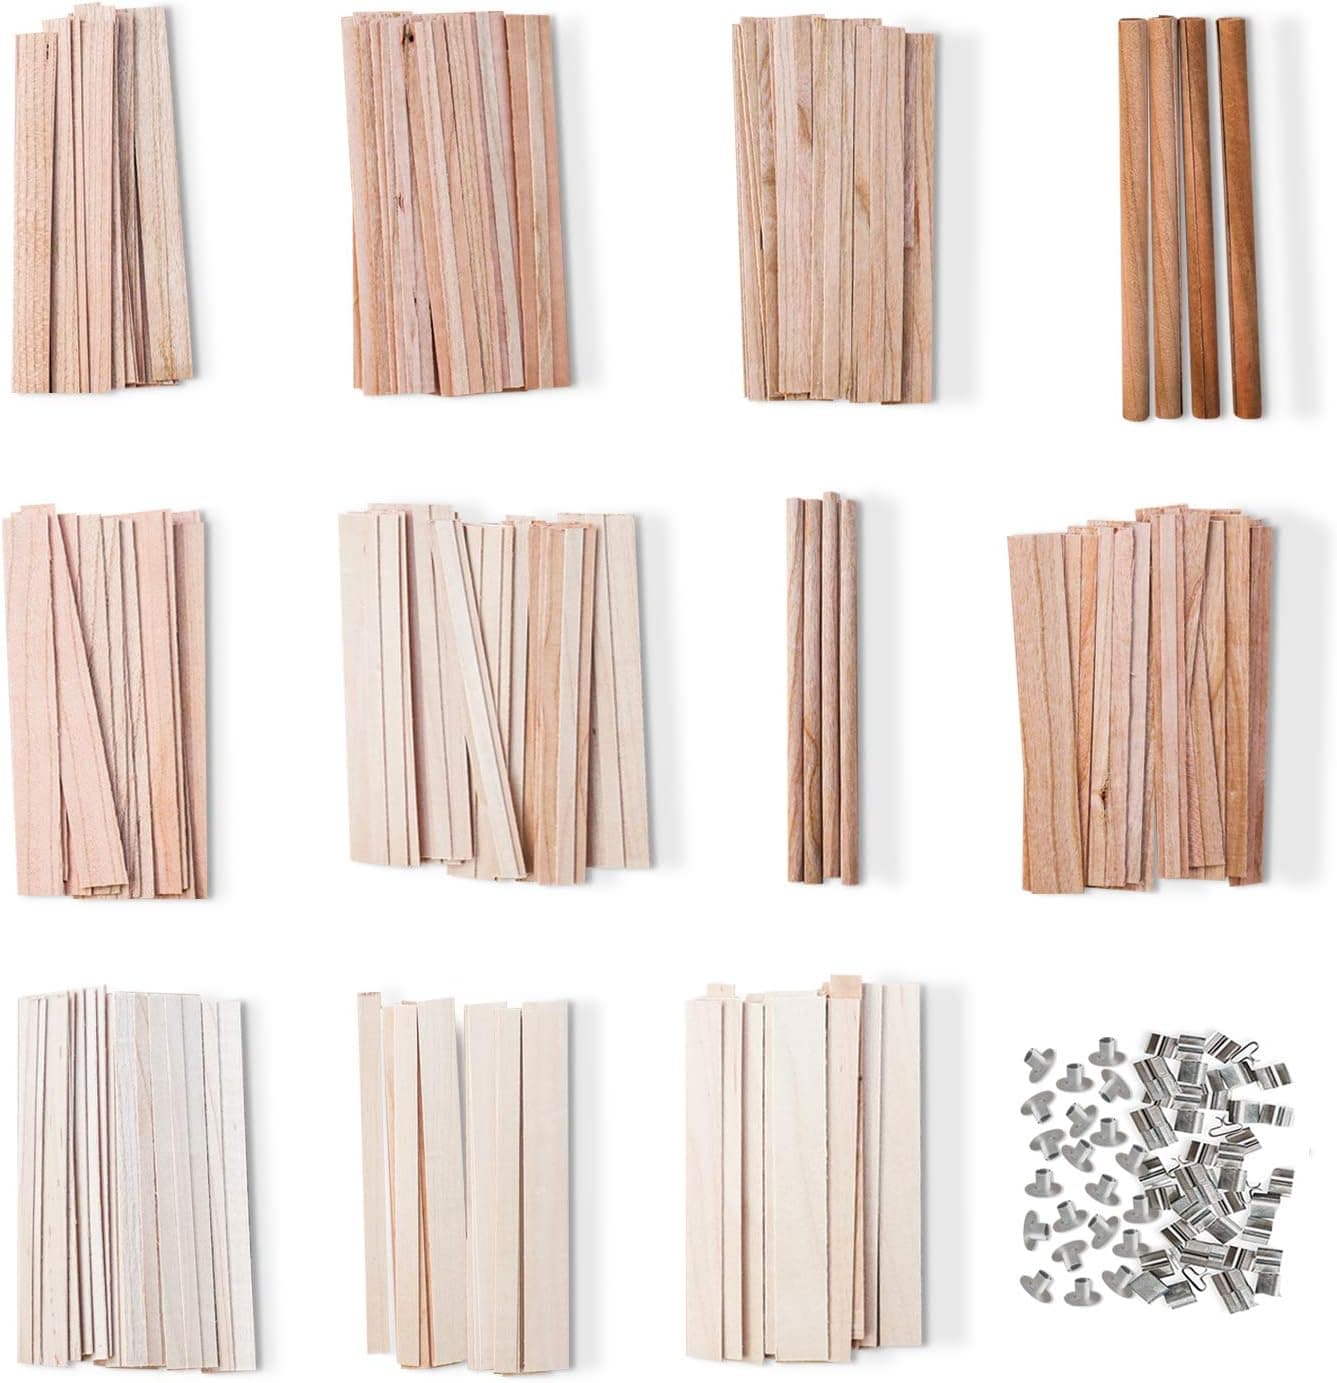
+ Eleven wick varieties allow proper side by side burn tests
From our guide: Best Candle Testing Supplies for Burn Trials
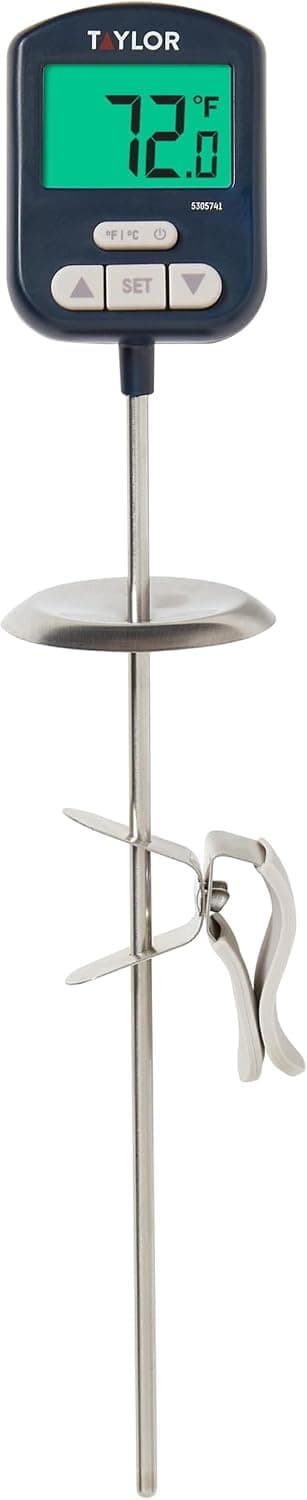
+ 78.7 x 15.7 length covers a full pouring line of jars
From our guide: Best Candle Making Safety Gear
Popular right now
- Packaging Candles for Shipping Without BreakageArticle
- Soy vs Beeswax vs Coconut WaxArticle
- Choosing Safe Vessels for Container CandlesArticle
- Best Ceramic Candle Vessels for a Premium LookBuying guide
- Labeling Candles for SaleArticle
- Burn Testing a New Candle Recipe From Start to FinishArticle
Based on the last 28 days of search and visitor data.