Dyeing Candles Evenly
Published How we research
Colour is the fastest way to make a candle look designed rather than homemade, and it is also an easy way to introduce burn problems if you use the wrong material. The rule that matters most is simple: use dyes made for candles. Do not use crayons, food colouring, soap colourant or craft paint. Crayons contain pigments and binders that clog the wick and cause a poor, smoky burn. Food colouring is water based and will not mix into wax at all.
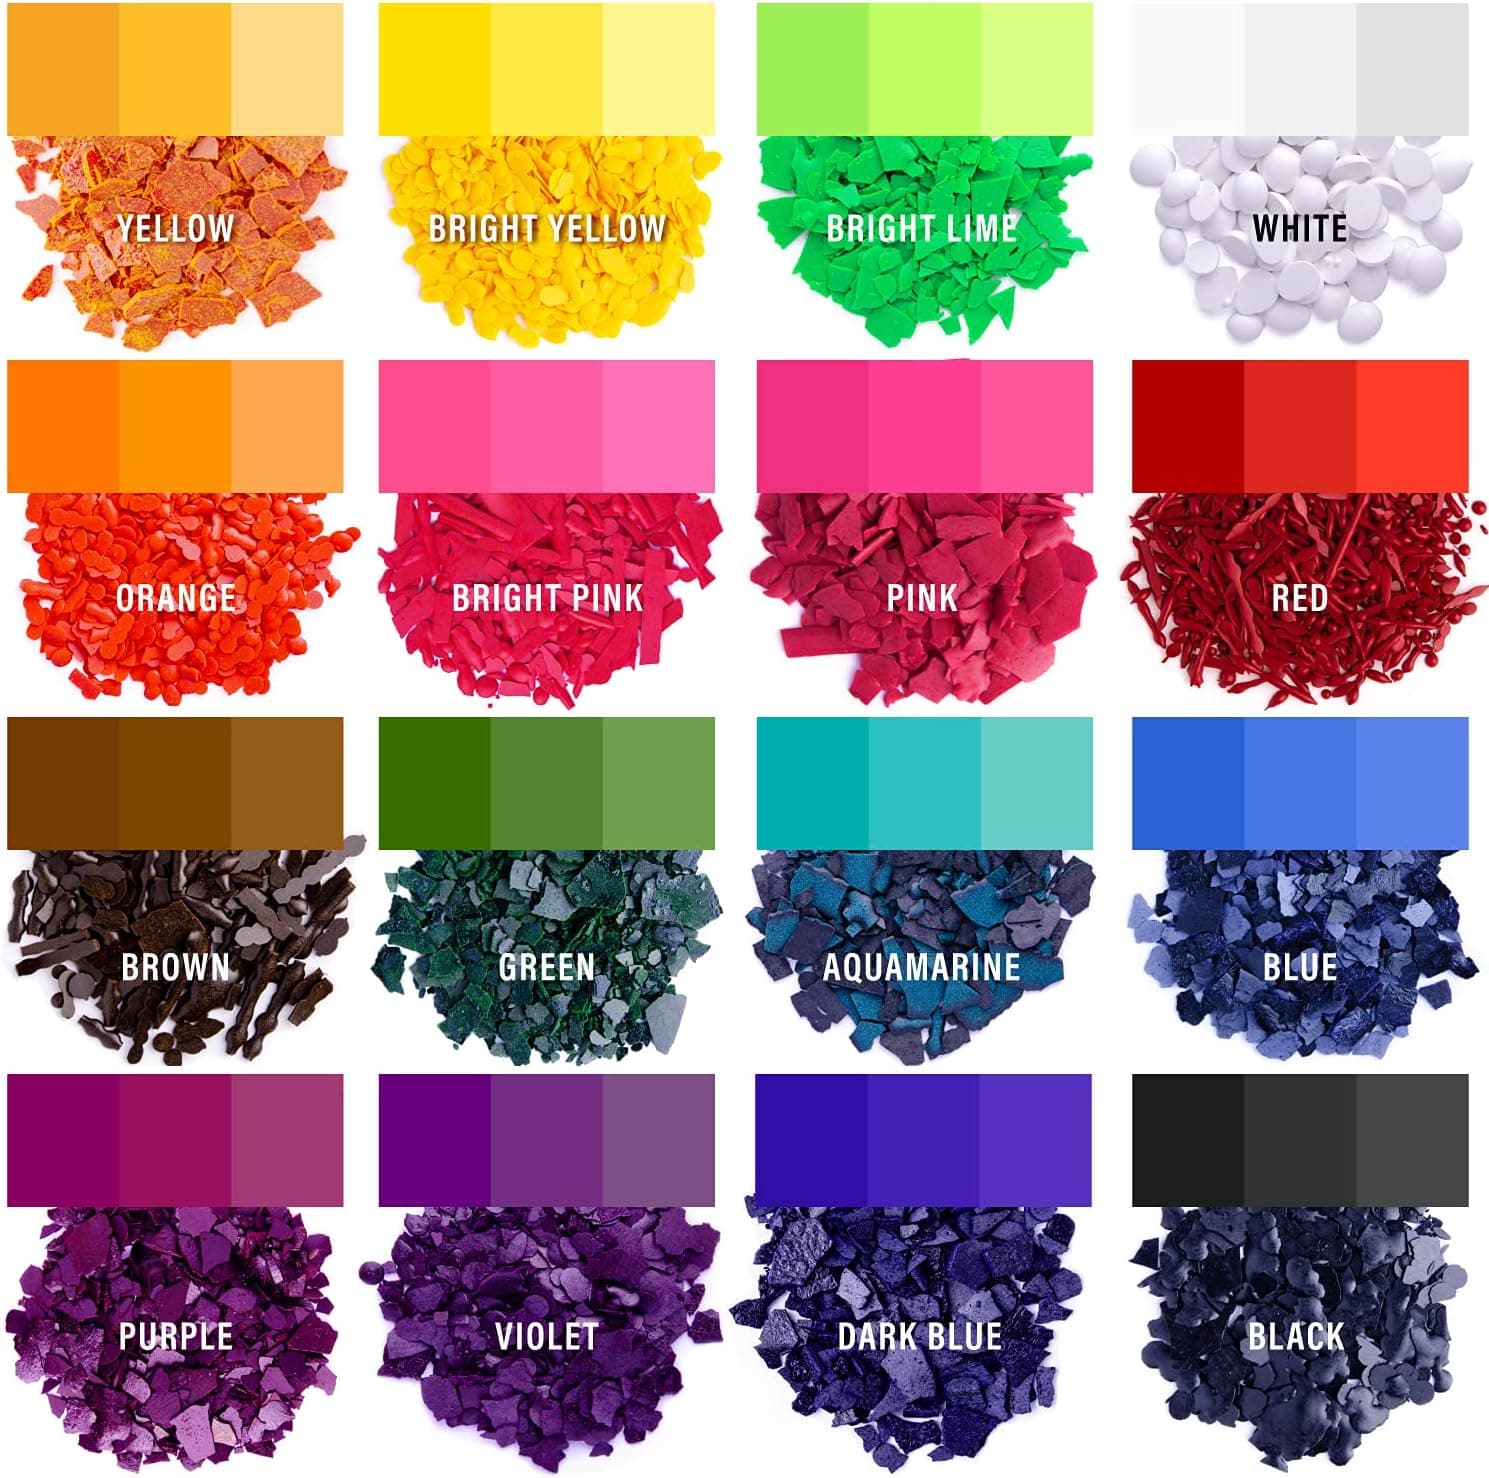
Candle dyes come in three main forms. Liquid dyes are concentrated, disperse readily, and are easy to dose in small drops, which makes them convenient for small batches and for mixing custom shades. Dye chips or blocks are solid, shelf stable, and dissolve into hot wax, which suits larger batches where you want repeatable measured amounts. Powdered dyes are extremely concentrated and give strong colour with very little material, but they are messy and easy to overdose. All three are dyes rather than pigments, meaning they dissolve rather than suspend, which is what keeps the wick clear.
Dissolution is the key to even colour. Add dye while the wax is fully melted and hot, at or near the melt temperature rather than the pour temperature, and stir until you cannot see any specks or streaks. Undissolved chip fragments show up as coloured flecks in the finished candle and can affect the burn. Give it a full minute or two of gentle stirring, scraping the sides and bottom of the pitcher where dye tends to settle. Add dye before fragrance, and stir each addition separately.
Judge the colour from a cooled sample, never from the melted wax. Wax is much darker and more translucent when liquid than when set, so a shade that looks perfect in the pitcher will dry several tones lighter and more opaque. Drop a small amount onto a piece of white card or a cold spoon, let it set for a minute, and assess that. Build up colour gradually, since you can always add more dye but you cannot take it out.
Uneven colour usually traces to one of four causes: dye added at too low a temperature to dissolve, insufficient stirring, uneven cooling that concentrates dye in some areas, or a pour that was interrupted so the layers set separately. Fix them in that order. Slow, even cooling also helps colour uniformity in the same way it helps surface quality, so keep candles away from draughts and cold surfaces while they set.
Dye interacts with two other issues worth planning for. It makes frosting far more visible in soy candles, because the white crystal bloom contrasts against colour. If frosting bothers you, either go undyed or accept a pale tint. Dye also affects burn behaviour slightly, particularly at heavy concentrations, so a deeply coloured candle may need a different wick from the same recipe undyed. Retest whenever you change dye load meaningfully.
Finally, plan for fading. Many candle dyes are not fully lightfast, and candles displayed in a sunny window or under strong retail lighting will lose colour over weeks. Store and display finished stock out of direct sunlight, and if you sell wholesale, mention it to stockists. Record your dye brand, form and exact quantity per batch in your notebook, because matching a colour you made six months ago from memory is close to impossible.
Products from this article
The highest-scoring picks from the buying guides mentioned above. Scores are our editorial assessment, not customer ratings.
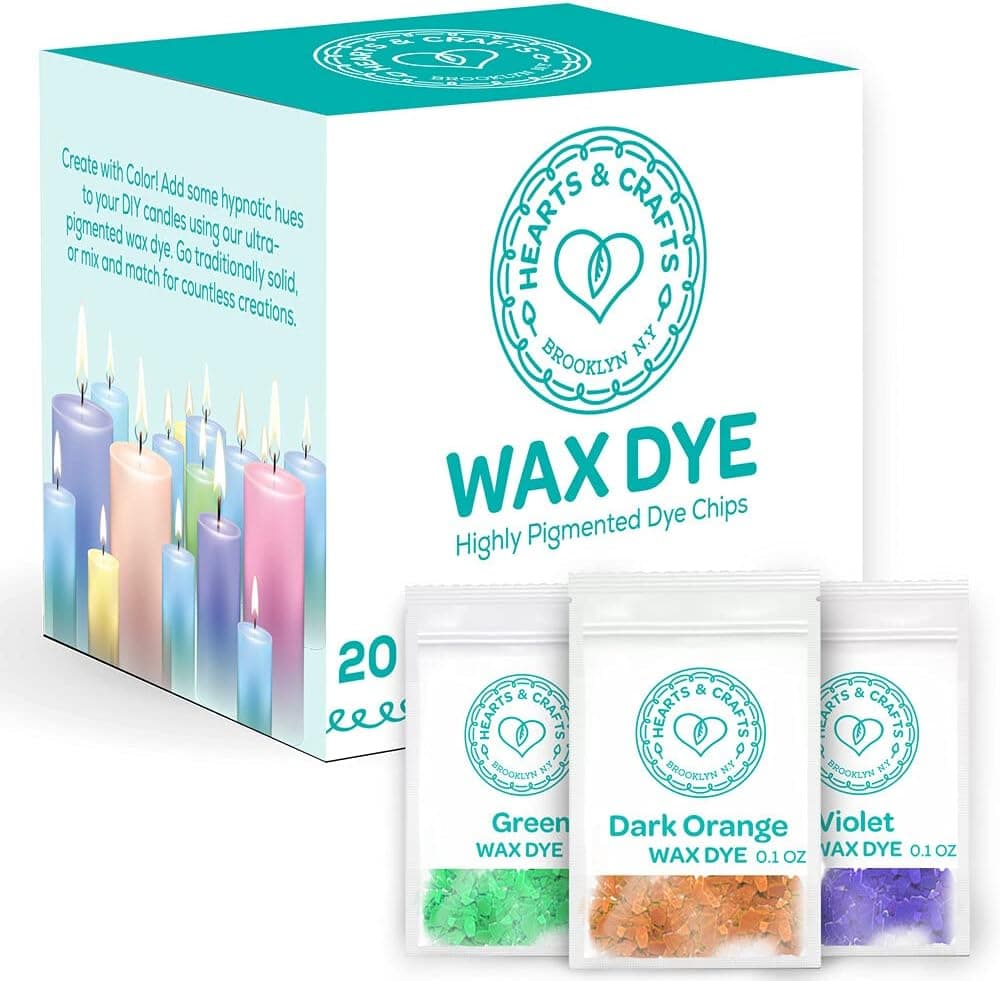
+ 20 color chip set gives a wide, ready made palette
From our guide: Best Candle Dye Chips and Blocks for Easy Batches
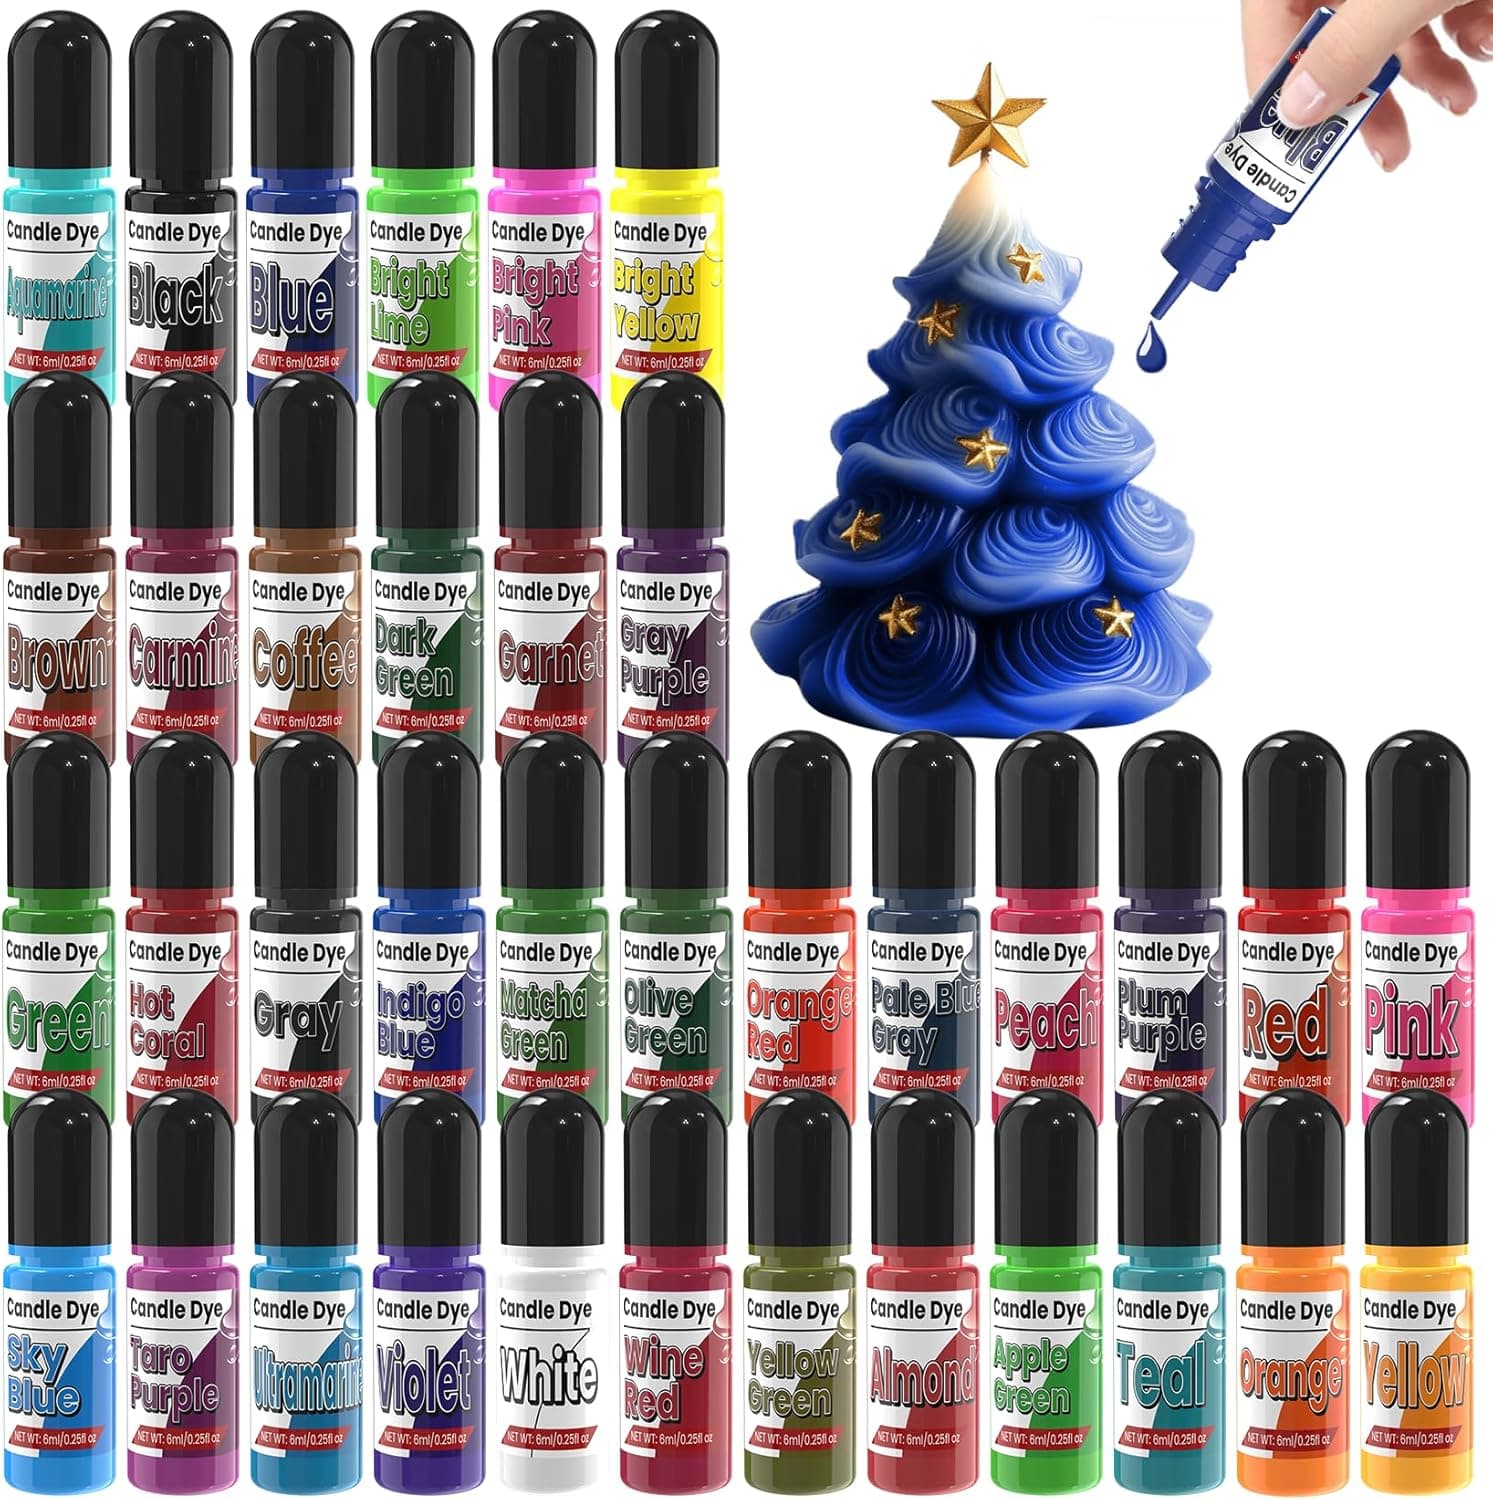
+ 36 Colors is the broadest liquid dye range in the guide
From our guide: Best Liquid Candle Dye for Precise Color Blending
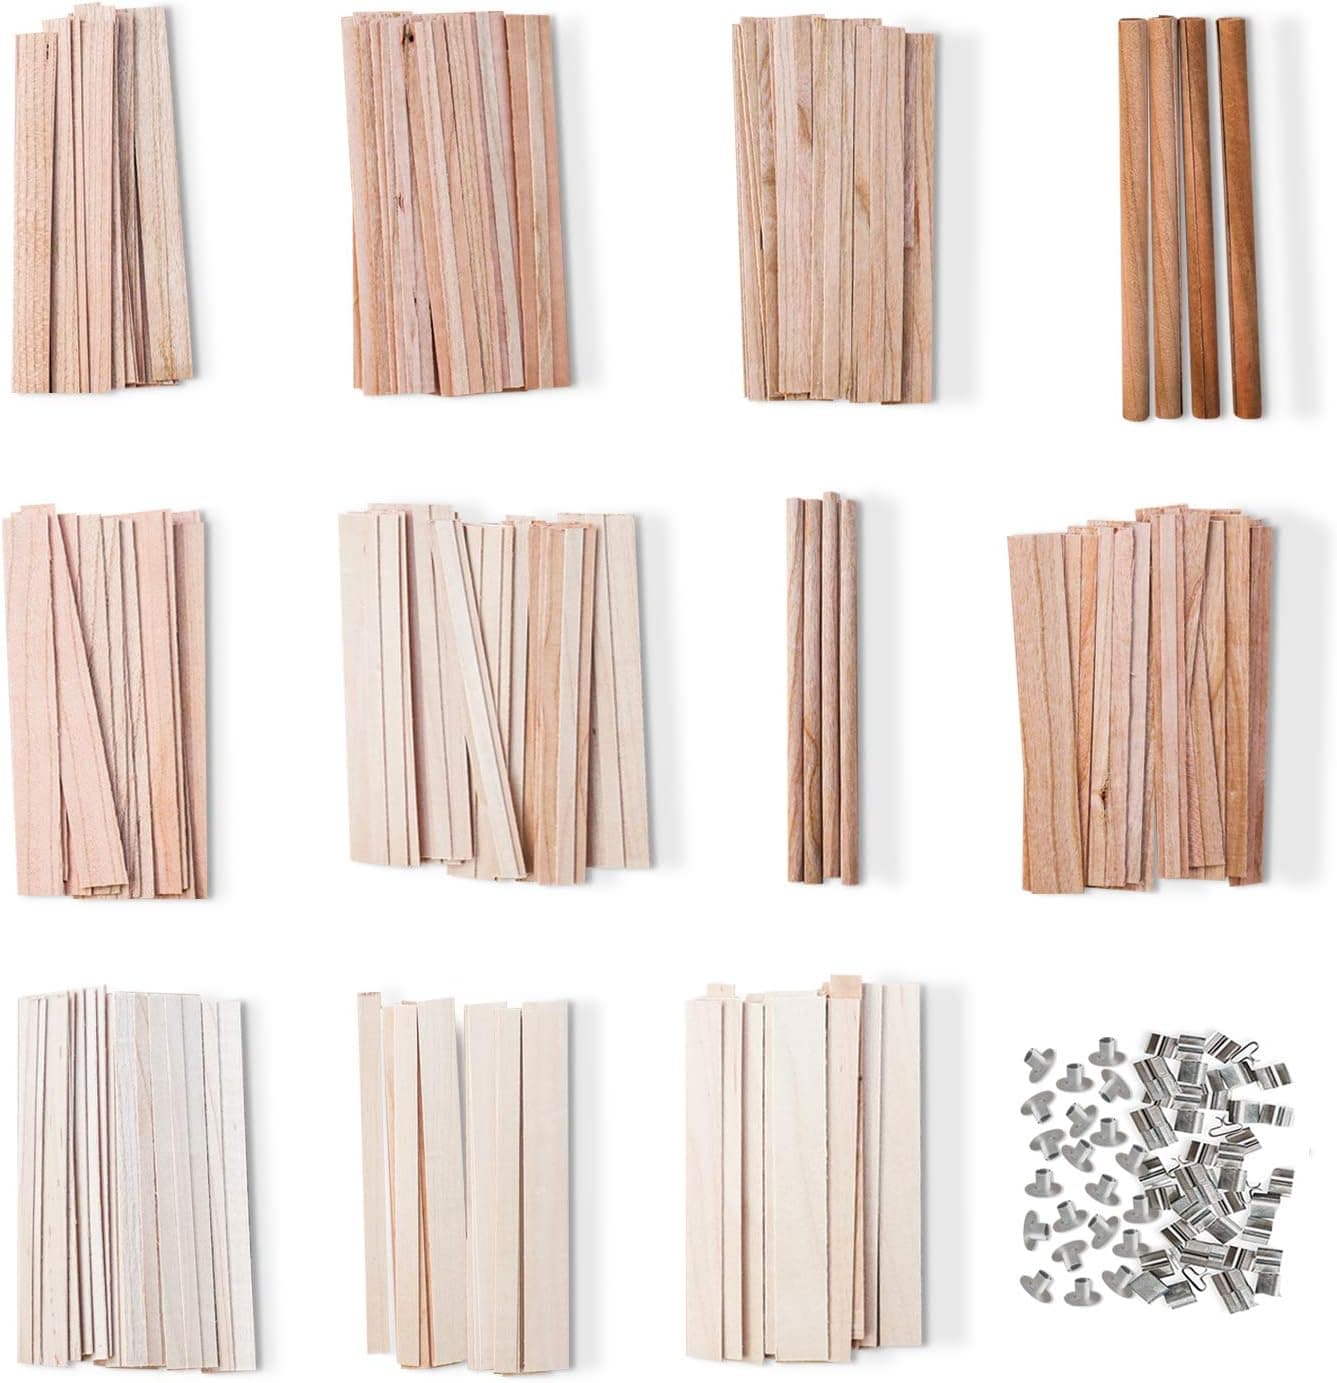
+ Eleven wick varieties allow proper side by side burn tests
From our guide: Best Candle Troubleshooting Supplies
+ Chips drop straight into hot wax with no measuring tools
From our guide: Best Candle Dye Chips and Blocks for Easy Batches
Popular right now
- Packaging Candles for Shipping Without BreakageArticle
- Soy vs Beeswax vs Coconut WaxArticle
- Choosing Safe Vessels for Container CandlesArticle
- Best Ceramic Candle Vessels for a Premium LookBuying guide
- Labeling Candles for SaleArticle
- Burn Testing a New Candle Recipe From Start to FinishArticle
Based on the last 28 days of search and visitor data.